In this video from Proko, Mitch Leeuwe gives a tutorial on how to create a cartoon from start to finish. Leeuwe is a freelance artist working on character design and environmental art for animation shows, toys, and more. More than a year ago, he started creating tutorials about how he draws and posting them on Instagram. He then started selling eBooks and video tutorials, and started a Patreon page.
The following post is based on the video below, which originated on Proko’s YouTube channel. All content belongs to Proko and Leeuwe.
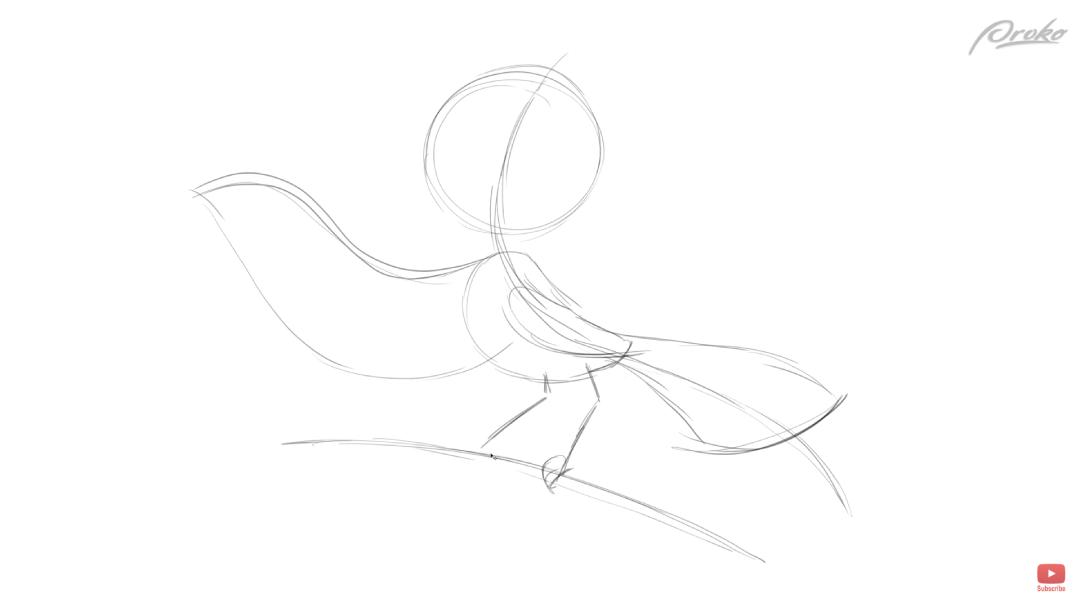
Step 1: Create the “line of action”
For this tutorial, we’ll be creating a bird perched on a branch. To start, create the line of action for the cartoon as shown below. This will serve as a guide for the general shape and pose of the character. Then, draw the head as a simple ball followed by the body shape. By the end of this step, there should be a very basic outline of the cartoon bird, giving a sense of what the end product will look like.
Step 2: Use references
This step is not absolutely necessary but can be a great tool in creating quality cartoon characters. Comparing your cartoon to real-life images of what the cartoon is based on, and even the skeletal structure can help guide your design choices. This will make your understanding of the cartoon greater which will only help in the creation of a quality cartoon.

Step 3: Draw perspective guides
On the head of your character, draw in-perspective guides to determine the direction of the head. Then draw in the features of the head. For this cartoon, we can start by drawing the beak and work our way up to the eyes. You may need to play around with this for a while until you are happy with the way the features on the head are structured.
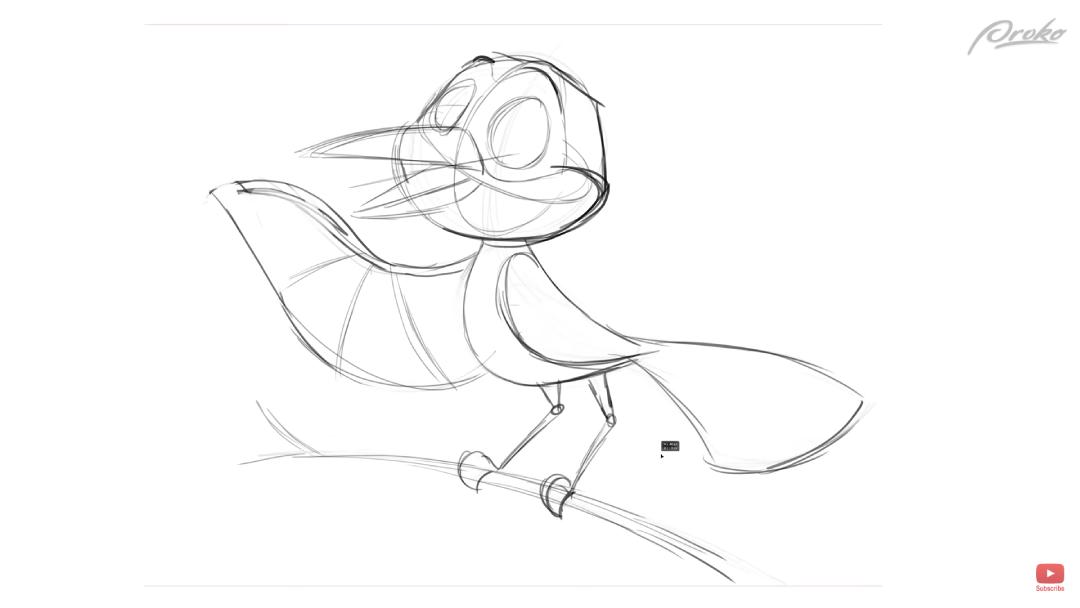
Step 4: Complete the baseline sketch
From here you can start sketching out the basic design of your cartoon. The lines do not have to be perfect, but rather they are a guide for you when you complete the outline that will show on your final design. At the end of this step, you should have a more detailed sketch of what your cartoon will look like. Make sure you are happy with these lines because these are the ones that will be painted over for the final cartoon outline.
Size Matters: Big, medium and small
For all cartoon designs, it is important to consider the principle of big, medium, and small. This will make your cartoon more interesting and grab the viewer’s attention for longer. For this cartoon, the principal was used mainly on the wings and tail, but it can be used almost anywhere on a cartoon.

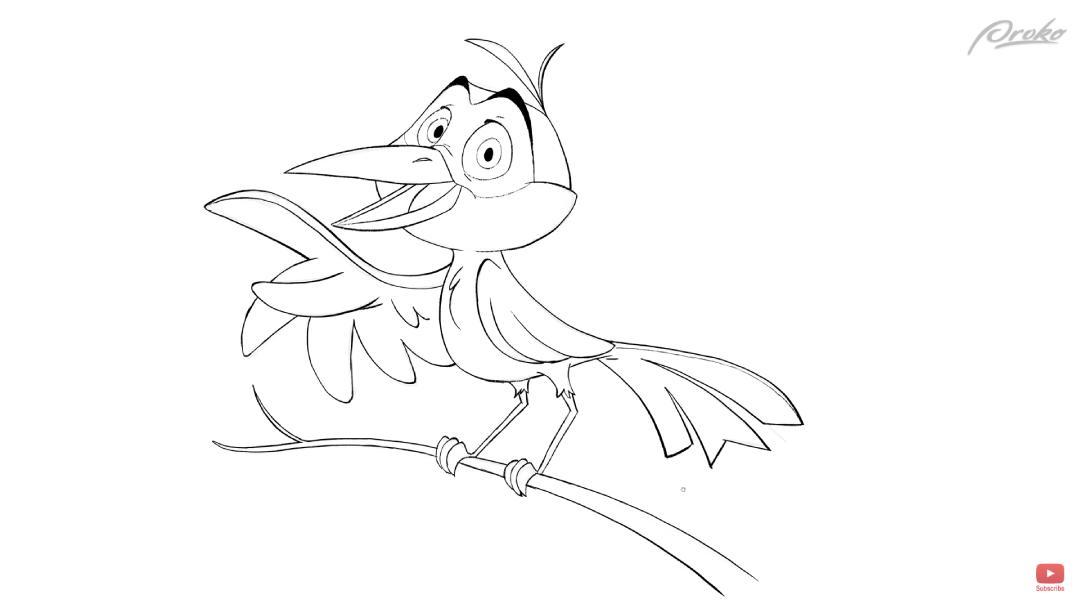
Step 5: Paint in the outline
Now it’s time to paint the outline of the cartoon. This will be visible on the final draft, so take your time and make sure you are happy with everything before adding color. Start by painting in the eyes and make sure the front one is larger than the back. You can do this by simply using your fingers to measure the screen if you’re using a Wacom pen display like a Wacom Cintiq. Start by outlining the most important parts of your cartoon with thick lines so they stand out more. From there you can go add in the final details until the outline of the cartoon is complete.
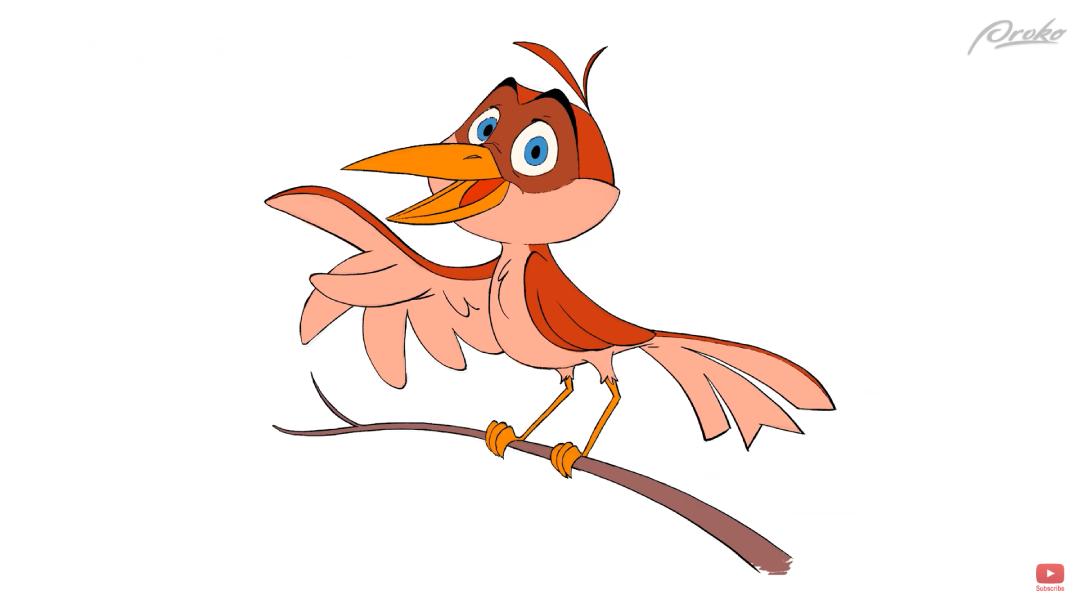
Step 6: Colouring
Create a new layer separate from the outline to start colouring. You may want to create a couple layers for each different part of the cartoon or each colour. From here it is up to your creative taste to pick and choose colors that will create a visually interesting cartoon.
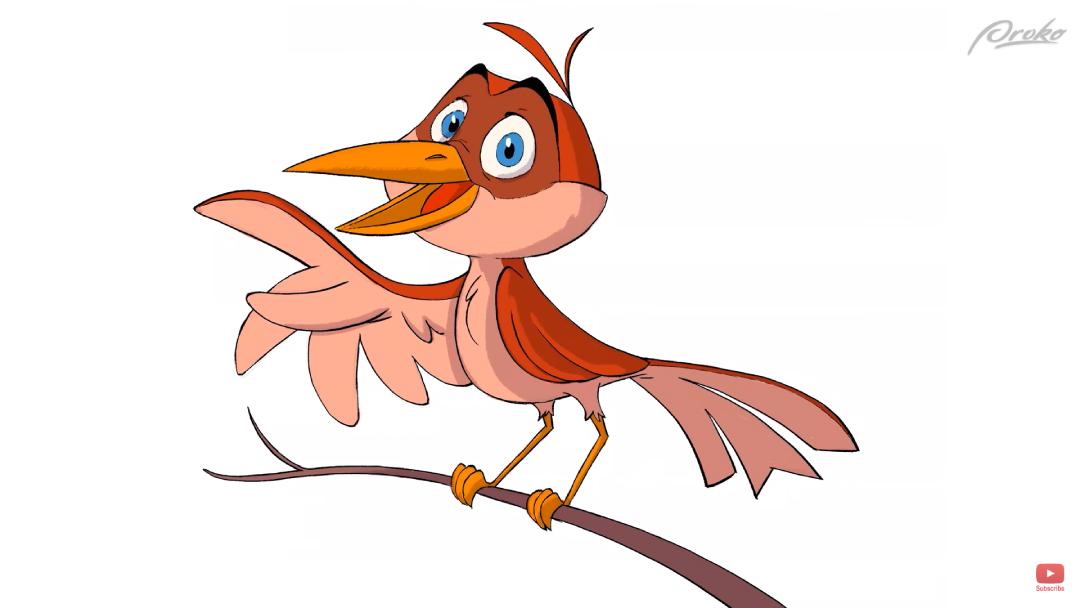
Step 7: Add shadows
Combine every layer into one silhouette of the cartoon and then turn that layer off. Then create a new layer and set it to multiply. From there, select a very light purple color that will darken the entire cartoon. Now you can select a light and dark color to start painting in shadows. This is a part that you should play around with and see what looks good and what doesn’t. Once you are happy with the shadows, you should have a finished cartoon on your screen!
Learn More!
Curious to learn more about character design, cartoons, and illustration? Check out Mitch Leeuwe’s website or head to his Patreon to find full tutorials. You can also check out Proko’s website to find a wide variety of art tutorials and content. For their premium video tutorials, head to proko.com/browse/all/courses.