Lina Vork is the owner of The BunBun Shop, an independent small business based in Schleswig-Holstein, Northern Germany. She’s passionate about creating cute, high quality products including stickers and wrapping paper, bags, stuffed animals, enamel pins and more.
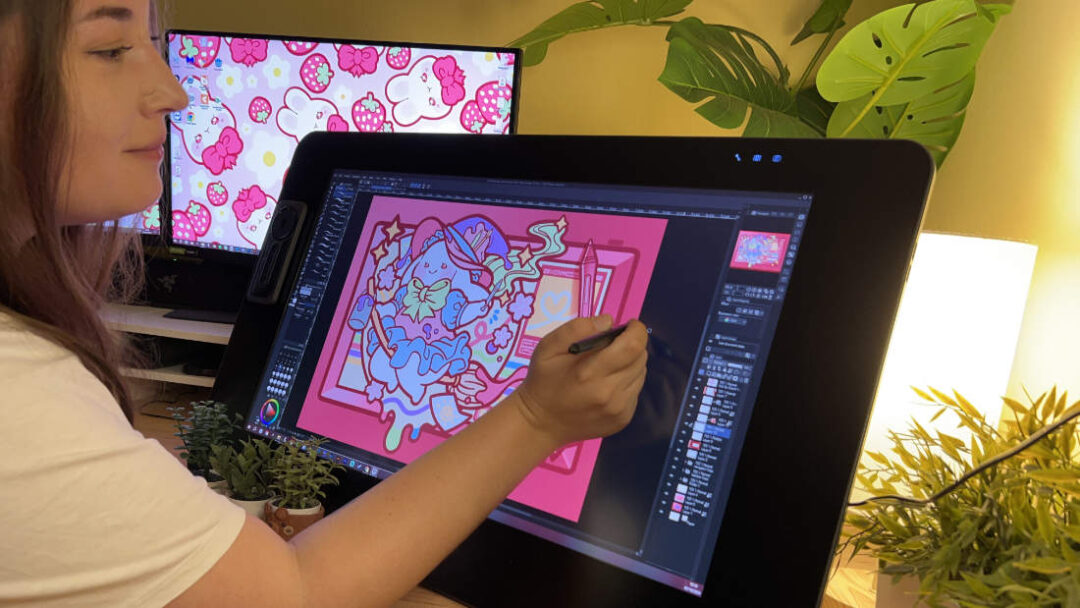
She designs and illustrates her work on a Wacom Cintiq, and recently showcased her process for creating a Wacom-themed enamel pin! Check out the video below, or read on for Lina’s full explanation of how she created it.
In the world of wearable art, enamel pins have become increasingly popular, adorning jackets, bags, and lapels with miniature masterpieces. Today, we’re diving into the fascinating process of creating these tiny treasures, guided by the expertise of Lina Vork, an artist and small business owner from northern Germany. Lina shares her journey of designing enamel pins using her trusted Wacom Cintiq offering insights into both the creative and technical aspects of this craft.
The Design Process
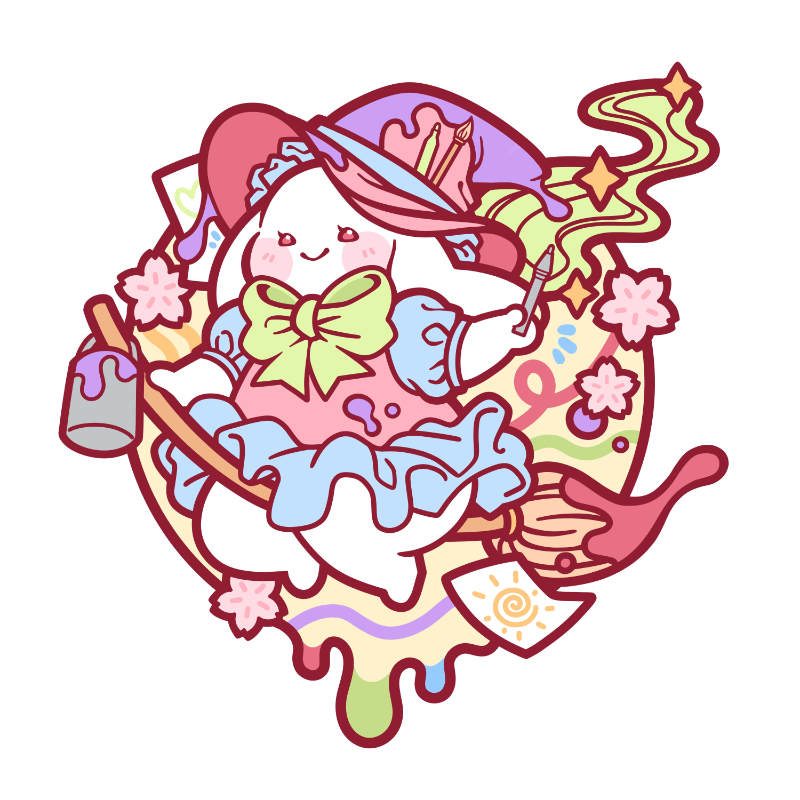
Lina begins her creative journey with a simple sketch. Using her Wacom Cintiq, she brings her ideas to life digitally, emphasizing the importance of comfort during this potentially lengthy process. Once satisfied with the initial concept, Lina traces the sketch to create clean, crisp outlines – a crucial step for enamel pin production.
Coloring with Care
While personal preference guides her initial color choices, Lina stresses the importance of considering manufacturing limitations. The transition from digital design to physical product often requires adjustments, particularly in color selection.
Vector Magic
After finalizing the design in her drawing application, Lina moves to Illustrator. This step is crucial for several reasons:
- It allows for scalability without loss of quality
- Many manufacturers require vector files
- Vector formats contribute to a cleaner, more professional look
The Pantone Puzzle
Enamel pin production typically uses Pantone colors. Lina combines digital tools with a physical Pantone guidebook, ensuring color accuracy both on-screen and in the final product.
From Digital to Physical
Once the design is perfected, Lina hands it over to her manufacturer. The production process involves several intricate steps:
- Mold creation
- Metal stamping
- Hand-filling enamel colors
- Quality control and prototyping
Interestingly, many enamel pin manufacturers still fill colors by hand using syringes, adding a touch of artisanal craftsmanship to each piece.
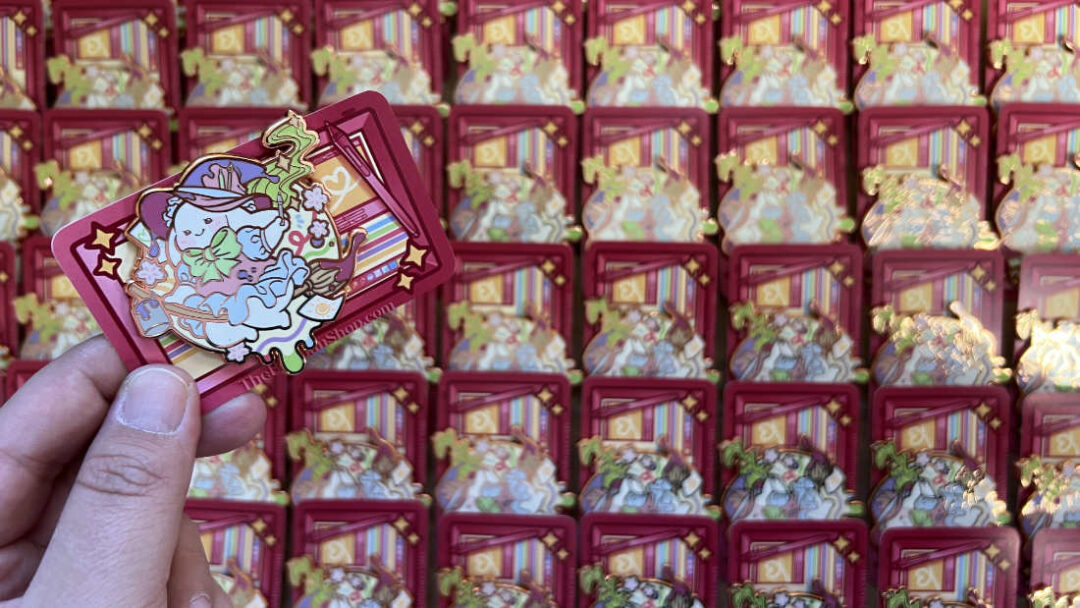
Production time can vary, but Lina notes that for orders of 100-500 pins, it typically takes around a month.
Upon receiving the finished pins, Lina conducts a final quality check. She then personally attaches each pin to its custom-designed backing card – in this case, a charming miniature Wacom tablet design.
Conclusion
From the initial spark of inspiration to the final, wearable piece of art, creating enamel pins is a journey that blends digital design with traditional craftsmanship. Tools like the Wacom Cintiq play a crucial role in this process, allowing artists like Lina to bring their visions to life with precision and creativity.
Whether you’re an aspiring pin designer or simply curious about the process, Lina’s insights offer a valuable glimpse into this unique art form. As wearable art continues to gain popularity, the fusion of digital tools and physical craftsmanship opens up exciting possibilities for artists and enthusiasts alike.

About the creator
To check out The Bun Bun Shop and all of Lina’s cute products, go to The Bun Bun Shop. Follow her work on Instagram at @thebunbunshopofficial. And to see more about her process, check out the blog post we made about a super cute illustration she made for us last Valentine’s Day!

