
In the guest post and video below, crafter and creator Heather Cash continues her Wacom + Cricut series by showing you how you can use a Wacom One pen display and Affinity Designer software — included with every Wacom One purchase — to create a color-your-own pencil case as a fun project or a gift!
Check out the video below, or read on for a text-based explanation.
Hi, my name is Heather, and welcome to another episode of Wacom + Cricut, my series where I show you how to create digital assets for the Cricut, using your Wacom tablet. And of course I’d like to give a huge thank you to Wacom for sending me this tablet, and sponsoring this series!
Today we’re going to be creating a color-your-own pen or pencil case. I think this is such a great idea for back-to-school, or even just a gift for anyone creative. This pen case has black outlines that can be colored in with a Sharpie or other permanent marker. I got Cricut-brand blank pen cases from Michael’s, as well as Cricut black infusible ink. Cricut heat-resistant tape adds to the project, but is optional!
First, get your supplies:
Step 1: Create your outline art
The first step is to create your file in Affinity Designer.
Create your file
First, measure the width and height of your pouch using a ruler.
Create a new file in Affinity Designer by selecting File → New. Enter in your pouch dimensions (mine are 8.75 x 6) and make sure Inches is selected as under Document units. Set the DPI to 72 (this will ensure that it gets pulled in as the correct size in Cricut Design Space). Now click Create.
Type out some text — if you want
This step is optional! If you want text in your design, you can grab your Artistic Text Tool from the left toolbar, and click and drag however big you want the text to be. Then, you can type your text.
I’m doing the word “create,” and I’m going to have each letter in a different font. In order to make it look more cohesive, I’ll select fonts with similar thicknesses.
After typing out your text, you can grab your Move Tool from the toolbar, and resize it if you need to (hold down Shift to constrain proportions).
Convert your text to shapes
When you’re done with your text, you’ll need to convert it from a text element to a vector shape. To do this, make sure you have your text selected and then go to Layer in the top menu, then Convert to Curves. Now, you can look in the layers panel and you’ll see that all your text is now listed as Curves.
Next, we’ll need to combine all the letters into one shape, so with all the text selected you can click Add up in the toolbar.
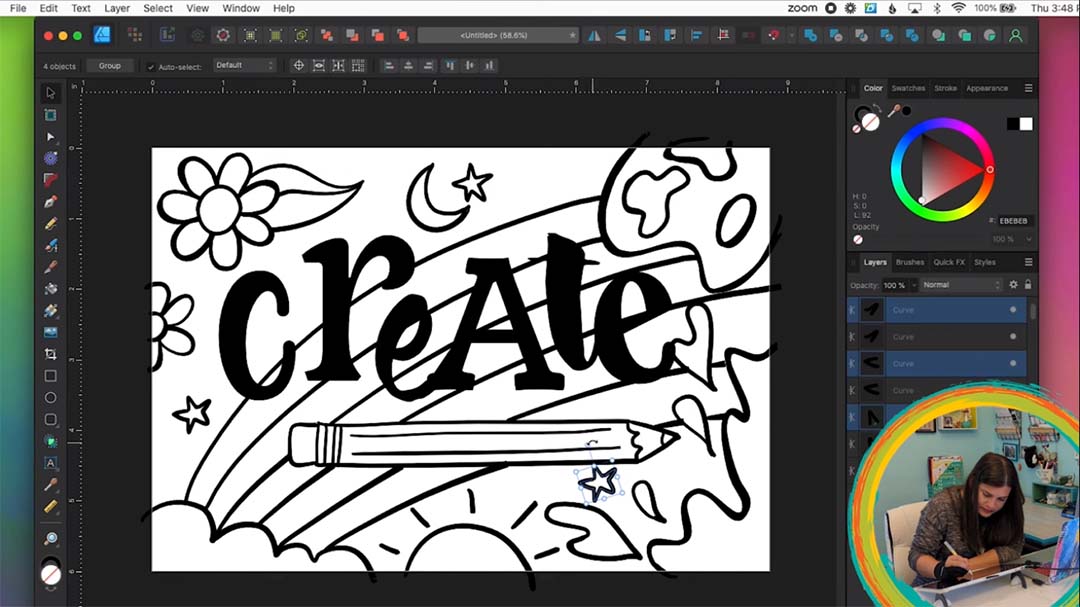
Start drawing!
Grab your Brush Tool from the toolbar on the left, then go over to your Brushes Panel (If you don’t see it, go to Window → Brushes), and choose the most basic brush. I chose Solid Pen with Pressure. You should also check in the options along the top, that you have Controller set to Pressure.
Now, you can test out your brush by drawing some test strokes. If the brush is too big or small, you can change the size in the top toolbar next to Width.
You can draw all kinds of doodles around your text that will be great to color in with a Sharpie.
If you need to adjust the shapes at all, you can grab your Node Tool from the toolbar and select individual nodes to move them around.
Step 2: Format for Cricut Design Space
After you’re all done designing your pencil case, you’ll need to format everything into shapes for Cricut Design Space. To do this, grab your Move Tool, select everything, and select Layer → Expand Stroke. This will convert all your lines into shapes. Then, you can combine everything into one shape by clicking the Add button in the toolbar — it looks like two shapes and a plus sign.
If your drawing goes outside of the canvas, you’ll need to slice off the extra pieces. You can grab your Rectangle Tool and make a rectangle the same size as the canvas. Select everything, and click Intersect button in the toolbar. This will get rid of anything that goes outside of the rectangle.
Export for Cricut Design Space
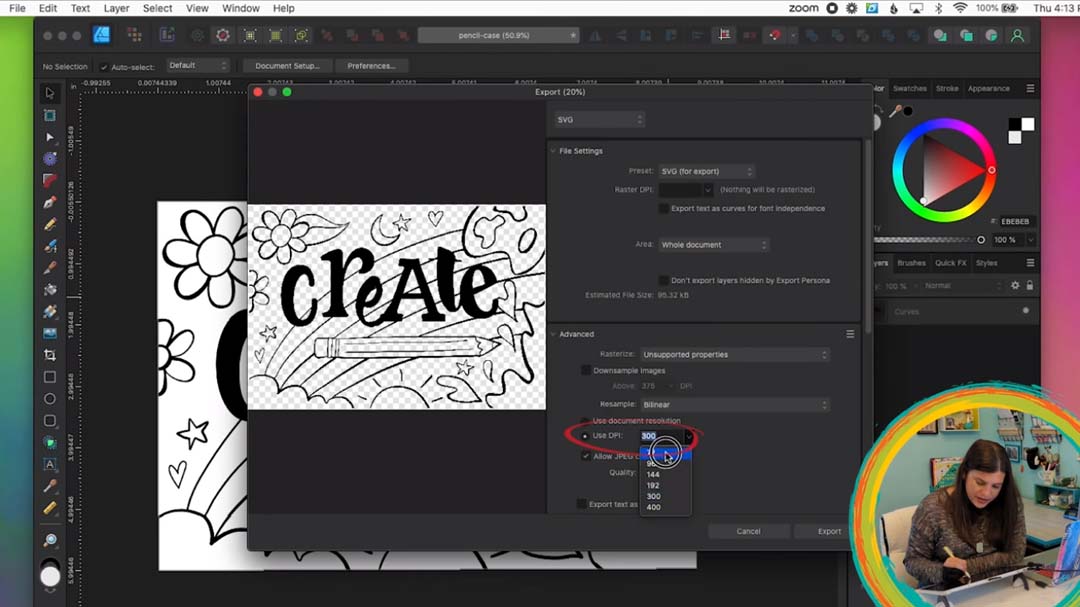
First, you’ll want to save your design as an Affinity Designer file by selecting File → Save. Then, you can export it as an SVG for Cricut Design Space. To do this, select File → Export. Choose the following options:
- SVG
- Preset: SVG (for export)
- Set Use DPI to 72
- Uncheck “Set view box”
- Then click Export.
Step 3: Bring into Cricut Design Space
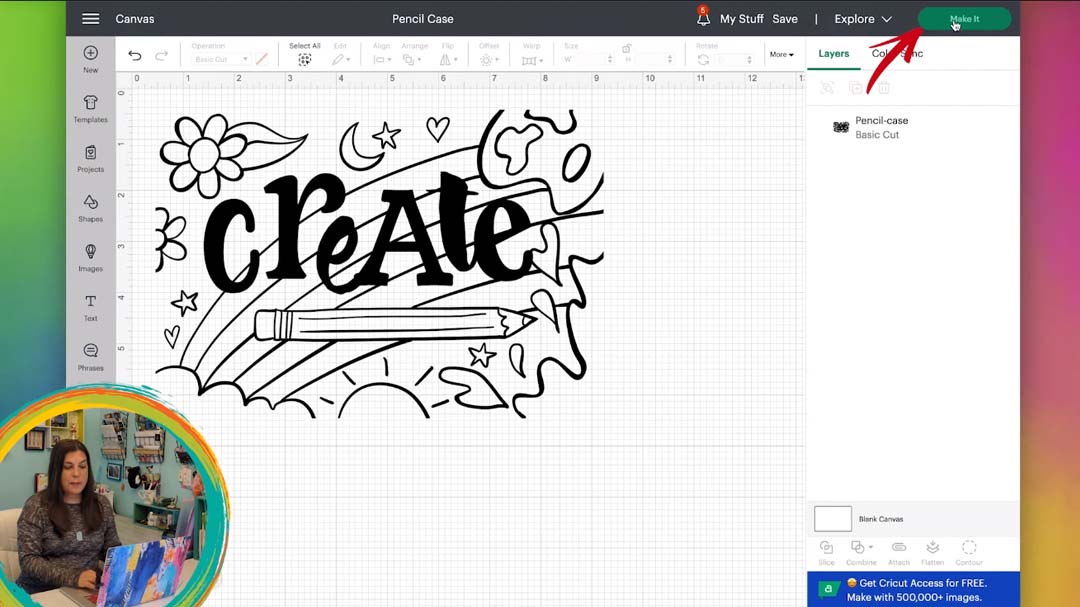
Now we can create our pencil case! In Cricut Design Space, upload your new design. Go to Upload, Upload Image, Browse, select your SVG file, click Open and Upload. Click your design and select Add to Canvas.
Next, click Make It. Make sure you turn on the Mirror setting. Then, click Continue.
Ensure that your Cricut is connected and that your material is set to Custom. Then, you can click Browse All Materials and search for Infusible Ink. Click the Bookmark button to save it for easier access later. Next, click on the material to select it and click Done.
Step 4: Cut out your design
Cut down your material to an appropriate size, and place it on your mat with the colored side facing up. Then, you can run it through your Cricut, flip over your mat, and remove the completed cut-out material.
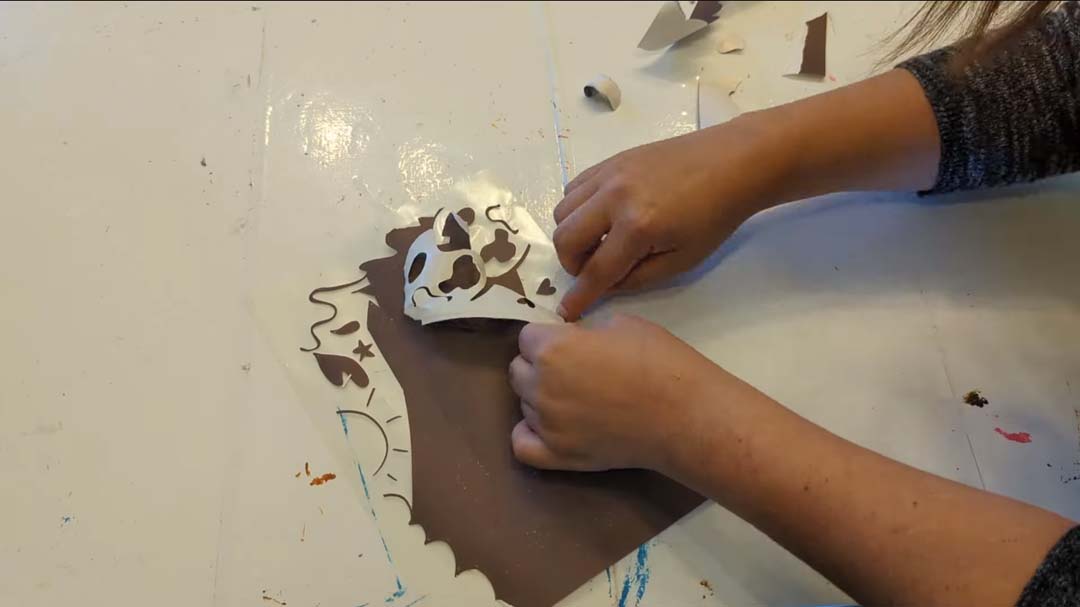
Once you have the sheet cut and removed from the mat, you’ll need to gently roll the sheet between your hands so that the material “cracks” and breaks in the places where it was cut.
Next, you’ll need to “weed” your design. Weeding infusible ink is different from weeding other materials. You’ll get the best results if you don’t use the traditional weeding hook, and instead use your fingers and/or tweezers to grab the excess material and peel it away — using the weeding hook can transfer the ink onto your carrier sheet, spreading ink to the negative parts of your design.
Step 5: Iron on your design
Before ironing on your design, you can place a piece of cardstock inside of your pen case to protect the back of the case from ink transfer. You can also use the Cricut Heat-Resistant Tape to secure your design to your pen case, ensuring that it doesn’t accidentally shift. I also like to use the butcher paper that came with the infusible ink to lay on top of the design to protect the material from the heat of the iron.
Then, set the temperature on your iron. The recommended temperature is 400° for 40 seconds. If your iron isn’t able to get that hot (for example, if you have the original Cricut EasyPress), you can still get good results if you iron at 360° for 2 minutes. Make sure that you don’t move your iron around while it is on your design – you will want to keep it in the same spot the entire time you are ironing.
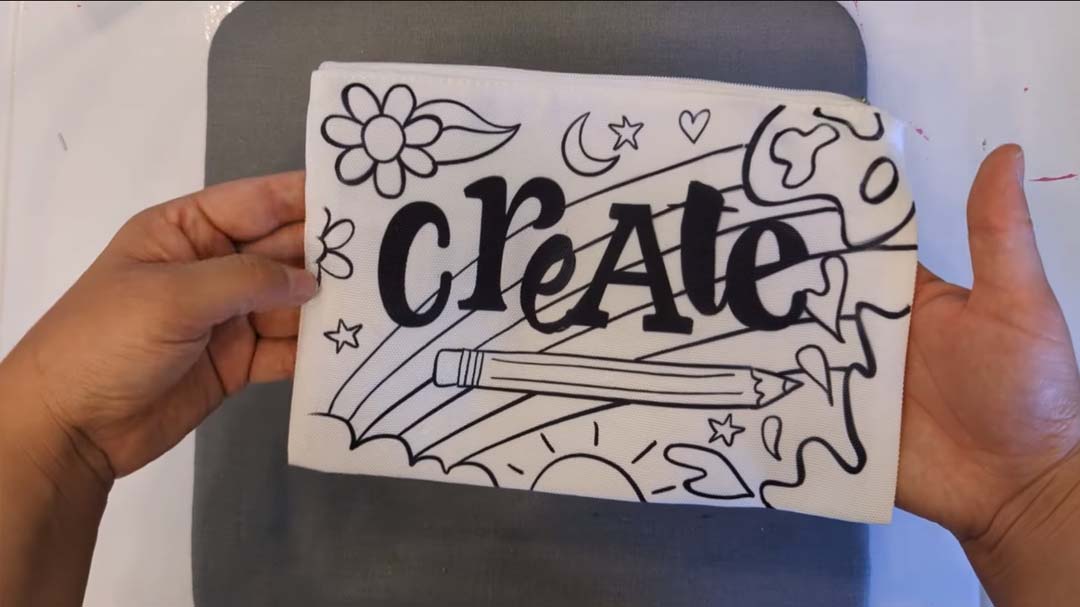
Step 6: Enjoy!
Now, your case is finished! You can color it in with Sharpies or any other permanent marker, or gift it to a friend for a fun artsy activity!