

3d models can be used for good or evil. Yes, they can be a crutch that keeps you from learning basic skills, but they can also be a powerful tool to take your art above and beyond what would be traditionally possible. Concept artists have been using them for ages as an integral part of their workflow, but they’re still underutilized in other genres. But that can be changed.
First, a rough guide to some of the tools at your disposal:
Free
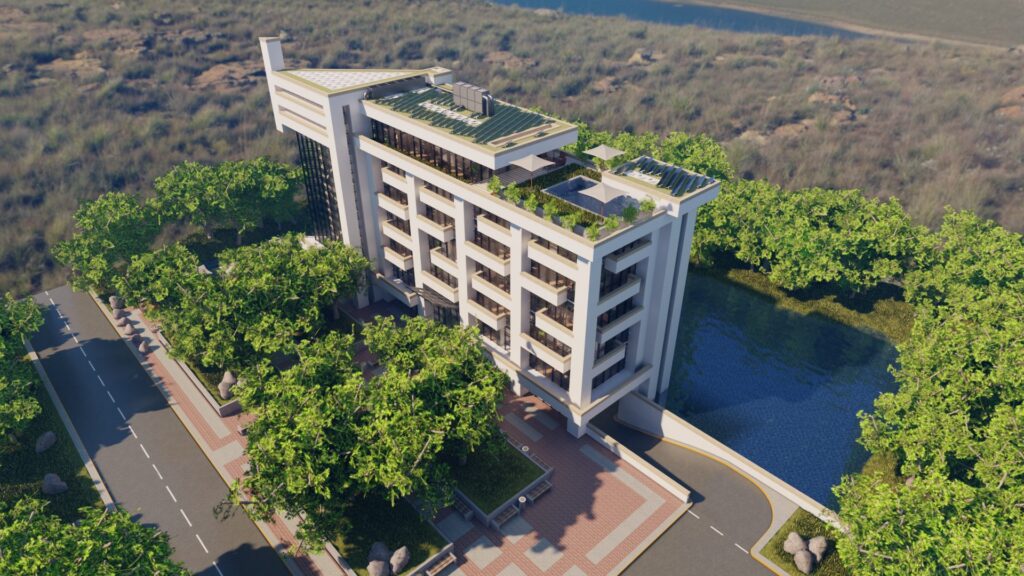
- Sketchup is mostly an architectural visualization program, with all other uses coming later. But it’s just about as simple as 3d programs get (although I recommend you watch the tutorials, because the controls are unintuitive if you go in blind) and perfect for making bases that you can draw or paint over.
- Blender, on the other hand, is capable of anything the big boys are, but the learning curve is infamously steep.
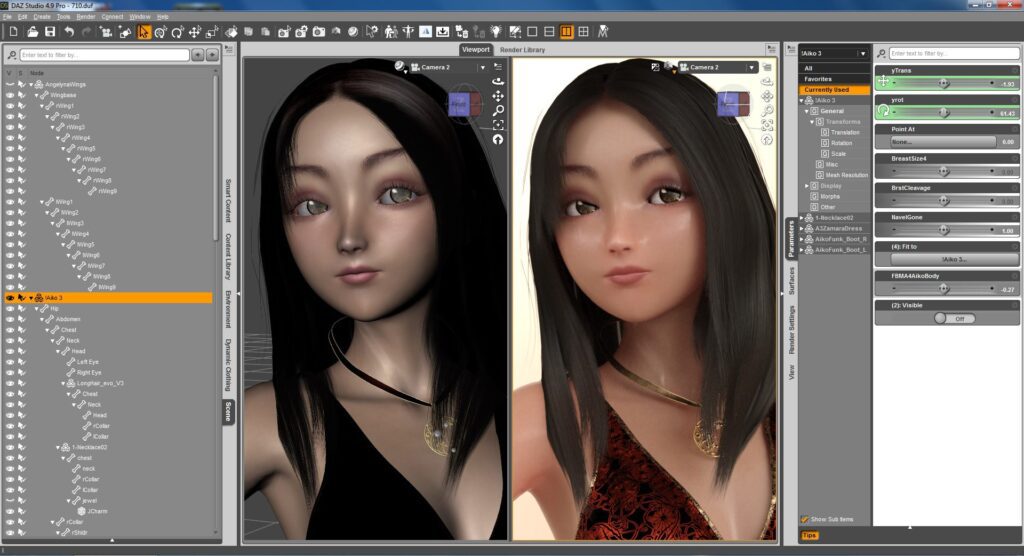
- Daz Studio is free (with microtransactions for extra models and backgrounds) and best for character posing and scene mockups.
- Unreal Engine can be used to make excellent backgrounds, but since it’s intended for games, there’s a learning curve involving a lot of things you might feel distract from your art itself.
- Sculptris is the premier free 3d sculpting program. It’s no longer updated—offered as a legacy download with no support—but the price is right.
Paid:
- ZBrush is the reigning king of 3d sculpting. Definitely the most common tool you’ll see integrated into digital painters’ workflows for things like character art.
- 3dCoat is a far cheaper, up-and-coming alternative that’s making a lot of waves in the production industries. Side note: sculpting programs work best with tablets, so if you’re in the market for one, we make those…
- Maya and 3DSMax are the industry standards for dedicated character and object modeling. They’re very expensive, and if you’re strictly a 2d artist, you almost definitely won’t be using these, but any decent list has to include them.
- Modo is a simpler, faster, and cheaper version of the above.
- Poser is like Daz, but paid, and with less user-created content. It makes up for it by being more intuitive and arguably more flexible, however.
Preparing a 3d Model
We can’t cover the actual process of obtaining one of these programs and learning to use it, so let’s skip ahead a bit. You’re at the point where you have a nice, finished model ready to go. What’s the best way to render it for use in a painting?
The specific settings for what light and color settings to use vary wildly from program to program….
Sidenote: Render Engines
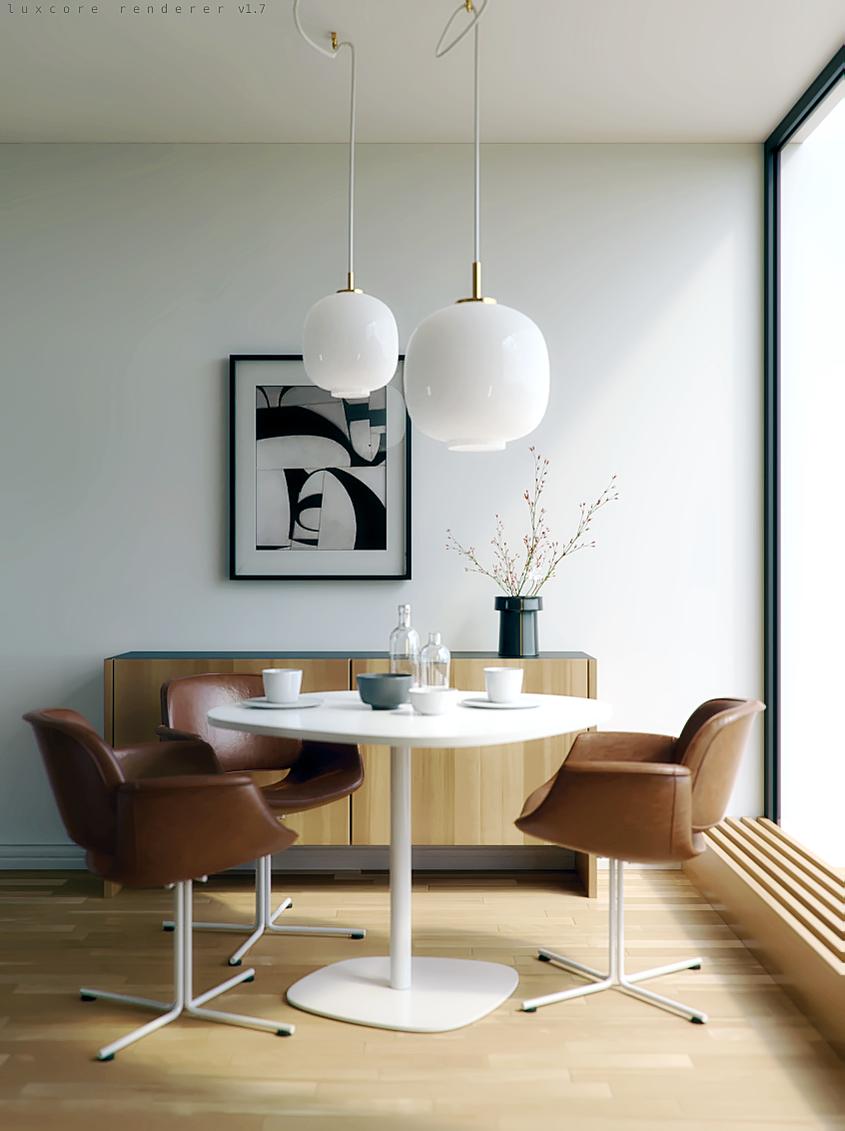
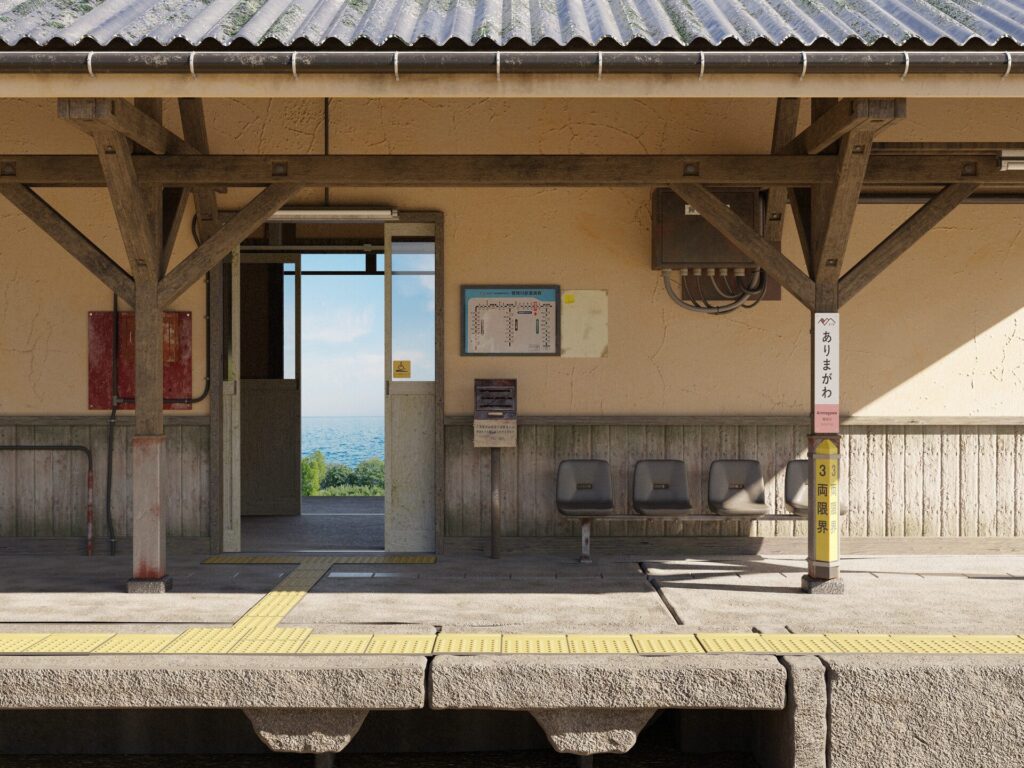
If you’re new to 3d, these are the programs that turn your image from a blocky shape in a program to a pretty finished picture, allowing you to set lighting conditions and the details of how you want your exported image to look. They can be bought in packs with 3d software, or as standalone programs that you load your model files into. The most popular one is VRay, but there are some freeware options available like LuxRender and Kerkythea.
Of particular note to digital artists, are non-photorealistic, or “toon,” shaders. These are sub-programs within most rendering engines that render your image in a “cel” style with hard edges and more vivid colors. These come bundled with some programs like 2019’s Z-Brush, or they can be purchased separately, often as a setting or plugin for a standalone render engine. Freestyle is a freeware program packaged with Blender that renders clean lineart, which might prove invaluable for things like comic art.
…But overdoing it might be counterproductive. When you plan to paint over them, 3d models are best used to model shapes and shadows, with decisions about the specifics of stylization, lighting, and coloring made during the painting stage where they’re easy to change.
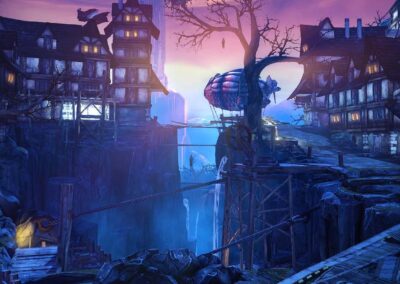
It’s tempting to use a photorealistic rendering of your 3d model on the background of a beautiful sunset as your base, but that’s a hindrance if you decide you want to change the lighting or color palette once you’ve added the characters and other elements of your painting. Especially when you’re new to integrating 3d and 2d art, you want to start simple so you can make most of your creative decisions during the painting process: An image that just gives you the object’s shape and lighting might be best.
Bashing
“Photobashing” is the term for cutting and pasting photos into digital compositions: you could call it a subcategory of photo-manipulation. Usually, 3d integration follows the exact same process: taking a high-resolution image of your model, and matching it to your scene’s perspective. After that, you’ll need to make tiny adjustments to the size, adjust the coloring to match your scene’s light, airbrush some shadows over it, and clone stamp some things here or there. This is called “postworking.”
You can theoretically do this with any image editing program, but Photoshop has the most tools to facilitate it.
Sidenote: Photoshop Integration
The latest couple iterations of Photoshop CC, as well as Clip Studio Paint, will let you import several 3d file types directly into the program, rotate and resize the model on your canvas, and pose it if it’s a rigged character.
This is essentially the same as rendering a transparent PNG of the object and pasting it in, but it simplifies a crucial and potentially annoying step.
Photoshop is also often used as a method of post-production for purely 3d artists, using it to add textures and backgrounds to renders of their models.
Overpainting
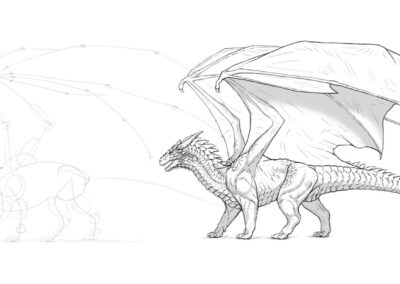
Tracing entirely over your 3d model so the result matches your drawing/painting seamlessly: Another standard practice in concept art.
One of the biggest advantages of overpainting is that you can make unlimited changes to the model, adding details, textures, and things like wear and tear, that you might not have the 3d skills to pull off in the modeling stage.
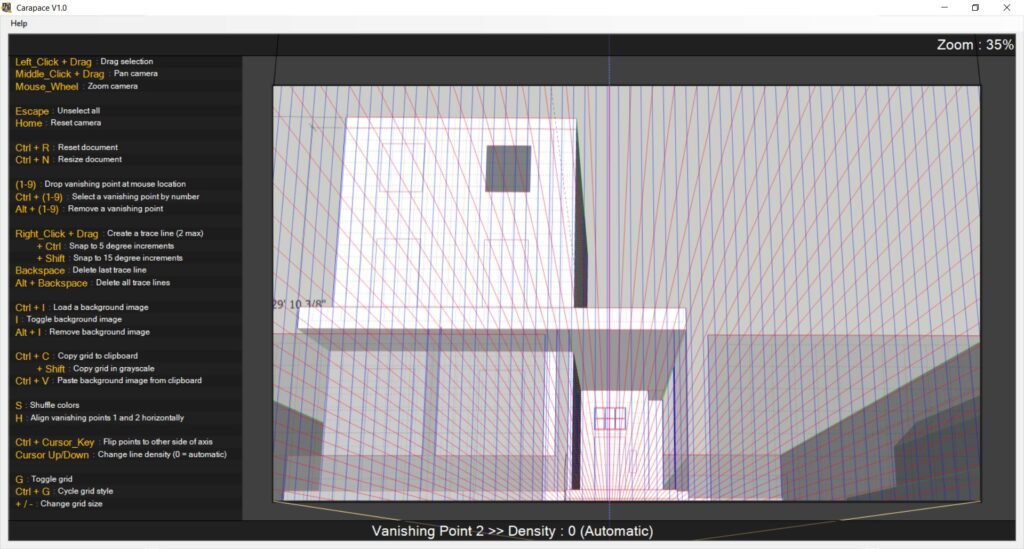
Tip: If you’re designing backgrounds or buildings in 3d, and the program you’re using lets you create 2d grids over your images. It makes drawing your own additions ten times easier.
There’s also an abandonware* program called Carapace that lets you draw vanishing point grids over the exported images of your 3d models. It’s invaluable for establishing the perspective for a drawing.
*Pulled off its original site, but still made available by fans.
Character Models
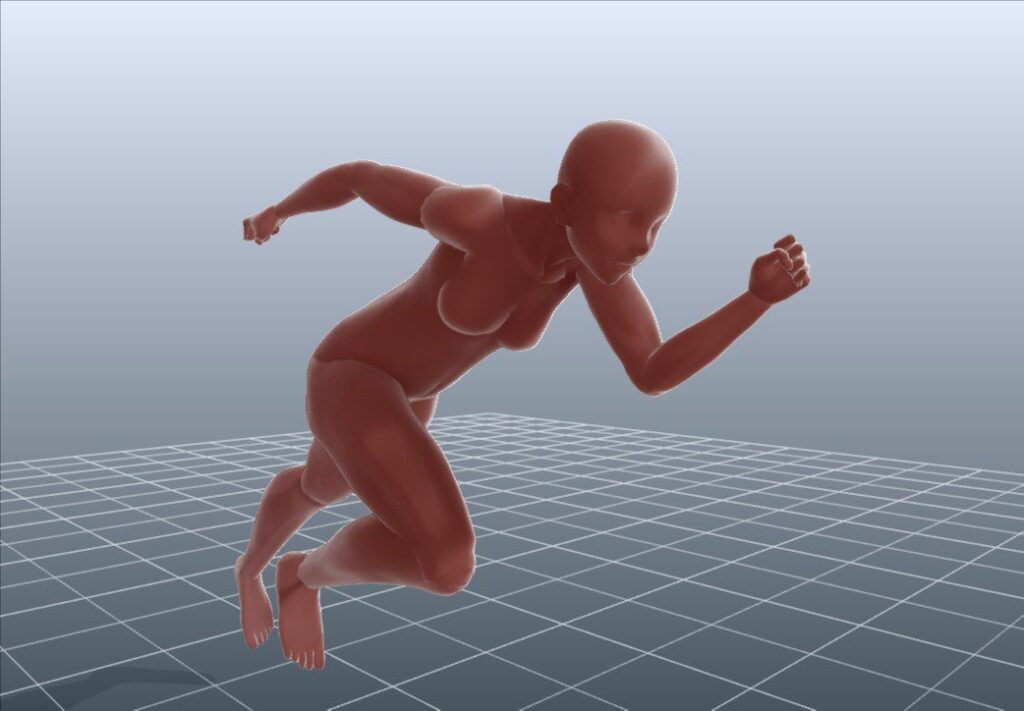
This might be just my opinion, man, but when it comes to static digital art (animation’s a different ball game, where it’s often used by necessity) it’s best to use 3d models of the human figure as reference: it’s inadvisable to trace them unless you’ve sculpted them yourself with a strong knowledge of the human figure. As simulations of moving bodies, 3d model poses and faces are usually stiff, and you don’t want your drawing to inherit that stiffness—or any of the problems that come from cheap 3d programs that don’t simulate fabric creases or flesh squishiness.
When it comes to using 3d to plan out complex poses and angles, I’m partial to a freemium program called DesignDoll. It’s very easy to use, and its mannequins are simple enough to let you create accurate poses in perspective without constraining you.
Web developer Herman Martinus has also created an excellent online alternative called JustSketch that allows you to view a couple fully-rendered figures in fantasy dress in addition to the standard mannequins, which are themselves unusually well-proportioned even compared to some paid programs. …And which you still shouldn’t trace.
Seriously, don’t trace them.
Sketchup Models
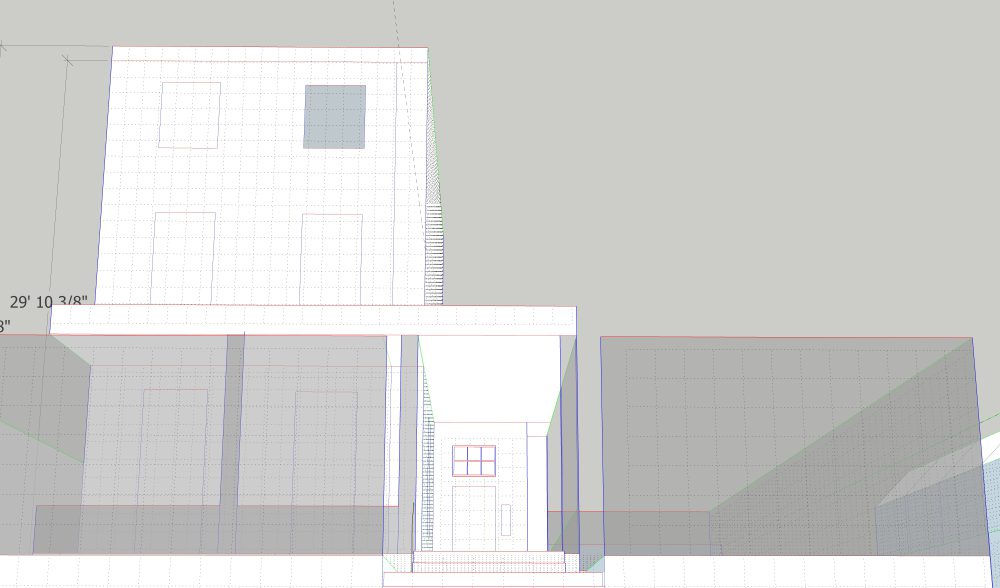
Sketchup has somewhat of a “Baby’s First 3d Program” reputation in the industry, but this is unfair, as it’s phenomenal for the artist who just needs an accurate base for a piece. Its biggest strength is that it deals far more in real dimensions than percentages and “units.” This makes it excellent for making backgrounds that are easy to place characters into as well.
If your character is an even 6 foot, for example, you can place a 6’ marker at the exact position where they’ll be standing, so you can size them correctly.
Granted, there are a few problems with it. For example, its default exporter produces models with hard, jaggy lines and curves that aren’t curves.
There are a ton of custom styles, many of which simulate various hand-drawn art styles, but I’ve yet to find a simple plugin that will export clean lines that are suitable for directly inserting into lineart. I’ve found Sketchup models always require tracing or overpainting for good-looking results.
Clip Studio Paint’s vector tools are great for this.
This is admittedly tedious as h*ck. However, it’s still one of the best and most accessible tools for creating quick architecture, and it comes with a massive “3D warehouse” full of premade buildings and vehicles.
In Conclusion…
No matter how you do it, 3d model integration always needs to be based on a foundation of existing art skill. It takes a firm grasp of the fundamentals to know how to match a model to your scene’s perspective, change or exaggerate the proportions in just the right ways, and paint light and color over it so it doesn’t stand out. But once you have those, it’s the push over the cliff – the “up to eleven,” so to speak” – that can let you create far more realized worlds in less time.
…Or you can just forget all that and slap a filter on it.
Art.
Bonus Resources
If you only need reference, Sketchfab lets you view models in full 360 at different zoom levels. I’ve found it invaluable for drawing faces from strange angles.
Turbosquid doesn’t have full 3d, but makes up for it with a fantastic selection of models with screenshots from every angle, including plenty of free ones..
Pixelsquid, its sister squid, has a free tier that allows you to browse through a library of 3d models with transparent backgrounds and download PNG’s from your chosen angle that you can use for overpainting. You have to pay to remove watermarks and unlock shadows, but once you have the model and a defined light source, it’s fairly simple to paint around those limitations.
If you’re looking for a specific car model, you could do much worse than DMI-3d.


