

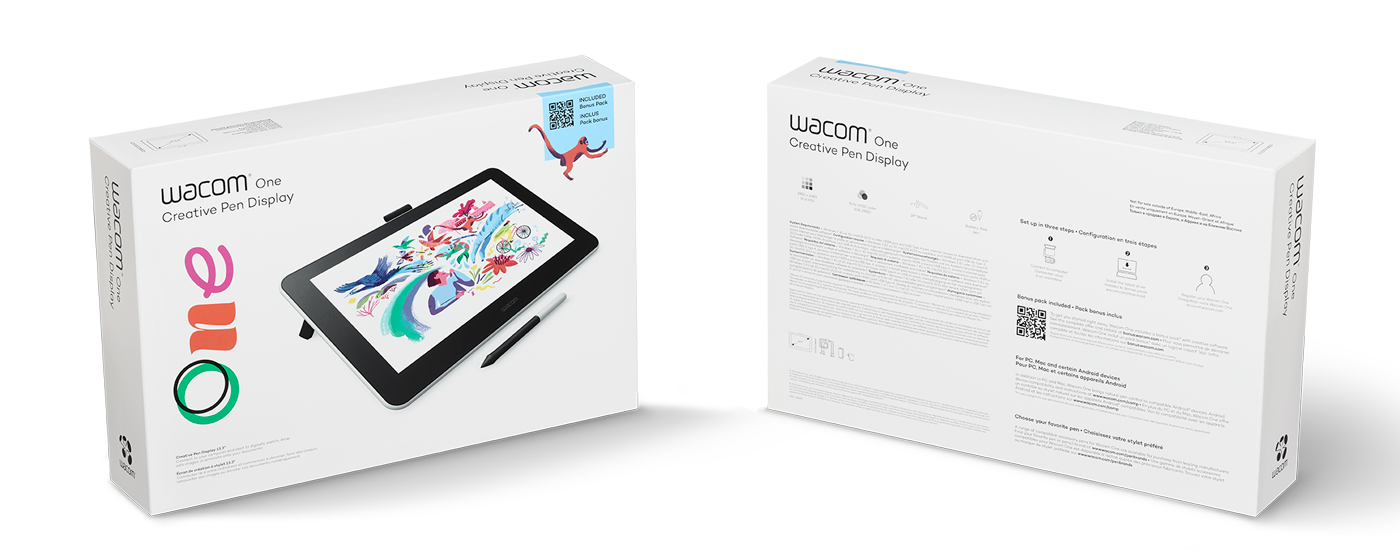
We continuously strive to provide you the best possible performance designed for the way you create. As each and everyone of you is unique and creates in their very own style, we just recently introduced you to the Wacom One creative pen display. So far, we talked about its features and what a great product this is for digital starters, both, creative and non-creative. But we have not yet shown you how to get started. So we have some catching up to do, don’t you think?
First things first: unboxing
In order to retrieve the digital starter kit, we must do, what most of us just love doing: unboxing. Once you pull out the inner box, you are presented with a lot of helpful tips and guides on how to get started. But, let’s be honest, usually we ignore those tips and continue unboxing until we get to inspect the product in detail. What a joyful anticipation. So we’ll lift the top lid of the box and see the Wacom One creative pen display wrapped in a bag of protective cloth. Once we take out the Wacom One, we see the matt screen on the front and two legs on the back. Tip: if you fold out the legs, you will find three replacement nibs and a pit to ease nib removal, when the time has come to replace nibs.

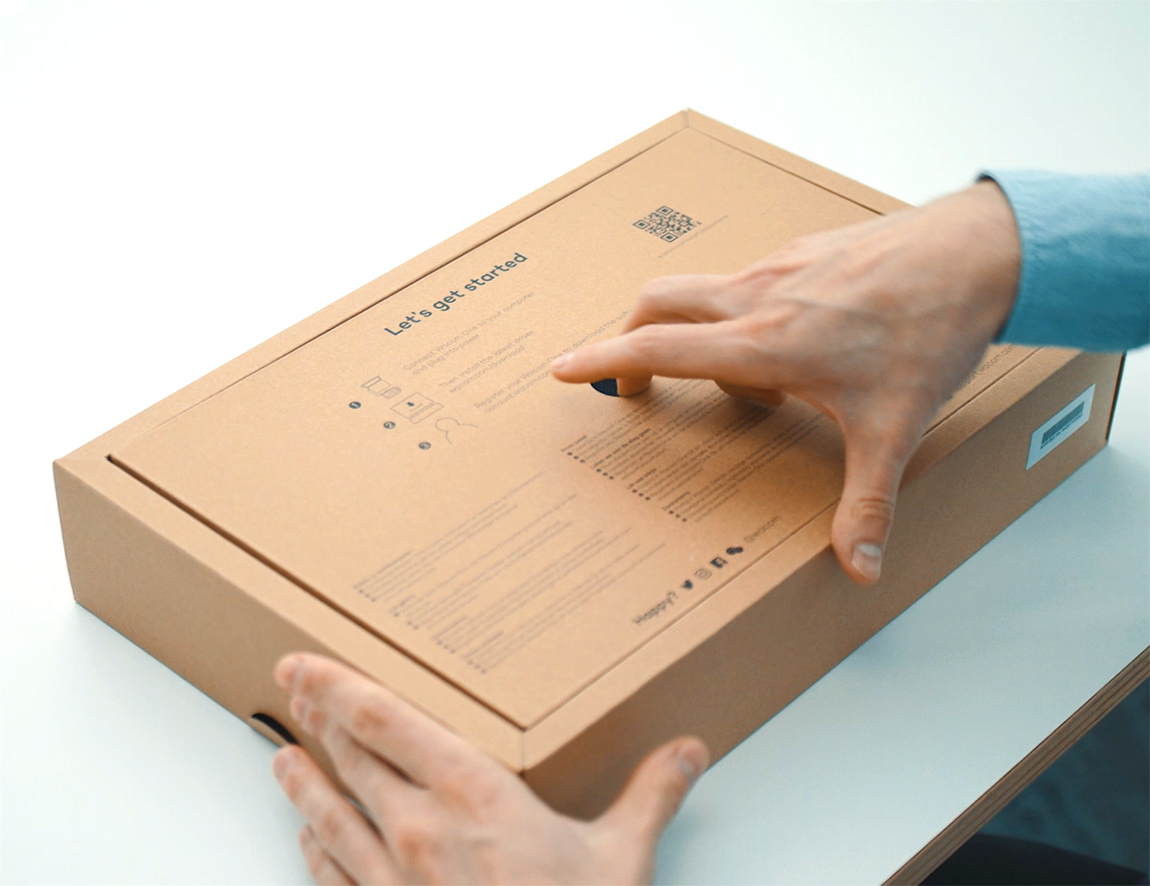
When you retrieved the Wacom One, you will find the Wacom One Pen on the right covered in a sleeve of protective cloth as well. Like the Wacom One the pen has been designed in black and white. And because it belongs to the Wacom One you’ll find a strap on top of this new pen display to keep both together. Next to the pen, you will find another lid with a very simple and visual step by step guide on how to connect and what to do (e.g. download drivers). Opening that lid will reveal the cables you need for the connection, as well as the power plug and exchangeable adapters (for two major types of sockets). You will also find the warranty and a manual with easy to follow step by step guide on how to get started. You see, we cannot wait for the Wacom One to improve your everyday, what about you? Let’s get started.
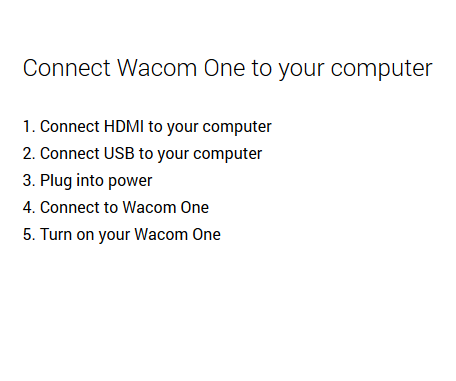
Connecting the Wacom One
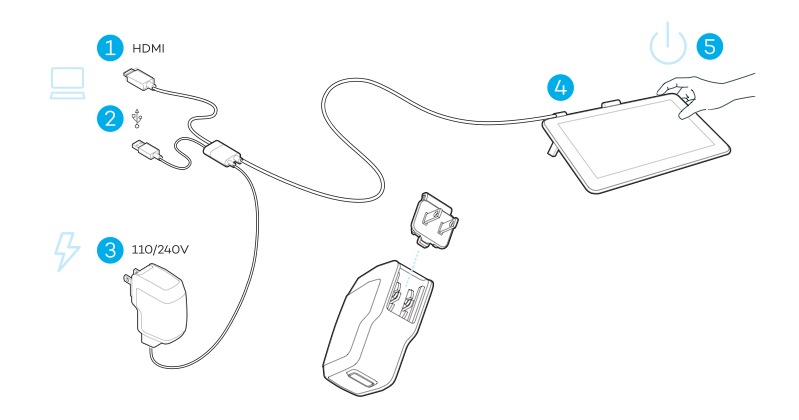
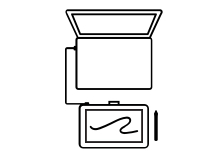 Take a look at the cable. One end is an HDMI output. Insert this end into the HDMI input of your PC, laptop, or MAC. Next, you find the two USB type A outputs, one with a cube and a regular one. Now, insert the regular one into a USB type A input of the device already connected with the HDMI cable. The one with the cube goes into the power plug. Next, choose the adapter you need for your sockets, put them together and plug it in. What’s left, is to insert the USB type C output into the Wacom One input at the top left edge. You can now switch on the Wacom One.
Want to connect the Wacom One to your Android device instead?
Here’s how to:
Download & install driver
With the device you just connected the Wacom One with, open up a browser, provided that you got a proper internet connection, and go to wacom.com > support > downloads
You will need the latest driver for either MAC or Windows. To get it, just click on “download the latest driver” and select the appropriate desktop operating system for your device. A new window will pop up and ask for your confirmation to download the driver and tell you, how to install it. Tip: installation will require a restart, so it might be wise to save any open documents in order to keep the changes. Once the download is done, go to the folder, where it is stored and double click on the file to run it. The Installation Wizard will open and walk you through the different steps until it is time to reboot or restart your device.
The Wacom One will lead you to the Wacom Desktop Center and open the Setup Wizard to walk you through an overview of available configurations. You will get a rough idea of how the pen works, compared to a mouse. Per default, for instance, pressing the button on your pen works like the right click on your mouse. You could customize this and other pen and display settings at any time in the Wacom Desktop Center. Once you’re done with this overview, you could directly access the different settings or download the free software the Wacom One comes with.
Register / sign in with your Wacom ID & get software
 Most of you will already have a Wacom ID to directly sign in with. But, if you are a digital starter and you are new to Wacom (Hey there, welcome! Glad you’re here.), you might first need to create your very own Wacom ID. Once logged on, you’re able to redeem your software, your drivers and much more. Complete the form and tick the boxes underneath. If you want to be stay up-to-date and receive inspiration, tips and tricks and special promotion via newsletter, we recommend you to tick that box as well. Answering the next questions before you hit the “Create Wacom ID” button will help us provide quality products and helpful information tailored to your creativity. Almost done: you still have to confirm your account by clicking on the link of the new e-mail in your inbox.
Use your e-mail address and the password you (just) created for the Wacom ID account to sign in. In the Software Library section of your Wacom ID account, you can now select the Wacom One to redeem the software options it comes with. Next select your operating system, then select the software you want to download and follow further instructions. And voila – your Wacom One is all set up. So what are you waiting for? Let’s get started and get creative.
How to use your Wacom One?
If you followed those steps so far, you are now ready to discover a new world of possibilities with the Wacom One. You could tackle this on your own. Ready to improve your everyday? Here are some tips for a soft start:
How to navigate with the pen?
How to handle pen pressure and button?
How to set up the screen?
How to exchange the nib?
We want to improve your everyday with the Wacom One creative pen display. So stay tuned to the blog to explore more and don’t forget do subscribe to our newsletter.


