

We’ve all been there – you’ve got a great group of friends, but one of them has a partner that doesn’t quite mesh with the rest. Finally, what everyone was quietly hoping for happens: that friend has decided to move on!
Here’s a quick and easy Adobe Photoshop tutorial from Kyle Runciman, Product Marketing Manager at Wacom, on how you can remove that “ex-friend” from a photo. Watch the video below for the tutorial, or read on for a summary. Don’t forget to use your Wacom Intuos tablet to make the selecting and masking a breeze!
Tips and tricks on how to completely remove a person from a group photo.
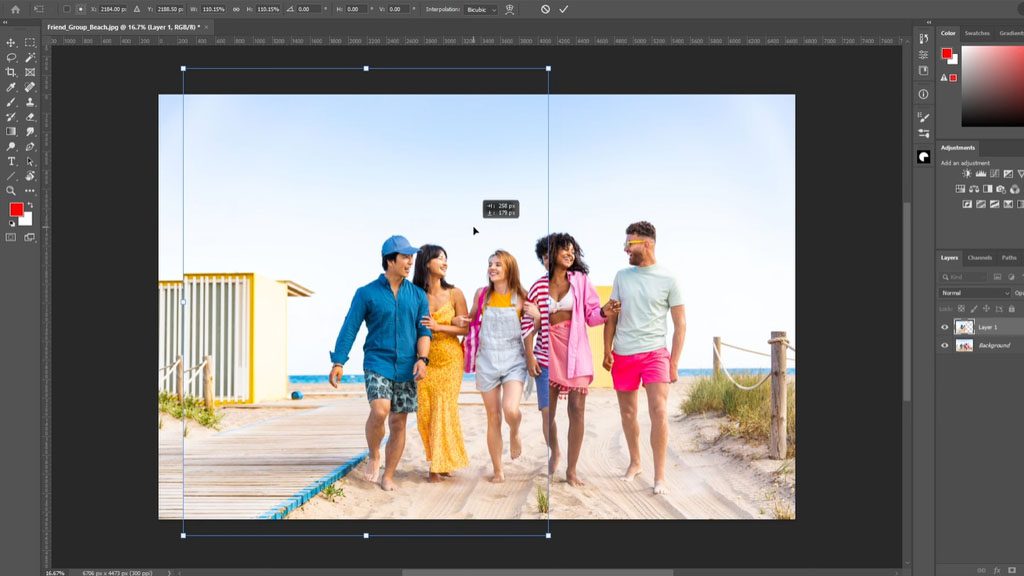
Note: not every group photo is created equal. Some are going to be way more difficult than this. In this example here, we’ve got a group of six people walking on the beach. We’ve got a nice blue sky, with not too much cloud or sunlight to deal with. If there’s more complexity, you might need a more complex process.
Also, enough time has passed where it’s almost certainly safe to remove this person from the image, but just in case they come back into the picture – literally – create a duplicate of the original and keep that as your safety net.
So there are three main areas we’re going to look at in this process.
- Borrowing from other areas of the image
- Stacking layers and using layer masking to hide certain things
- Final cleanup with shadows
Here’s our original image:

Borrowing from other areas
The first step is to grab the rectangular marquee tool. Grab a large selection of everybody on the left that we want to keep in the photo. Hit Cmd-J or Ctrl-J to place that selection on a new layer.
Then hit Cmd-T or Ctrl-T to to open up the transform tool. Hold shift grab a corner, and pull the people on the left over toward the people on the right, covering the “ex,” so everyone appears to be at a uniform scale. Then reposition a bit by dragging.
Stacking layers and using layer masking
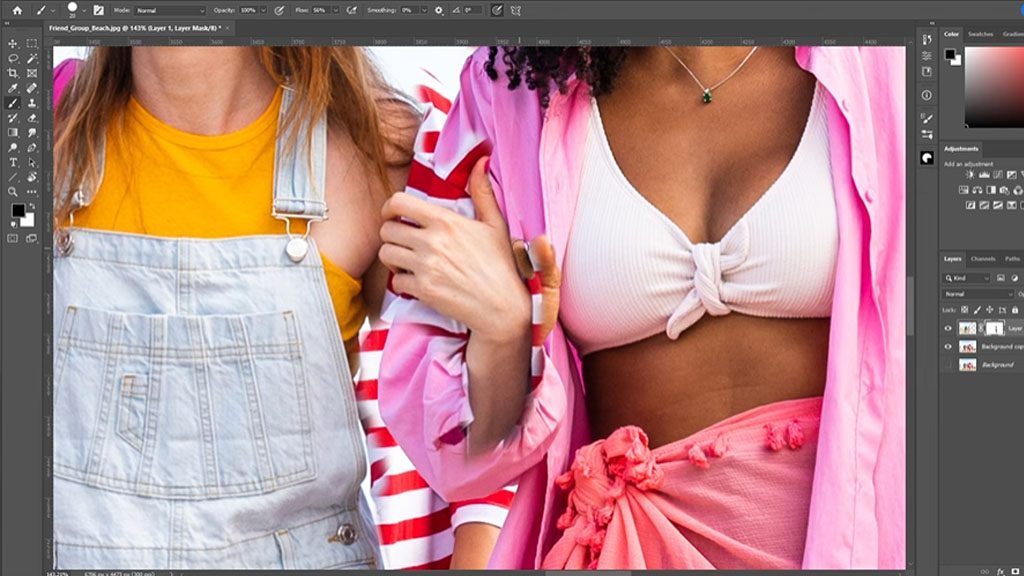
Next, add a layer mask to your new layer by clicking on new layer mask icon in the bottom right. That will reveal a white thumbnail next to that layer, which is our mask. Now with layer masks, we know that white reveals and black conceals. So we’re going to grab the black paint brush, making sure the pressure sensitivity icon is selected, which changes the size of the brush depending on how hard we’re pressing the pen down.
Zoom in a little bit and paint with the black brush to quickly hide as much of the “ex” as possible – remember we can always come back and fine tune this. Zoom back out to make sure you’re not missing any information that we want to have in the final image. And then we can sort of really zoom in and get the fine detail work around the hand. If you hide too much, switch to a white paint brush to reveal anything you didn’t want hidden.
The person is almost completely removed, but there are a couple more things – gaps between people can be solved by copying elements of the background such as the sky or, in this example, the yellow structure in the background, and using layers to keep bits and pieces of the “ex” hidden.
You’ll also have a line in the background where the initial copy and paste happened – that can be solved with some simple but diligent erasing!
Cleanup with shadows
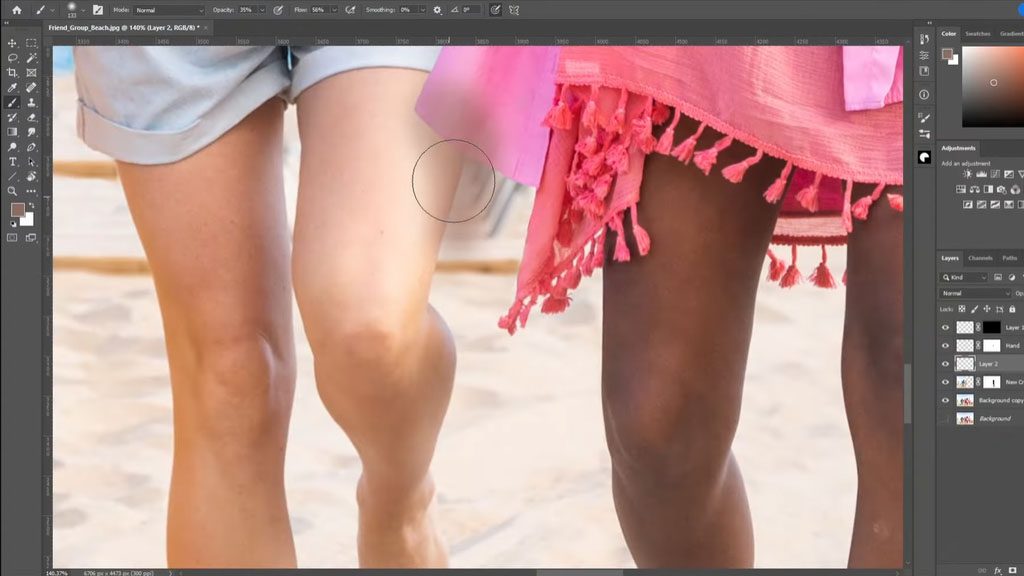
Finally, we’re going to have to work on the shadows to make the new image look realistic. Create a new layer and use a big, soft airbrush. Take a sample from an existing shadow for its color, just so that the skin tones are similar the shadow.
Based on where the sun is and where shadows already appear, you’ll just need to paint in some shadows, primarily between the two people in the middle who were smooshed together. Build up some color and some shade. You can erase with a hard eraser to cut back on the overspray. You might want to switch the layer to a multiply blend mode, as well – this does make your shadow a little bit darker, though, so we can crank down the opacity a little bit.
The final product
And there we go. The distant memory has been removed! We borrowed some elements from the pictures on either side, some sky, scaled up the three friends on the left, brought them over to the couple, used layer masks to paint and remove the person in the red and white shirt, cleaned up some of the edges, added some shadows, painted in some details.
Not all these projects are going to be as straightforward as this. Some might be way more difficult. But this is a pretty good idea of how we go about removing somebody from a photograph!


