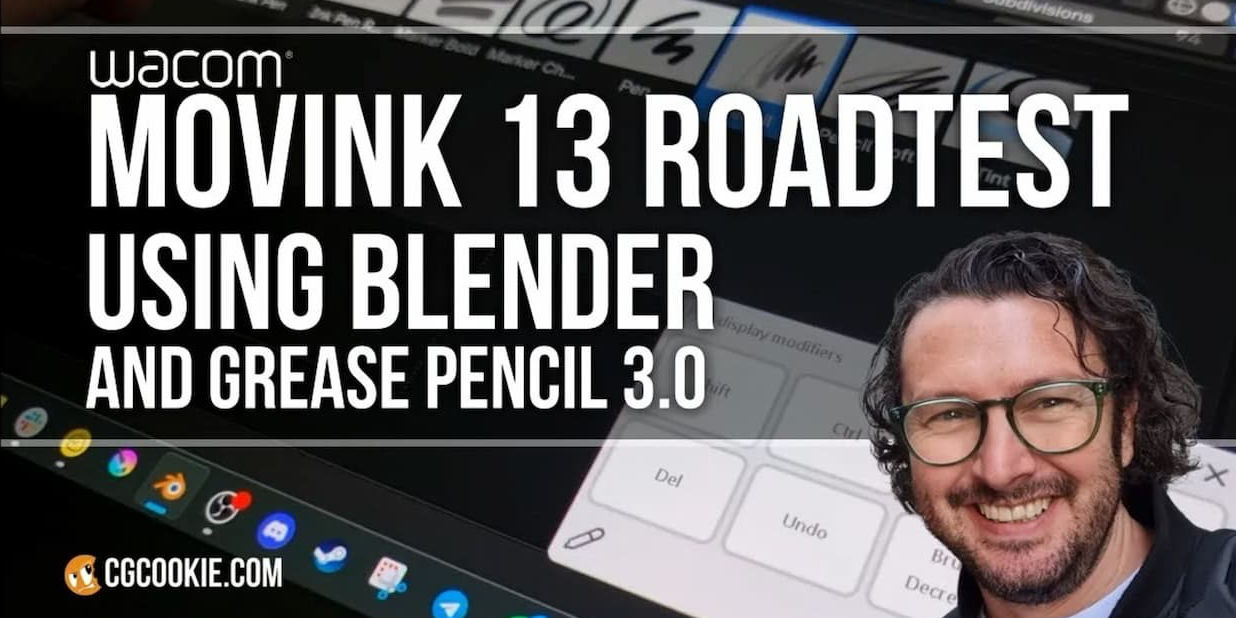
Cet article est rédigé par Paul Caggegi de CG Témoin. CG Témoin propose une multitude de tutoriels et de formations en ligne sur le logiciel Blender, avec des instructeurs experts comme Caggegi. En tant qu'expert du crayon gras, Caggegi a testé le nouveau écran de dessin Wacom Movink 13 OLED pour voir comment il s'intègre dans son flux de travail Blender. Regardez son commentaire vidéo ici ou lisez la suite.
Pourquoi utiliser un écran à stylet avec Blender?
Je suis illustrateur et passionné de Blender depuis de nombreuses années. J'ai vu l'ensemble des outils de Blender se développer et se diversifier pour inclure non seulement la modélisation, la texturation et l'animation, mais aussi la sculpture et même le dessin 2D.
Les tablettes graphiques et les écrans à stylet font partie de mon studio depuis longtemps, mais ce n'est que récemment que je les ai utilisés quotidiennement avec Blender.
Comment un écran à stylet améliore les flux de travail de Blender
Si une souris et un clavier peuvent suffire pour la modélisation, l'animation de base et la manipulation des nœuds, il est essentiel de disposer d'un outil qui offre plus de précision et une sensation intuitive pour ces autres tâches.
Wacom m'a demandé d'évaluer son nouveau écran à stylet portable Movink 13 pour voir comment il fonctionnerait avec le crayon gras de Blender.

Essai de l'écran à stylet Movink 13 pour Blender
D'aussi loin que je me souvienne, Wacom est une marque synonyme de tablettes de dessin et d'écrans à stylet. Pendant des années, j'ai été un utilisateur inconditionnel de le Intuos Pro - il était abordable, facile à configurer et à personnaliser, et je n'étais donc pas étranger à l'utilisation d'un outil de dessin pour naviguer dans l'interface de Blender de cette manière.
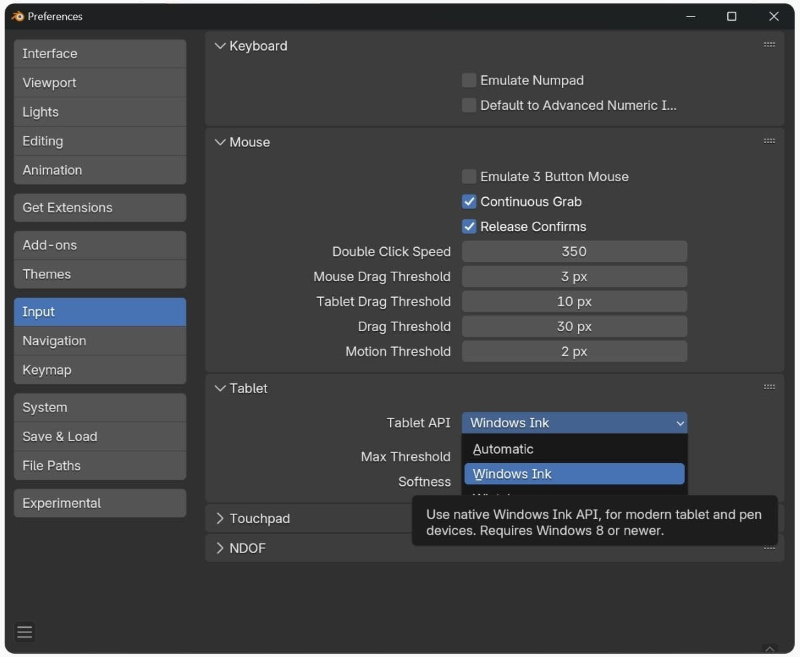
Le téléchargement des pilotes appropriés pour votre système d'exploitation est la première étape évidente pour connecter n'importe quel périphérique de dessin. Si vous êtes sous Windows, ouvrez vos préférences Blender et réglez votre Tablet API en conséquence.
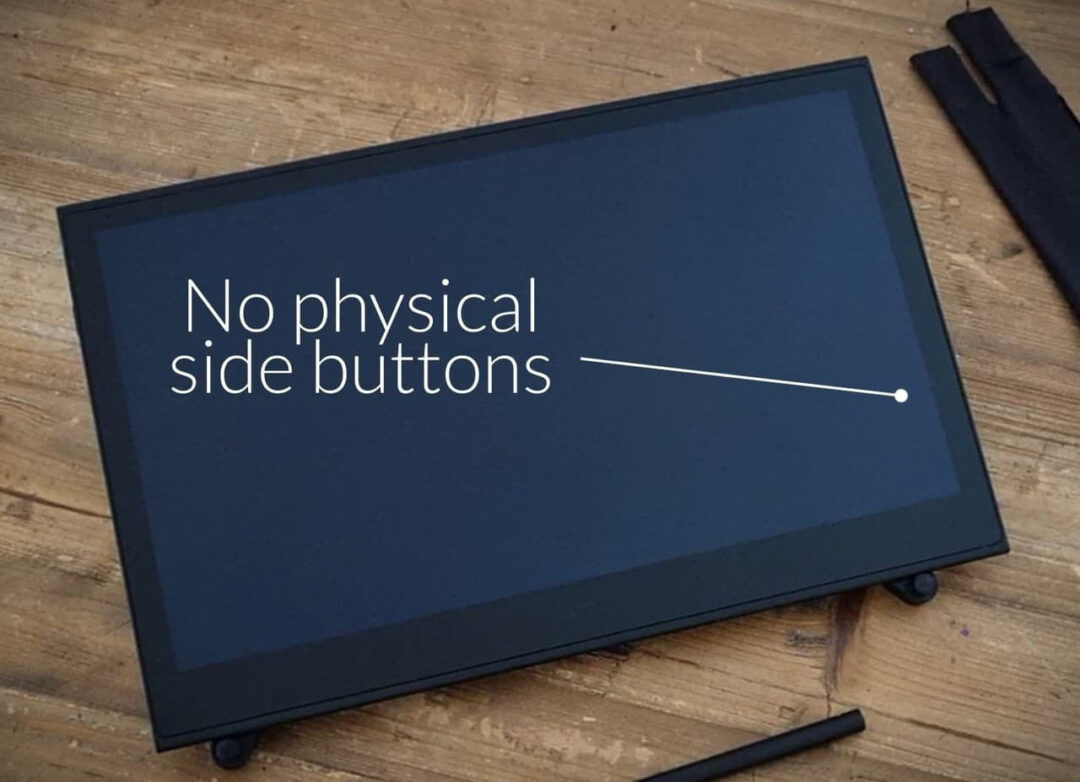
Un écran à stylet signifie évidemment que vous pouvez interagir avec Blender plus directement, mais cela n'est pas sans poser des problèmes particuliers, à savoir les boutons de commande physiques et les touches de raccourci, et comme le savent déjà tous les utilisateurs chevronnés de Blender, les touches de raccourci, c'est la vie. Mais le Movink n'a pratiquement pas de boutons!
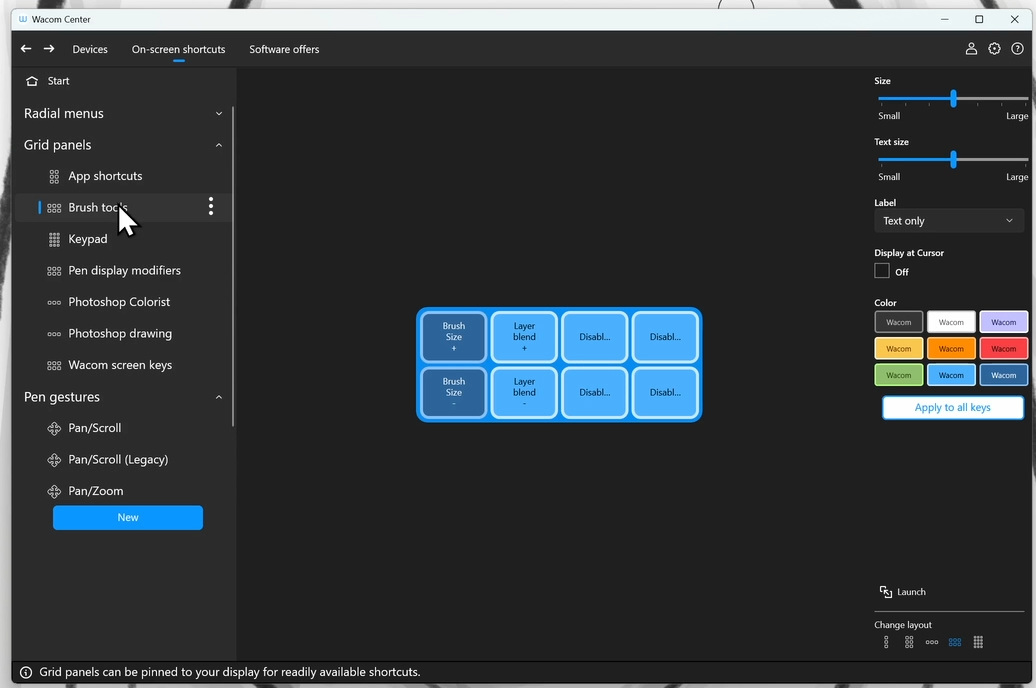
Pas de panique! Si vous connaissez d'autres écrans à stylet, vous savez que le logiciel du centre de contrôle vous permet de personnaliser les boutons à l'écran, les menus radiaux et les zones tactiles qui vous permettent d'accéder à toutes vos touches préférées d'un seul coup d'œil.
Combiné aux boutons du stylo, ce système permet de dessiner rapidement et intuitivement, et le Movink ne déroge pas à la règle.
Le Movink 13 est conçu pour être portable. Il peut étendre les fonctionnalités de votre ordinateur portable existant ou servir d'écran à stylet confortable pour votre ordinateur de bureau. Voici une courte liste de configurations que j'ai expérimentées :
Configuration du bureau pour Wacom Movink 13 :
J'ai remplacé ma tablette à dessin par la Movink, mais j'ai immédiatement rencontré quelques problèmes techniques - le plus important étant que j'ai découvert que mon PC ne prenait PAS en charge l'affichage sur USB-C en mode Alt!
C'est un problème si votre processeur n'a PAS de carte graphique intégrée. La solution la moins chère (autre que le remplacement de votre GPU par une sortie USB-C affichage port, ou la mise à niveau de votre PROCESSEUR vers quelque chose avec des graphiques intégrés) est de prendre un convertisseur qui peut prendre les signaux d'alimentation, USB et HDMI et les combiner pour que votre Movink reçoive et réponde correctement.

Option A : Configuration standard de l'ordinateur portable
La plupart des ordinateurs portables, en particulier les ordinateurs Mac, sortis ces dernières années devraient être équipés d'un port USB-C ou au moins d'un port USB pouvant être commuté en mode Alt. Vous pourrez donc connecter votre Movink 13 au moyen d'un seul câble et l'utiliser comme un écran externe - en miroir ou étendu.
Ma préférence va à l'écran étendu et à l'écran principal de Movink lorsqu'il est connecté. Cela réduira le dépannage pour les superpositions et les paramètres tactiles.

J'utilise également un soutien optionnel, mais celui-ci me permet de travailler librement ET d'utiliser l'écran de mon ordinateur portable comme second moniteur, idéal pour les références ou pour consulter des applications de travail pendant que vous dessinez.
Option B : Utilisation portable
Si je suis en transit ou dans une situation où il n'est pas idéal d'avoir mon ordinateur portable ouvert, je règle les paramètres d'alimentation de mon ordinateur portable de manière à ce qu'il ne se mette pas en mode veille lorsqu'il est fermé.

Je peux désormais transporter mon ordinateur portable dans mon sac à dos, ou l'utiliser comme table pour le Movink et faire des croquis comme si j'étais sur un appareil tactile portable.

Raccourcis favoris d'affichage au stylet pour Blender
Comme je l'ai mentionné plus haut, les touches de raccourcis sont une partie importante de la navigation dans l'interface de Blender.
Le Movink partage des paramètres de personnalisation similaires à ceux d'autres écrans à stylet tels que le Cintiq et vous pouvez les agencer de toutes les manières possibles en fonction de vos besoins. Il s'agit de mon ensemble essentiel correspondant aux deux zones latérales du biseau :
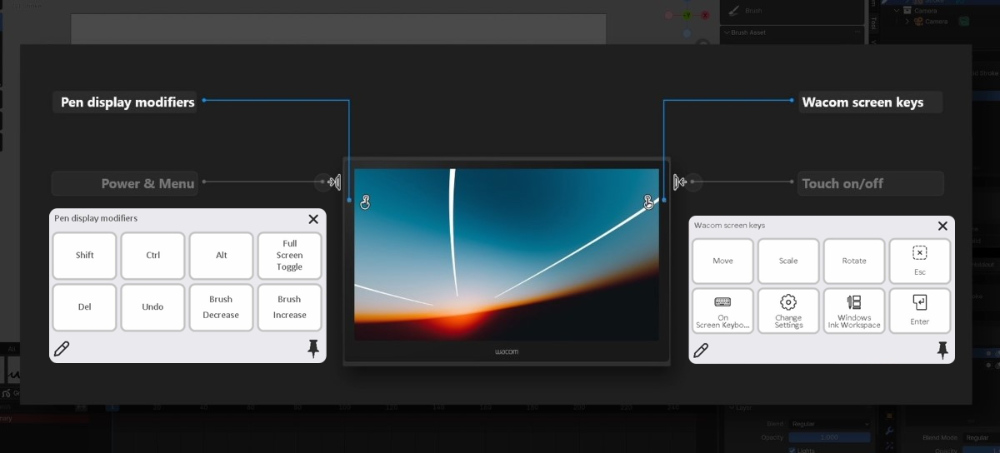
Les boutons du stylet sont également cartographiés pour une utilisation essentielle :
- Bouton de l'haut : CTRL-TAB
- Bouton du milieu : Clic de la souris du milieu
- Bouton du bas : Clic droit de la souris (par défaut)

Je dispose désormais d'une série d'options pour basculer entre les modes, déplacer, zoomer, augmenter/diminuer la taille des pinceaux, et même passer du dessin à l'effacement, mais en utilisant une combinaison de fonctions de la souris mappées sur le stylo, et de touches de modification au moyen de mon quadrillage de Modificateurs de l'affichage du stylo.

Aucun clavier n'est nécessaire - mais même si c'est le cas (pour, par exemple, étiqueter des calques), j'ai conservé l'option On Screen Keyboard (clavier à l'écran) dans mes touches d'écran Wacom.

En conclusion :
J'ai beaucoup apprécié l'utilisation du Movink 13 avec Blender. J'ai réussi à créer des croquis rapides dans différentes configurations, et je l'ai même emporté avec moi dans des cours de dessin d'après nature, où les appareils numériques sont de plus en plus répandus.
Si vous êtes à la recherche d'un écran à stylet, vous serez heureux d'apprendre qu'il offre un bon équilibre entre le prix et la portabilité, et surtout, qu'il fonctionne bien avec Blender!
À propos de CG Témoin
CG Témoin est une ressource en ligne pour tous ceux qui souhaitent apprendre la 3D. Apprenez à votre rythme grâce à des cours approfondis dispensés par des instructeurs professionnels, qui possèdent une vaste expérience professionnelle dans le monde de la 3D et sont également d'excellents enseignants. Une adhésion à CG Témoin vous donne un accès instantané à chaque cours, que vous pouvez écouter en continu ou télécharger pour travailler hors ligne. Vous pouvez également accéder aux commentaires des enseignants, aux téléchargements de fichiers de projets et à une communauté d'entraide.
🍪 Vous voulez améliorer vos compétences en matière de crayon gras Blender? Commencez par notre cours d'introduction GRATUIT DRAW!

