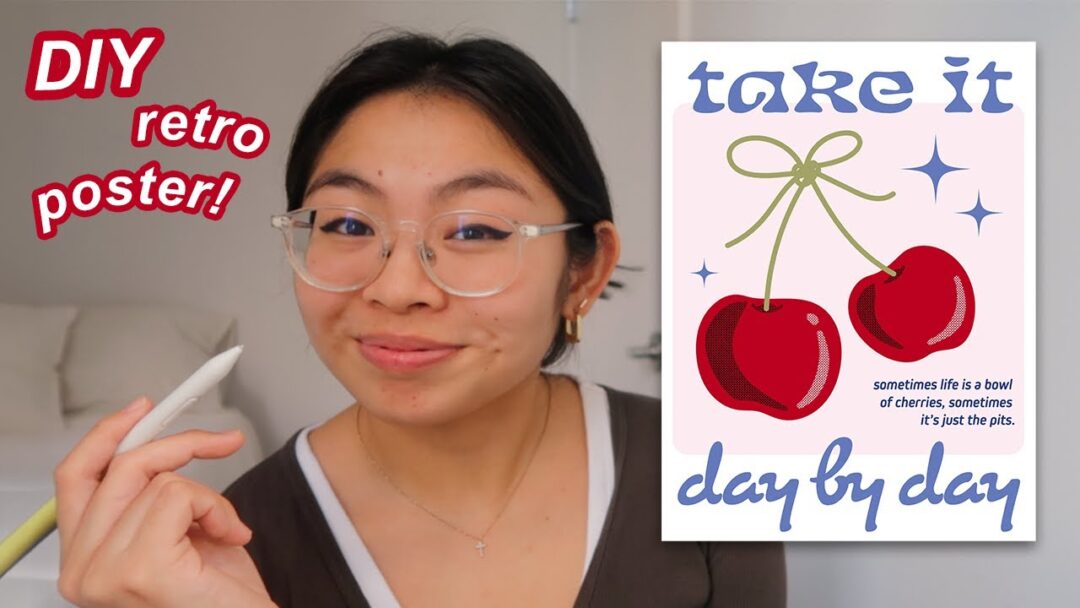
The updated Wacom One collection of pen displays and tablets debuted back in 2023, along with a diverse array of customization options and accessories. We adore Joli Noelle David’s infectiously warm personality and openness to sharing her knowledge as a design student at UC Davis on her YouTube channel. With that in mind, we sent her one of the new Wacom Ones — the medium pen tablet version — to get her thoughts and impressions.
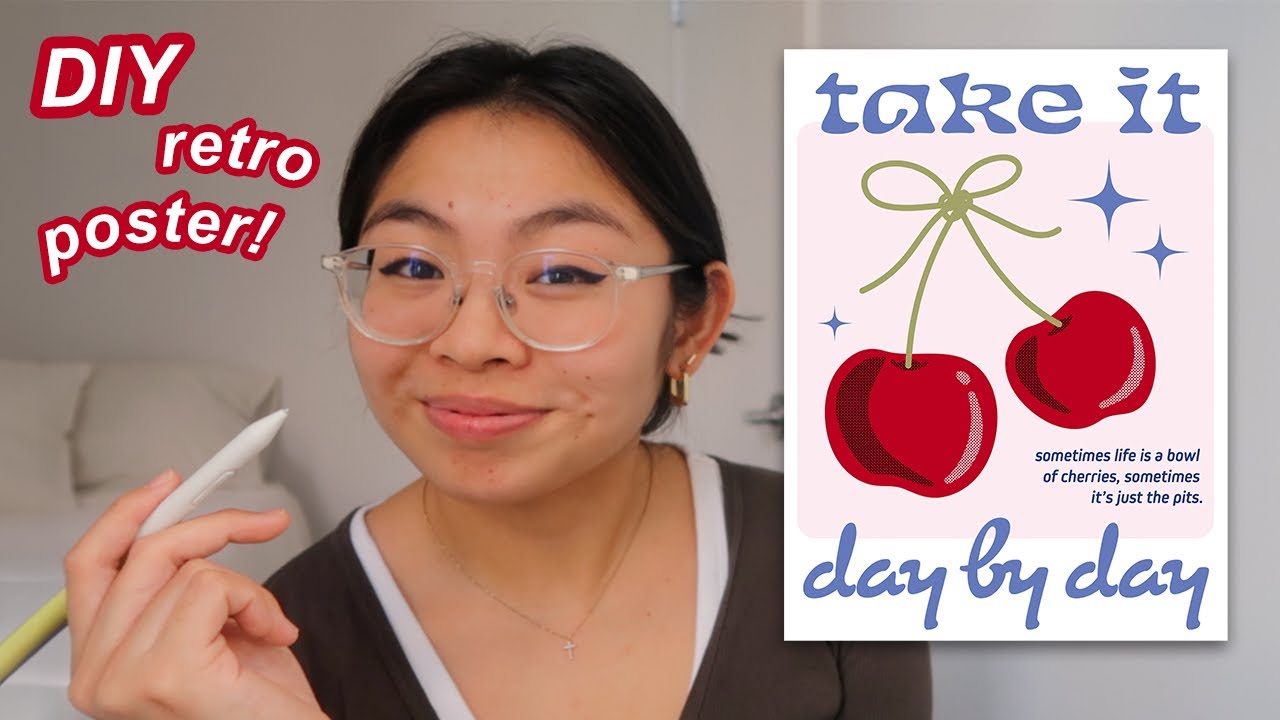
In the last post and video, she explored a beginner’s approach to digital calligraphy using the pen tablet. In the below video, she walks through her process for creating a retro-style poster using the Wacom One and Adobe Illustrator software. Watch the video below, or read on for an outline.
Creating a retro poster design in Adobe Illustrator
This project is a fun way to sharpen your skills that makes the most unique wall decor for your space, and it can be a gift for your loved ones! I’m going to be creating a motivational poster featuring two cherries; but you can follow along to create your own poster.
Joli’s process:
- Get inspiration from Pinterest, Google images, or elsewhere online. This will help your ideas flow and help you figure out the style you want to go for. I love the look of retro posters and vintage-inspired graphic art, so that’s what I will replicate.
- Open a new file in Adobe Illustrator and set the size you want. I used a poster preset (1296 x 1728 pt).
- Start by using the rectangle tool for the background and fill it in. I used a pastel pink colour.
- Using the Brush Tool and with a Monoline Brush selected, sketch out the rounded shapes of two red cherries. I love the irregular/imperfect look, so no pressure to make these perfect! Adjust your shape using the Direct Selection tool.
- Sketch the stem and bow shape with a green colour.
- Select the Type Tool and use the top and bottom margins of the poster to write something witty, inspiring, or fun! Have fun with the typography and try out different fonts.
- You can create a smaller text box with a short paragraph or tagline to add more depth and visual interest to the poster.
- Add some texture to the cherries with texturized brushes. I downloaded these vector halftone patterns for free.
- Use the Brush Tool again to create shadow and highlight shapes to the shapes.
- For the finishing touches, add some retro-looking stars! Using the ellipse tool, create a few circles in the empty spaces. Select the circles, then go to Effect on menu bar, then Distort & transform, then Pucker & bloat to make them into 4-pointed stars.
- Export as a PDF or PNG in the highest quality to ensure crisp printing.
- Voila! Just like that you’ve made a fun and unique poster for yourself or a thoughtful, personalized gift for your loved one. If you have a printer, you can print this, go for it — but you may have to go to a print shop like a FedEx Office to print on their high-quality paper options and in your poster size.

About the Creator
Joli Noelle David is a designer with experience in multiple disciplines who enjoys all things creative — including graphic design and digital illustration as well as content creation—to name a few. She recently graduated from the University of California, Davis with a degree in Design, and hopes to use her expertise to teach others how to develop their own creative skills. She believes in a people-centered design approach, and she is passionate about the power of creating with a purpose. Noelle is a big food enthusiast, a lover of dogs, an entrepreneur, a small business owner, and a YouTuber.


