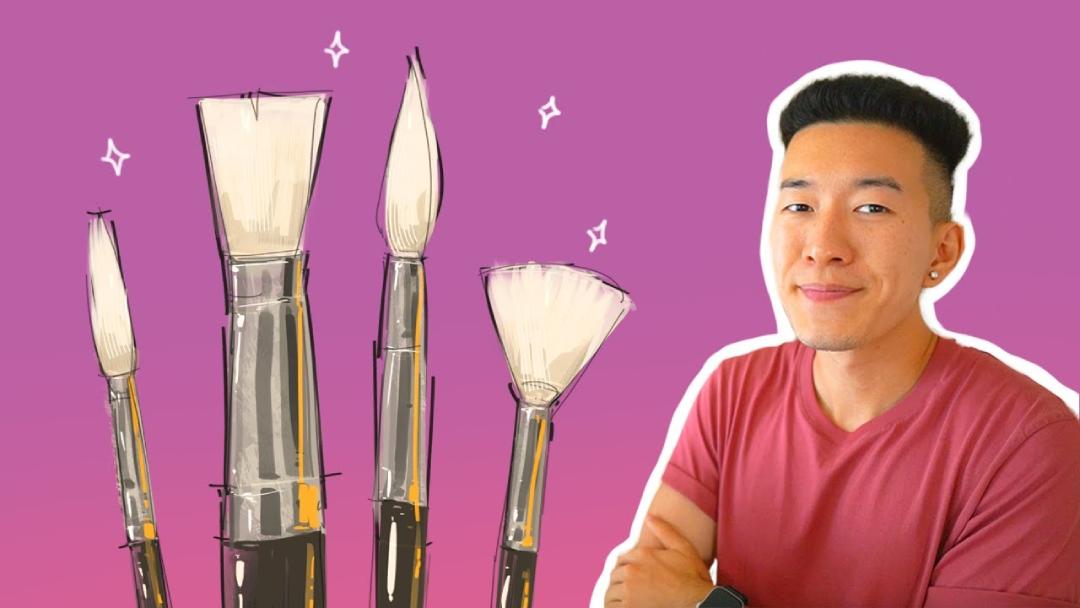
Sam Yang is a digital artist who goes by the name SamDoesArts online. He primarily creates digital drawings on his Wacom Cintiq Pro in an anime/manga-inspired cartoony style that is very popular – his YouTube channel has over 1 million subscribers and his Instagram has over 2 million! Subscribers tune in for a variety of content types, including art advice, challenges, vlogs, and detailed digital art tutorials.
Because of his popularity, Sam is often asked what tools he uses — from his hardware, like his Wacom Cintiq Pro, to his software — often Adobe Photoshop. But some viewers want more detail: what specific Photoshop brushes does he use? In the video below, he answers the question. The below article is based on this video from his YouTube channel. All ideas are Sam’s, and this video is embedded and summarized with his permission.
This is probably the question I get the most on all of my platforms anytime I put my work out there. This question always comes up, so I’ve had enough. I’m going to tell you guys about my brushes, but you’re going to be very disappointed because there is literally no secret to anything that I do. I really do think when it comes to brushes, less is more. I’m going to show you guys my Adobe Photoshop brushes, but I do have a set for Procreate that is available on my Patreon as well.
The first thing that you’re going to do when you start a painting is to start with a sketch, and there are certain brushes that I like to use for that. I’ve got two line brushes. The one thing that I look for in my line brushes for my sketches is control. How easily am I going to be able to communicate an idea in a clear way without the brush fighting me?
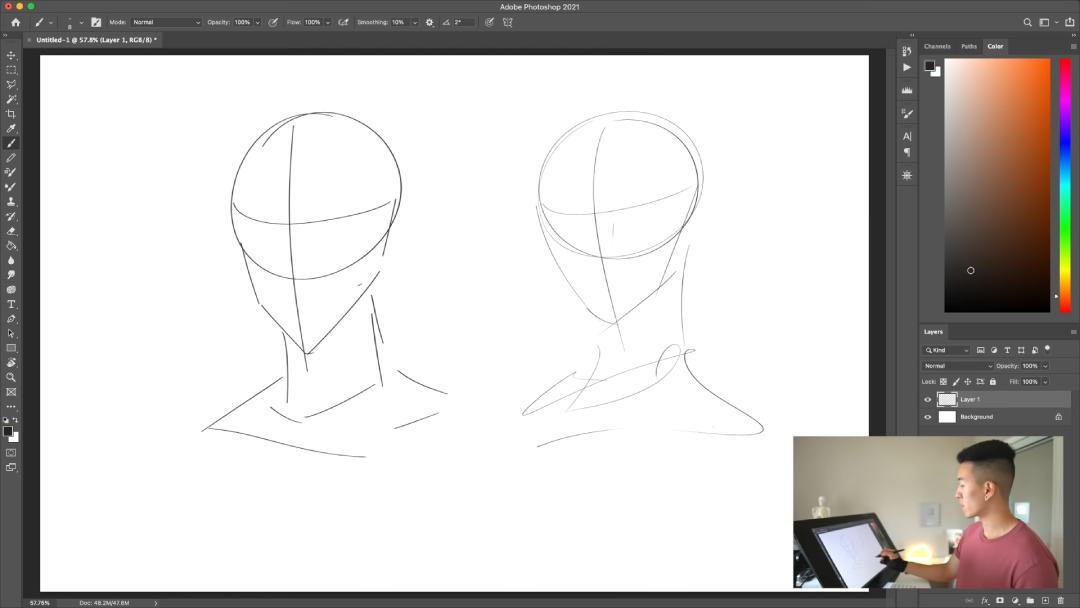
Okay, so there’s no secret to these brushes that I use for sketching, they’re just really small, really thin, they give you a lot of control, and you can say things really clearly with them, that’s it. Then we move on to other brushes like the airbrush and the round brush.
These brushes cover a larger surface. The round brush is actually my primary brush for almost everything that I do, in terms of rendering coloring and all that, because it’s just so simple and it gets the job done. That’s what I like about it. You put down the skin color, you’ve got this nice kind of fade on this brush, and you can also create some really solid hard edges. There are endless possibilities.
I’ve experimented with a whole lot of different brushes throughout my time, practicing my portraits, and honestly, nothing really comes close to the ease of use that I have with a round brush. I just keep coming back to it every single time. I’ve tried different tip shapes, I’ve tried different textures, and nothing really works quite as well as just that simple, clean round brush. It’s amazing, it’s good for everything. Let’s say you want to draw some hair. Look, there’s hair, the round brush, 10 seconds. That’s honestly one of my favorite brushes.
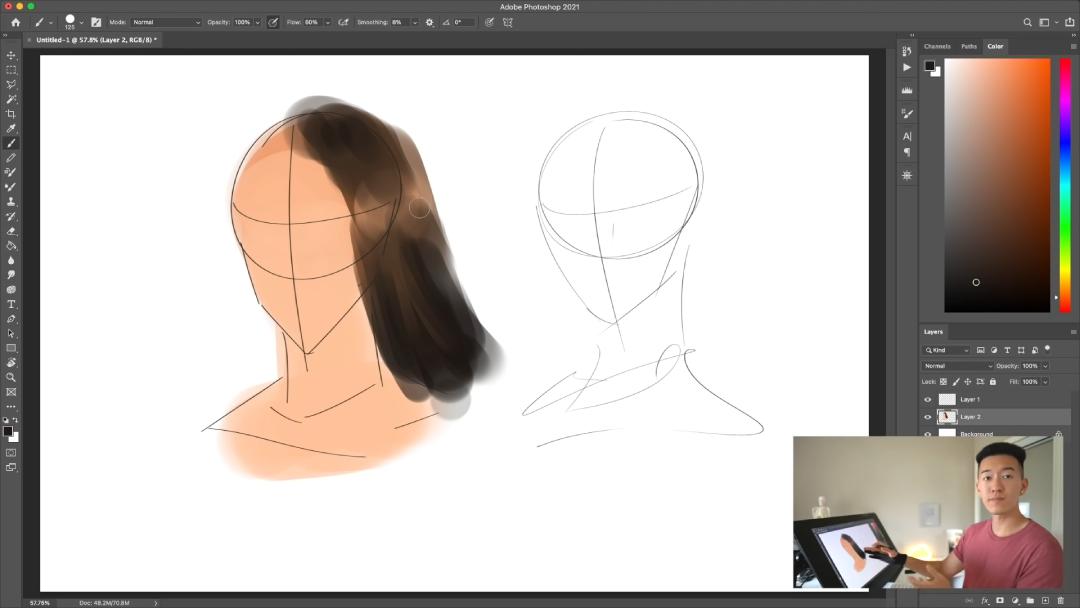
One of the important things to note about the round brush is you want to make sure that you’re using pressure opacity because this allows you to control the brush stroke’s solidity based on how hard you press. The harder you press, the more solid it gets, and the lighter you press, the lighter the brush stroke gets. But if you turn that off, every single line you put down is going to be very solid, so make sure that you have that on, and it’s going to do wonders for you.
For my painting process, the majority of the time is spent on rendering and getting the colors right, and for that entire section, I’m using the round brush. If you look at my process videos on Patreon, you’re going to see that for the majority of the time, I’ve got the round brush selected.
So for those of you guys who are expecting some kind of secret brush, some kind of secret ingredient that allows me to do everything that I do right, and then you come down here … you know, I’ve got some textured brushes, for when I want to get a little bit frisky with my drawings. There are some cool-looking textures in there, but I’ll save that for the end.
There’s also the little half-tone texture that I like to apply to a lot of my drawings. And there’s also the blending brush, which I think is pretty important if you’re trying to render skin. You want a blending brush that is really nice and smooth. If I blend the edge between the hair and the skin, now you’ve got a nice soft, flowy transition, almost like you brush it over with an airbrush.
You can just play around with the settings and tweak it a little bit. I’m using the smudge tool in Photoshop, and you could use the smudge tool in Procreate for this as well. I’ve been using this one since forever, and it works great for skin. It’s just something that I combine with the round brush, which leaves some hard edges.
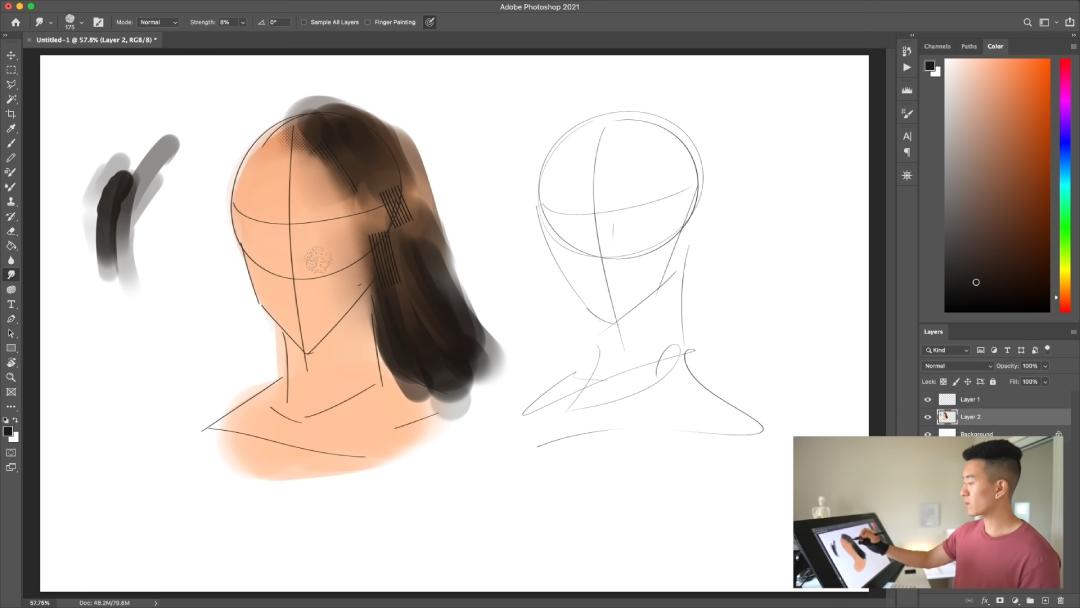
I’ve also got an eraser tool, so my eraser has a little bit of texture. If you erase back into it, you can see there’s a little bit of a brushed-looking kind of texture on my eraser. I just think that it’s a little bit more interesting than just the flat round eraser. Nothing too special about the eraser; it just takes things off the page.
Here’s the secret when I’m painting. I think there’s an optimal number of six to seven different brushes that I use for the entire painting, not including the smudge tool and the eraser. I like to keep it simple like this because each brush leaves a very distinct mark on that page. So, if you put down 20 different textures on a single area, you’re going to get a very crowded, very cluttered look unless you’re going for something that is completely messy and painterly.
It depends on what you’re looking for, but in my paintings, I value clarity a lot. I value being able to see what the subject is and being able to pick up what they’re doing at first glance. So, I don’t need that many different painterly textures, and that’s the reason why I like to keep my brushes really simple, that’s probably also a big reason why the basic round brush plays such a big part in my workflow.
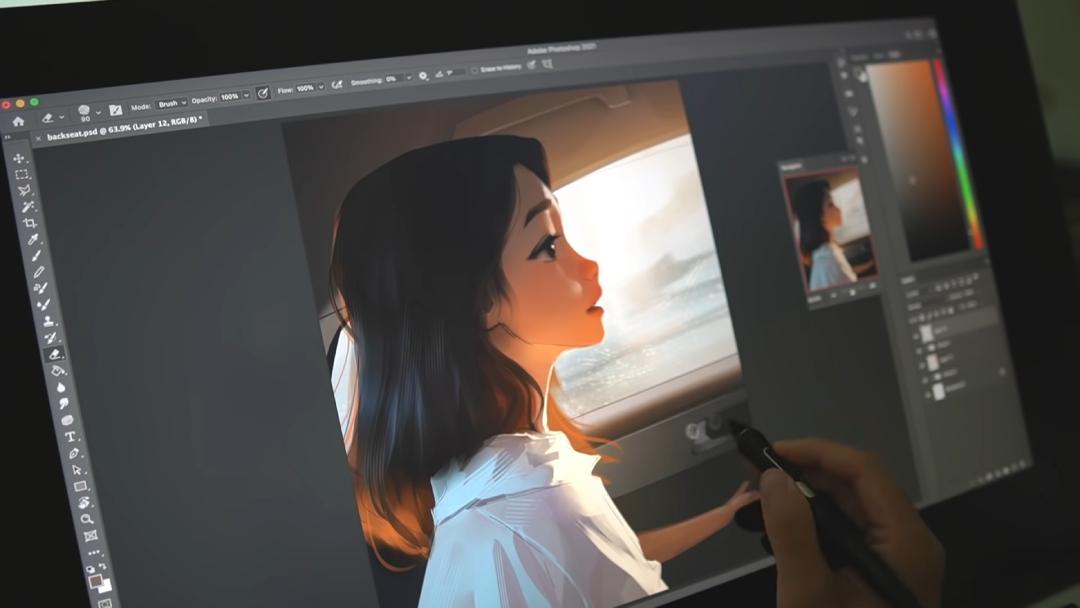
I think this is a really good tip, especially if you’re a beginner just getting into the flow of digital painting. You want to make sure not to get overwhelmed by your brushes. It’s good for you to try out different brushes, different textures, but you also want to make sure that you’re the one in the driver’s seat, and the brush is not taking over control of what you’re trying to say. Find five or six different brushes that you’re really comfortable with and focus on finding a purpose and a spot for them in each painting that you make.
You can experiment with a different set of brushes for different paintings. If you’re going for something a bit more painterly, obviously you’re going to need brushes that are a little bit more textured, that have a little bit more flare to them. If you’re going for something a little bit clearer, kind of like what I’m doing, obviously you’re going to want brushes that are flatter, brushes that are simple, they’re easy to use and very predictable.
A tip for all you beginners: don’t get overwhelmed by your brushes. Take like four or five, find the ones that really work for you, and there is no secret brush that I use, or any other artist uses that elevates their skill to a new level.
For the majority of my paintings, I would be using the round brush for applying colors and rendering, and using a line brush, something that’s a little bit sharper, for applying some details like the facial features and things like that, just getting the sharp details in there, getting that taper. As I said before, I use about six or seven different brushes for a lot of my paintings. The majority of these brushes I don’t even touch during my painting process. I know a lot of other big artists who have 50, 60 different brushes in their brush sets, and they also do not touch the majority of those brushes in the process of a single painting.
I’ve got all of these different textured brushes, right? And they’re really interesting to play around with. I actually don’t use them for most of my workflows. They’re here mostly because if I happen to be drawing something that would require a specific texture, I will have them on hand, and I wouldn’t have to go online to look for some new brushes or make one up on the spot.
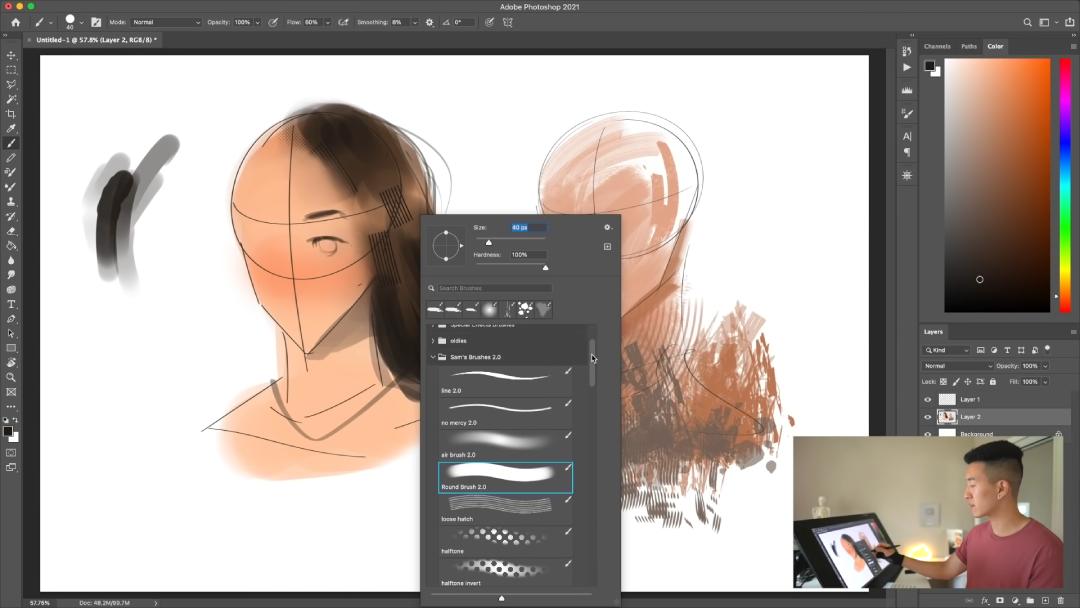
Okay, so before I get carried away with that, another brush that I really like to use in my workflow for things like local colors on the skin is the airbrush. Let’s say I want to apply a blush, just like that, you know, two seconds, and you’ve got a nice soft fade into the colors into the rest of the face. It’s also one of those brushes that you want to make sure you don’t overdo because if you use it too much, your painting is going to start to look out of focus, and things are going to start looking muddy.
The key takeaway, I think, from looking at my brushes and the way that I use them is that sometimes less is more. I really think the round brush is the default brush for so many applications for a good reason. It’s just very effective. It really takes the fluff, you know, and all the different distractions with textures out of the equation. So if you’re a beginner, you can focus solely on the colors that you’re putting down.
To be honest with you guys, for maybe about 70 percent of my painting process, I am using the basic round brush. For the other 30, I’m using, you know, maybe a line brush with a little bit of opacity for some of the sharper details. It’s just incredibly simple. It’s almost disappointing. There’s absolutely nothing to it. There’s nothing special about my brushes. It’s not about the brushes; it’s about the way you use them.
If you want to know my secrets, you want to draw like me, with a basic round brush, and a nice thin line brush, you’re good to go. I hope you are satisfied with getting a look at my different brushes. I know you’re probably disappointed to know that I’m using a basic round brush and that there is no secret formula to anything that I’m doing, but I think that’s part of the beauty of it.
I feel like there should be a little bit more to it, but honestly, this is it. Like this is… it’s painfully simple. But if you guys want an even more detailed 45-minute breakdown of my complete workflow with all my brushes, that is over on my Patreon.
A basic round brush with pressure opacity is king. I don’t know what else to say. But I hope this was helpful for people who have been asking about my brushes, and for people who are curious about my workflow with my brushes.
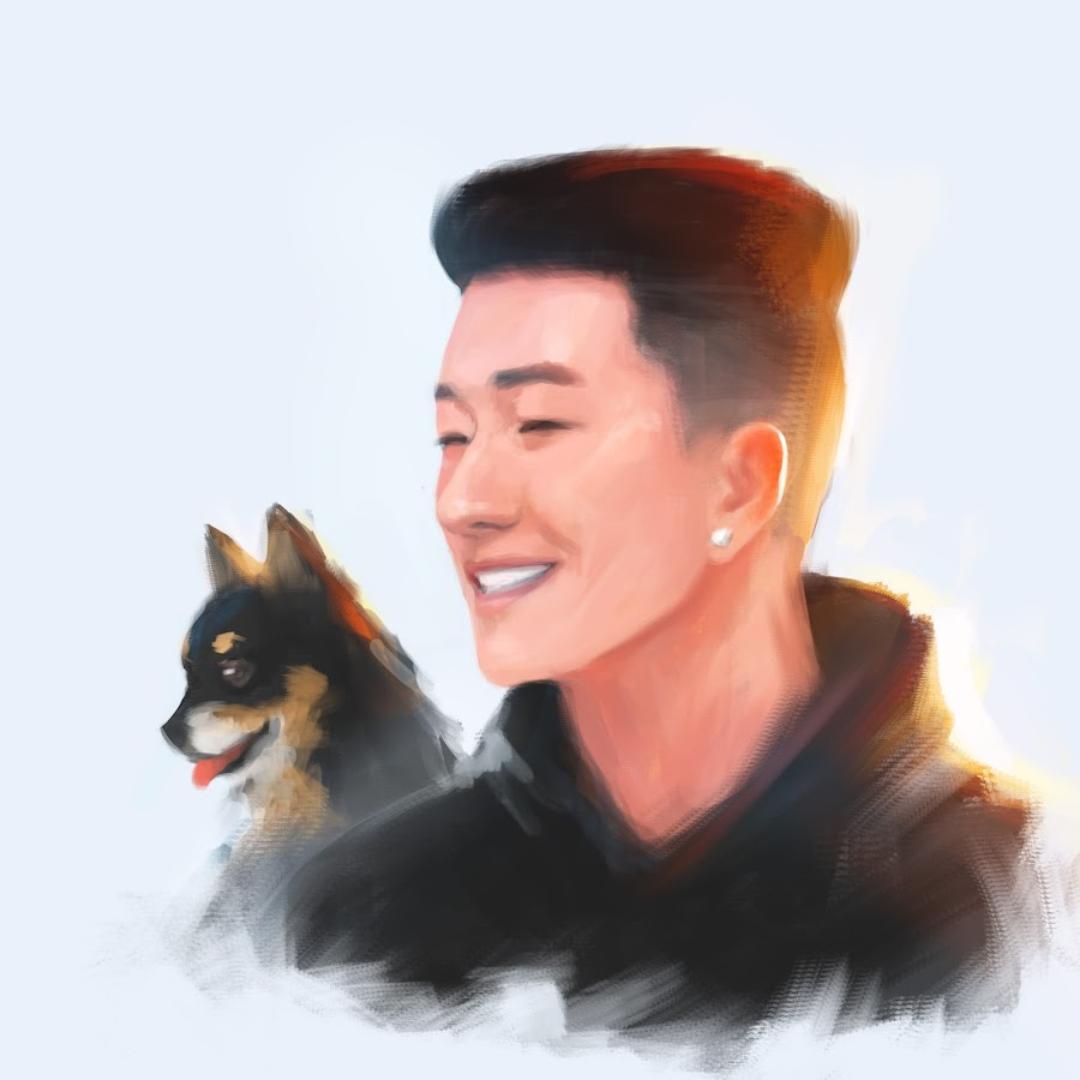
More from Sam Yang
For more tips and art content check out SamDoesArts on YouTube, purchase some of his more in-depth tutorials on his Gumroad, follow him on Instagram or Twitter, or support him and join his community on Patreon.
Also, check out some of his other posts on this blog — for example, Perspective for Beginners or The Best Way to Practice Drawing.
Want to learn more about Adobe Photoshop Brushes?
Wacom is running a deep dive into all of the ins and outs of Adobe Photoshop brushes. Learn how to use them, the differences between different types, and even how to make your own! Click here for Part One of our four-part Adobe Photoshop brush series.

