Maybe you’ve been using Adobe Photoshop for a while, or maybe you’re just getting started. There are many ways to do different things with the software, as well as all kinds of tips, tricks, and hacks to do things simply and easily.
In this tutorial Colin Smith, the creator of PhotoshopCAFE, shows you a powerful way to change the depth of field and blur the background of a photo in Adobe Photoshop. Check out the video below for the Adobe Photoshop and Lightroom tutorial, click here to visit PhotoshopCAFE and download the project files if you’d like to try the technique for yourself, and read on for all of the details.
Depth blur
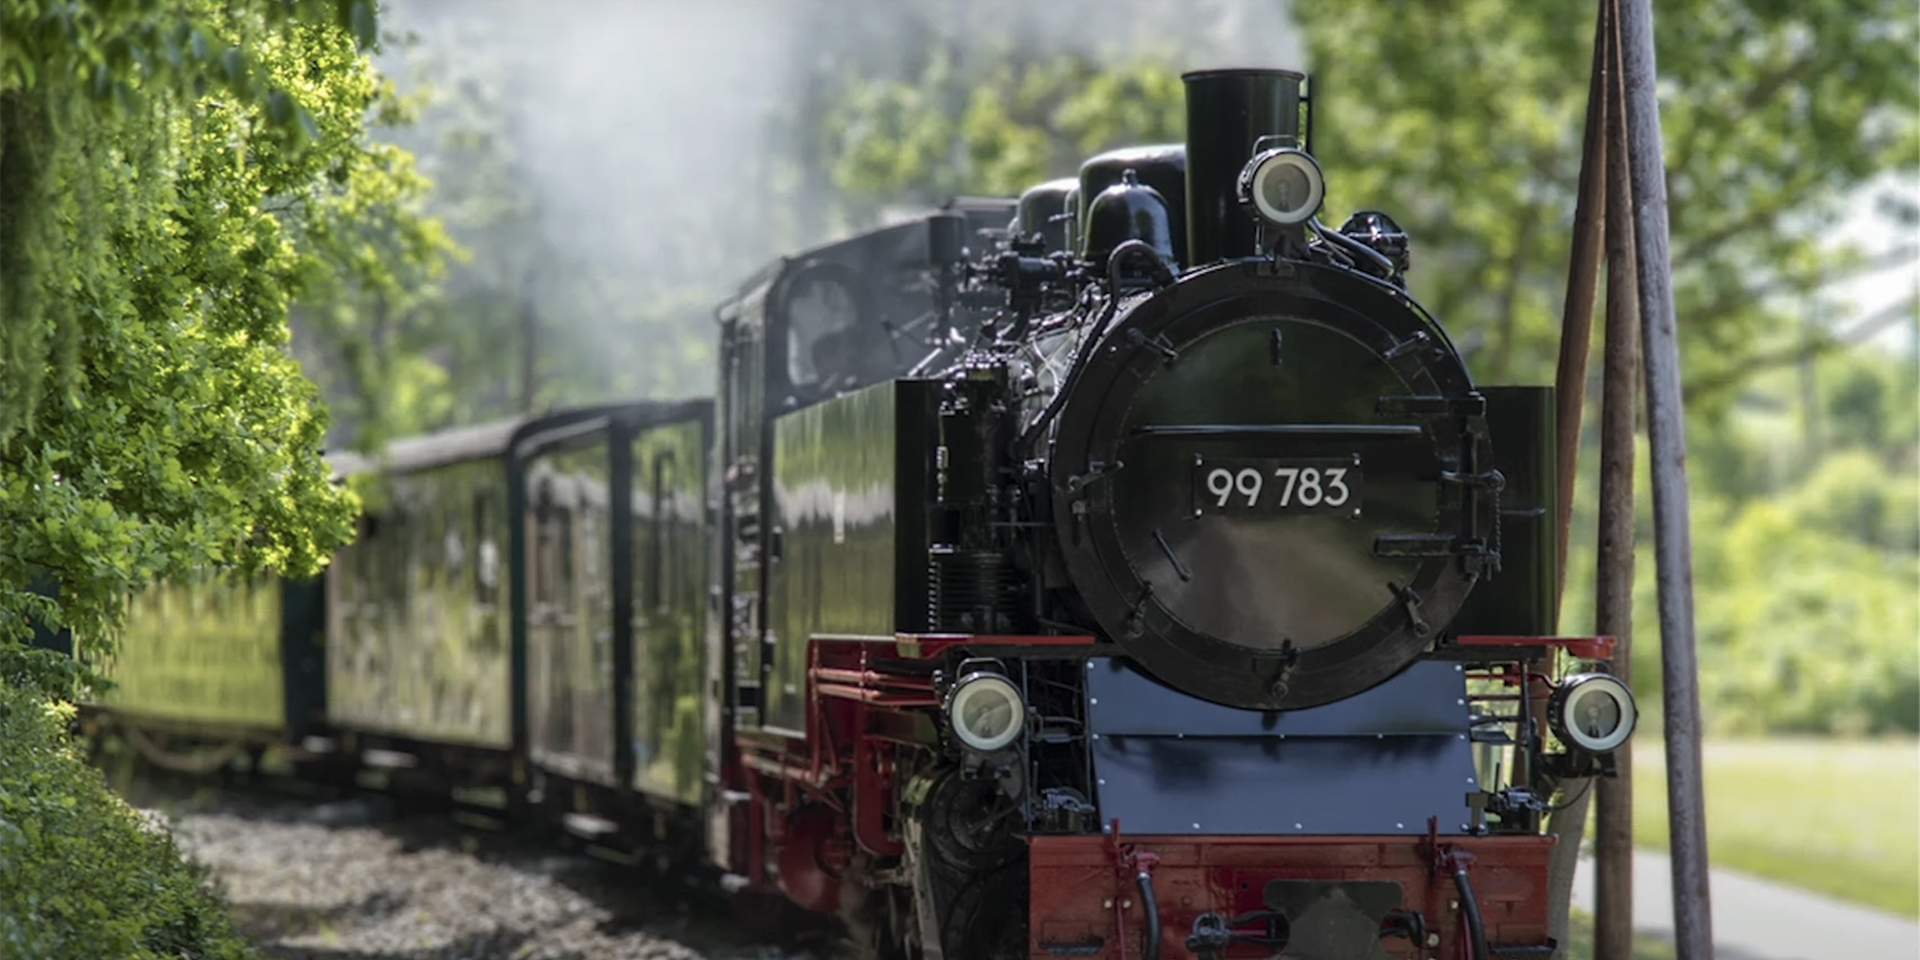
Alright, let’s get started with this train. So the first thing we’re going to do is go to Filter in the menu bar, choose Neural Filters, then turn on Depth Blur. Maybe you’ve seen this filter before, but I’m going to show you how to manually overwrite things and get a much better result than just using than your filter on its own.
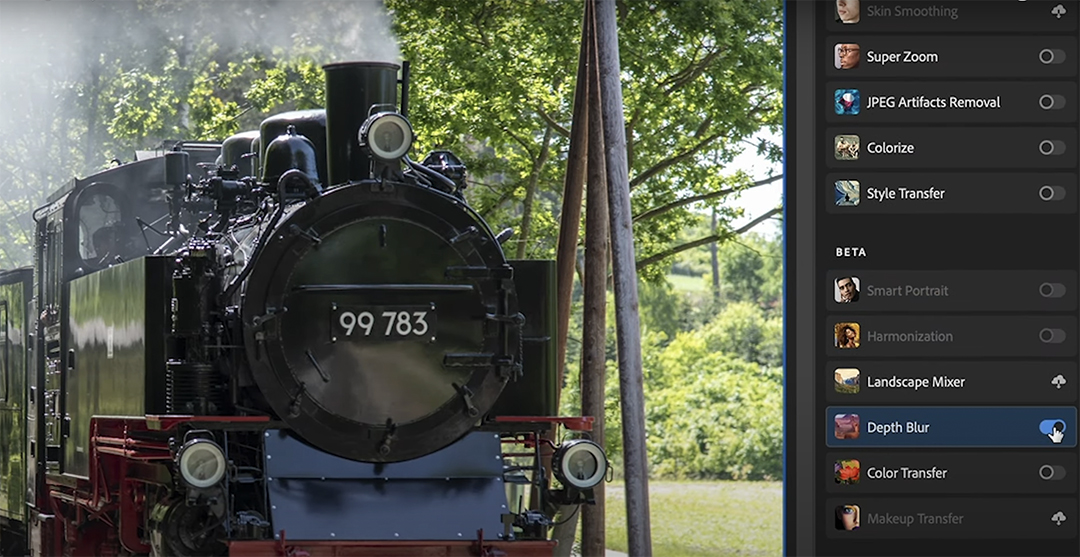
If you wanted to change the area of focus, you could simply just click on different parts of the photo and notice how this will recompose it. But you may see how there’s areas that get missed. Let’s look at how to fix all of that and actually use a better way of applying it than depth blur.
Depth map
So we’re going to go all the way to the bottom of the menu and choose output depth map only. On this depth map, lighter-colored things means they’re further away. Where they’re darker means they are closer to the camera.
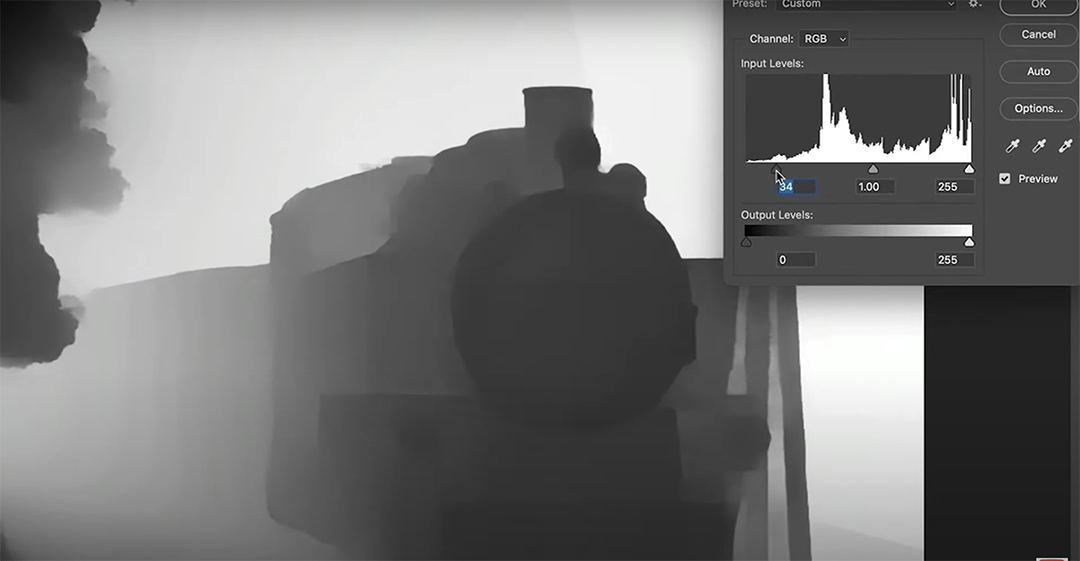
Okay, let’s start with the first trick that you might not have seen before. Increase the effect of the depth map by using Levels (Ctrl/Cmd+L). And then what we’re going to do is take the shadow area and slide that closer to the middle. And it’s also going to the midtone. So what we’re doing and we’re intensifying those grays to give us more of an effect.
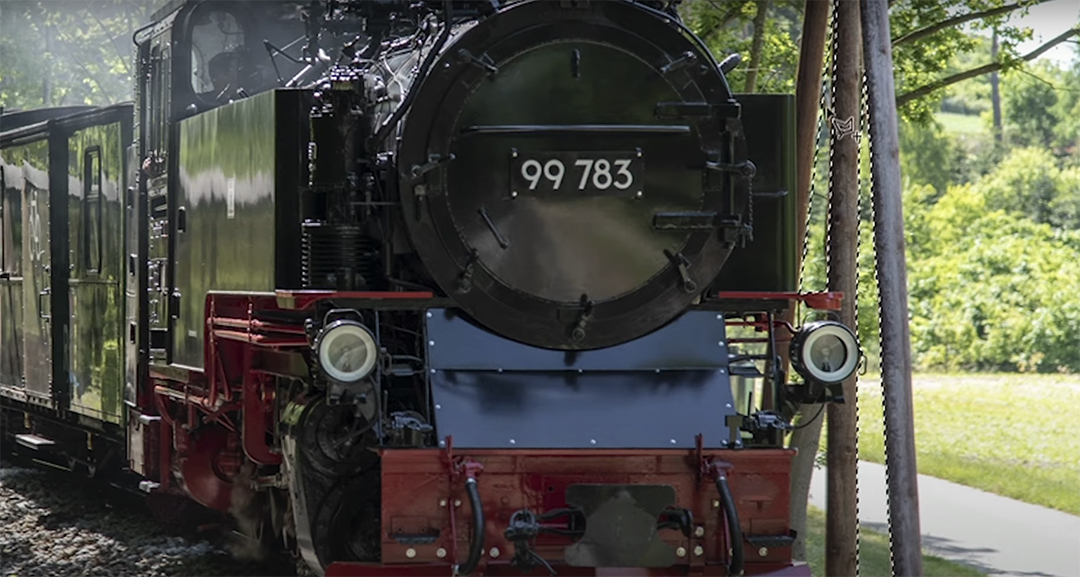
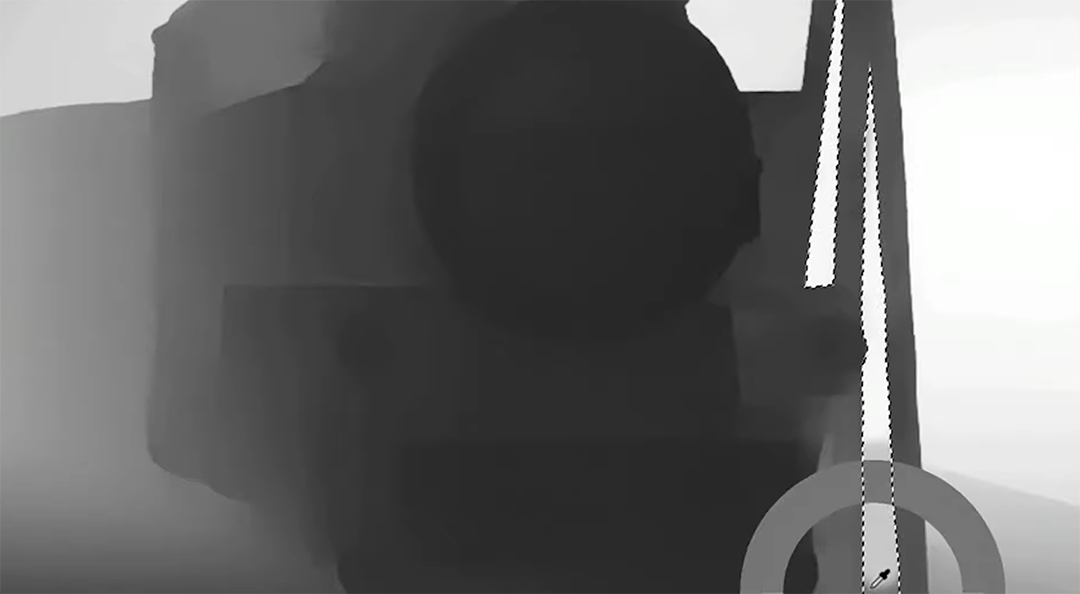
The next thing we need to do is to look at the area between the sticks to the right of the train. We want to make sure that this area is on the same depth plane as the background. Right now, they are different shades of gray so they will be on a different plane. So let’s make a selection around these areas.
Object selection
Select the Object Selection Tool (W) and select the area between the sticks. Then use the Polygonal Lasso Tool (W) and add to the selection. The way to do that is to hold down the Shift key and just click the points of the rest of the area.
Applying the blur
Turn back on the depth field top layer. Notice these are the shades that we want to be painting with. So grab a brush, hold down the Alt or the Option key and that will make a sample. Make the brush a little larger and let’s paint those out. Just pick up the same kind of tones.
All right, let’s go to the channels. And what we want to do now is duplicate one of those channels. Let’s just grab any of them red, green or blue, they’re all the same. Duplicate it with Cmd/Ctrl+J. And then this gives us another map. We’ll just call it “MAP.” It doesn’t really matter what you name it. Make sure you select RGB again. Let’s just duplicate the background so we can show it before and after.
Now let’s use a really powerful tool to apply the blur. We’re going to choose Filter > Blur > Lens Blur. This actually simulates the lens on a camera. So as you can see, you can choose different types of apertures. Now the important thing is we want to make sure under “Source” we’re choosing our depth map.
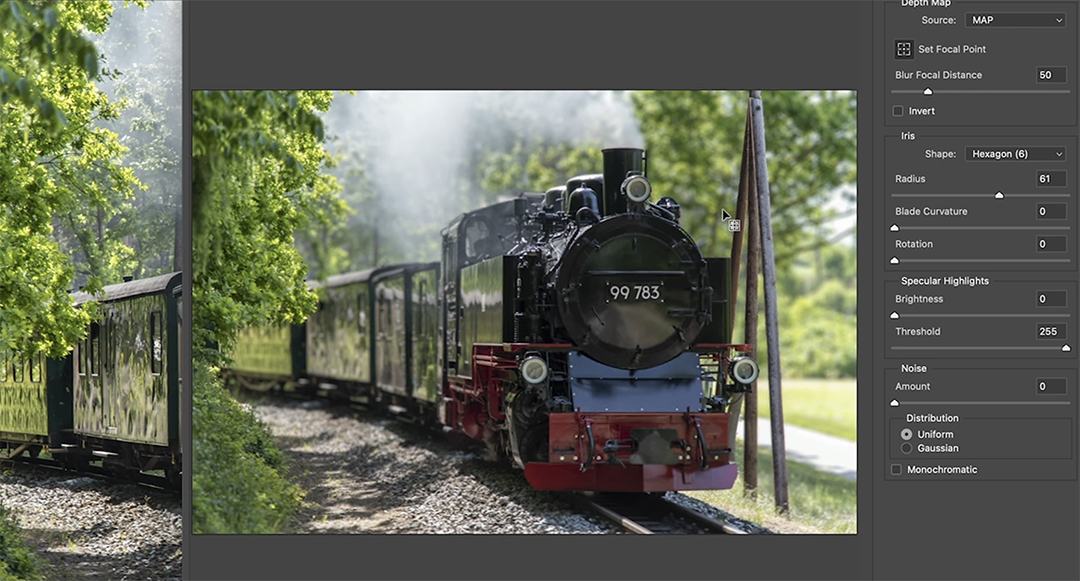
Let’s increase the blur so we can see the radius. Now watch what happens if we click the “Set Focal Point.” If we click on the front of the train, notice how now it comes in nice and sharp. Or we could click the back of the train. We could click on different parts of the photo to bring these areas into focus and notice we get the proper background blur in these areas there because of the way we selected them. Click Okay. Now we can look at it before and after.
Conclusion
So as you can see, these automatically generated depth maps are incredibly powerful. Let me know your thoughts if you learned anything new in this video, and if you’re new welcome to Photoshop, hit subscribe turn on notifications so you won’t miss any of my videos. And if you got any value out of this video, smash that Like button into dust and until next time.

