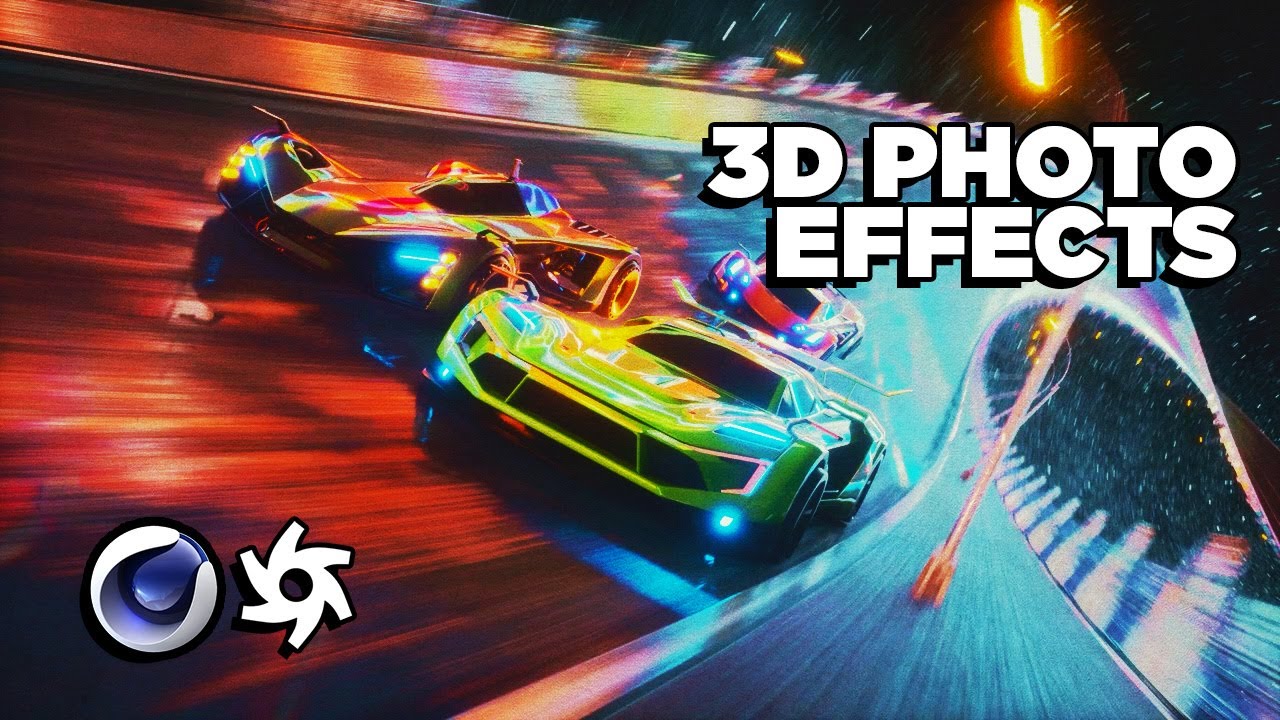
4 Key Tips 3D Effects Feature Image

4 Key Tips to Creating More Photorealistic 3D Renders, with School of Motion

August 5, 2024
School of Motion Logo

School of Motion is reimagining art school with world-class training that is available on your schedule from anywhere on Earth. They offer a wide variety of courses that can take your creative goals to the next level. Check out their website to see all of their offerings. The below video originally appeared on School of Motion’s YouTube Channel, and this explanatory article originally appeared on their website.


We’re going to take a look at ways you can improve your Cinema 4D renders using Octane and Redshift. By the end of this process, you’ll have a better understanding of a professional 3D workflow, a better handle on the tools you’ll use, and more confidence in your end results. In this tutorial, we’re going to take a look at how mimicking photographic effects improves your renders.

You’ll learn how to:

  • Use bokeh to enhance shallow depth of field
  • Desaturate your highlights in-render and add bloom
  • Effectively use lens flare, vignetting, and lens distortion
  • Add effects such as chromatic aberration and motion blur

Note: To download the files and follow along, go to School of Motion’s website.

image 23

If you study lenses and all their properties, you’re way more likely to create a beautiful render. There are a lot of these properties to look at, so let’s jump in. Before we get started, let’s define a few key terms: Depth of Field and Bokeh.

Depth of Field is the distance between the nearest and the farthest objects that are in acceptably sharp focus in an image. Landscapes tend to have a deep depth of field, while portraits or macrophotography tend to have shallow depths of field.

Bokeh is the blurred effect seen in the out-of-focus portion of a photo taken with shallow depth of field.

With shallow depth of field comes many different flavors of bokeh. For example, here’s a sci-fi tunnel render I created without shallow depth of field. When we add some in, it immediately looks more photographic. Then when I crank the aperture, we can really see the bokeh.

image 24

In my render we’ve got the standard bokeh from Octane, but if I turn up the aperture edge, we get a more semitransparent center to the bokeh and a more defined edge, which happens in cameras and looks more natural to me.

Next, we can play with various shapes. By taking down the roundness, we can create hexagonal bokeh, which happens with lenses with only six blades in their aperture. We can also stretch out the bokeh to a 2:1 aspect and create anamorphic bokeh, because anamorphic lenses have an oval shaped aperture.

image 25

One property of lenses is that as the highlights get brighter, they desaturate. Many renderers have a way to mimic this effect in-render. For example, here in octane there’s a saturate to white slider. Here’s what the neon lights in the tunnel look like before that — just an unrealistic flat saturated color — and here’s what it looks like after. Now we’ve got a nice white hot core that falls off to a saturated color, and that’s much more realistic.

image 26
You can see how desaturated colors on the left look more natural and realistic than the flat color on the right.
image 27

Another common photographic effect is blooming highlights: a subtle amount of glow that happens to the highest highlights when light bounces around in the lens. We can turn on the bloom in Octane, but too often I see artists crank the effect too high across the board. Thankfully, Octane now has a cutoff slider which allows for only the highest highlights to bloom out. A little goes a long way here, but it creates a nice soft effect that gets away from the overly crisp and harsh look of CG:

image
image 28

Similar to bloom are lens flares. This effect comes from light bouncing around and refracting in the various lens elements, and is often used as an intentional stylistic effect. Stronger light sources such as the sun typically flare out. If you want to go the extra mile, it can be great to composite these in with something like Video Copilot’s Optical Flares. At some point, Otoy has plans to add true 3D flares into Octane, and that’ll be much easier than comping them in.

image 29

Lenses also have various kinds of distortion, which isn’t usually accounted for by default in 3D. An obvious example is a fisheye lens, and recently I used this heavy barrel distortion look in some concert visuals for Keith Urban. Here’s the shot before, and after. It can create some additional believability because we’re used to seeing various levels of distortion in photos and in film.

image 30

Next, we’ve got chromatic aberration, and this is another one that I feel many artists overuse. Often the easiest way to add this effect is by splitting the R, G, and B channels and then offsetting them by a couple pixels in various directions.

With Octane, the solution is a bit weirder. I attach a glass sphere to just in front of the camera and then up the dispersion slightly, which creates a similar RGB split. It’s a bit more render intensive, but creates a more true chromatic aberration, and a cheaper solution for this is coming soon to Octane.

image 31
image 32

Motion blur is another effect that we associate with film and video, but is also often used in photography when the shutter is left open longer than normal. Sometimes this can be a great effect to imply motion in our renders.

For instance, here’s a render of some cars supposedly racing, but it doesn’t feel fast in just a still. Afterward, here’s the render with motion blur.

image 33

To do this, I’m just attaching the camera to the same null that’s moving the car, and then putting an Octane object tag on the car so Octane knows that it’s moving in relation to the camera.

image 34

Another option is to just animate the camera with a couple keyframes and turn on motion blur for a POV shot.

We used real-world references to make our renders more realistic, and the same is true for mimicking real-world lens effects. Now that you understand a little more about depth of field, bokeh, highlights, and distortions, the rest is up to you. Experiment with these techniques and you will find your renders look more professional and interesting. Now go create something amazing!

Want more?

If you’re ready to step into the next level of 3D design, we’ve got a course that’s just right for you. Introducing Lights, Camera, Render, an in-depth advanced Cinema 4D course from David Ariew.

This course will teach you all of the invaluable skills that make up the core of cinematography, helping to propel your career to the next level. You’ll not only learn how to create a high-end professional render every time by mastering cinematic concepts, but you’ll be introduced to valuable assets, tools, and best practices that are critical to creating stunning work that will wow your clients!


School of Motion Logo

Want to learn more?

While this was not a complete guide to 3D rendering, it will certainly get you started. Interested in learning more about rendering, Cinema 4D, animation, or more? For more tips, head to School of Motion’s Youtube Channel, or find complete courses on their website.

Related posts:

Making the most of your Wacom with Pablo Muñoz Gómez, Tip 9: Other Wacom devices and features

Making the most of your Wacom with Pablo Muñoz Gómez, Tip 9: Other Wacom devices and features

Wacom Movink, My New Best Friend! An animated review by Javadoodles

Wacom Movink, My New Best Friend! An animated review by Javadoodles

Making the most of your Wacom with Pablo Muñoz Gómez, Tip 8: Essential Wacom Tools for Teaching

Making the most of your Wacom with Pablo Muñoz Gómez, Tip 8: Essential Wacom Tools for Teaching

How to draw a stylized illustration in Adobe Illustrator, with Kirk Wallace aka Bone Haus

How to draw a stylized illustration in Adobe Illustrator, with Kirk Wallace aka Bone Haus

Connect with Wacom on social media

Jake aka @killerrabbitmedia prefers working on a Wacom Intuos because it's easy to carry and super durable. He also loves pixel art and Asperite because it blends artistry with technical skill. There's a long tutorial video on our YouTube explaining how Jake achieved this look. Go check it out! 
#madewithwacom #wqcomintuos #intuos #wacomtablet #pixelart #artistsoninstagram
293 6
Enjoy this stylized illustration created by @bonehaus inspired by his recent trip to Amsterdam. ⁣
⁣
He goes full circle, collecting inspiration and reference, sketching in #AdobePhotoshop, illustrating in #AdobeIllustrator, and then right back to #photoshop for finalizing color and texture 🔄✌️⁣
⁣
Once in Illustrator, Kirk outlines and traces the major shapes of his sketch, then removes the lines and focuses instead on shapes and shadows. ⁣
⁣
"I start building in more shadows and more details to help separate any of the shapes that are struggling without that outline. I like my art without a ton of outline, so I prefer the challenge of using some shadows and highlights and stuff to separate them.”⁣
- @bonehaus⁣

Head to the #WacomBlog to read the full interview! 
⁣
#MadeWithWacom #WacomCintiqPro #DigitalIllustration #adobeillustrator #Photoshop
290 1
El óleo perfecto para tus ideas es tan delgado como un espejo. 🪞🌾
Descubre la magia de Wacom Movink, nuestro primer lienzo digital OLED. 
Video creado por la maravillosa @martinab.illustrations 🌹
#WacomMovink #creativeprofessionals #creativesonthego #tabletadigital #artedigital
431 4
#WacomSale⁣
The festive season is upon us, and adventure calls! 🏁✈️🌎⁣
Unleash your creativity anywhere with a #WacomMovink.⁣
Shop now through the link in our bio!⁣
113 2
📝 Managing license requests and agreements is an essential part of protecting your work as a professional artist.

And in this tutorial we show you how to do it easily.

Wacom Yuify allows you to easily view, approve, or reject requests, ensuring your creative rights are secured. Streamlining the process means more control over your art and less hassle.

🔒 Ready to simplify your license management? Register for free at yuify.com

*Yuify Licensing is only available in selected regions and may require additional agreements for specific cases not covered by the License Builder.

#WacomYuify #Yuify #CreativeRights #DigitalRightsManagement
77 2
🎉✨ December of Giveaways is HERE! ✨🎉

The holiday magic is upon us and we're ecstatic to bring you weekly giveaways throughout the month of December! 🎁 Come back every Friday for your chance to unwrap something amazing! ✨

This week, we're giving away a Wacom Cintiq 16! 🎨 

Here's how to enter:

🎅 Follow @wacom and @wacomedu

❤️ Like this post

🌟 Tag a friend + your favorite creator!

This week's giveaway ends 12/20 at 9 am PST. Winner will be tagged in this post and ONLY contacted through official Wacom accounts. Please be extra cautious if contacted via DM – make sure the sender is @wacom or @wacomedu before sharing any personal info. 📩 We’ll only ask for your shipping details if you win!

Good luck 🍀 #Wacom #WacomForEducation #WacomGiveaway
906 573
Therapeutic break! 
Let's draw some Winnie stickers with @konistudio on a #WacomOne 13. 🧣❄️🌲
#Wacomworkspace #madewithwacom #artistsoninstagram #artistlife
676 13
How to draw fire without burning yourself 🧯🔥
@lplucas thank you for this important service. 
Stay cozy and stay safe out there friends ✌️
#madewithwacom #drawingtips #digitalartist #digitalart #wacomtips
137514 103
How do you keep inspired during ordinary days? 
@buttersketch shares a glimpse into her creative process, full of graphic novels, picture books, music, journaling and art materials. 

"“I really love bribing myself with new materials,” she confesses with a smile. “I think it helps my brain bypass the anxiety of starting, because now I’m focused on just playing.”
- @buttersketch✌️
#Wacomworkspace #WacomMovink #creativeprofessional #artistlife #artistsoninstagram #creativeinspiration
230 2
As an artist, protecting your work can feel impossible. Watermarks distort your art, and even then, they can be removed.

Many have felt the frustration of seeing creations copied without credit - and that’s why Wacom Yuify exists ✨ —it adds an invisible mark to your work, keeping it safe and traceable without compromising its beauty.

🔒 Ready to protect your art? Visit Yuify.com for more info. Now available for @escapemotions 

#WacomYuify #Yuify #CreativeRights #DigitalRightsManagement
149 2
Reimagining everyday objects by adding a little bit of magic is easy with a little ingenuity, patience and curiosity. Thank you @monsieur_arefin for walking us through your process and showing us how you edit using Wacom Intuos Pro 🥰
#madewithwacom #photoshop #photoediting #ConnectedInk2024 #artistsoninstagram
269 5
This week's giveaway is closed now. ✌️✌️✌️
Congratulations @yeseniaropesu, you're the lucky winner. 
Thanks to everyone who participated.

Stay tuned for this week's giveaway coming up soon! 

🎉✨ December of Giveaways is HERE! ✨🎉

The holiday magic is upon us and we're ecstatic to bring you FOUR incredible giveaways throughout the month of December! 🎁 Come back every Friday for your chance to unwrap something amazing! ✨

This week, we're starting strong with a Wacom Intuos M – perfect for creative hobbyists and art teachers alike! 🎨 Here's how to enter:

🎅 Follow @wacom and @wacomedu

❤️ Like this post

🌟 Tag a friend + your favorite creator!

This week's giveaway ends 12/13 at 9 am PST. Winner will be tagged in this post and ONLY contacted through official Wacom accounts. Please be extra cautious if contacted via DM – make sure the sender is @wacom or @wacomedu before sharing any personal info. 📩 We’ll only ask for your shipping details if you win!

Good luck 🍀 #Wacom #WacomForEducation #WacomGiveaway
990 669