In this video, I’ll be sharing some tips for making the most out of Affinity Designer using the Wacom One tablet. First, I’ll go over why I prefer the drawing tablet, instead of something like the iPad. Then, I’ll walk you through my workflow using two features special to Affinity Designer.
The first is the Persona System, which lets you switch between vector and raster elements in the same document. The second is the Symbols Tool, which allows you to create reusable elements that sync in real-time for efficient style updating.
Setup
When I’m traveling and have to do my design projects, the Wacom One connected to my laptop is a great setup. I have the size M (for Medium) so it’s really portable, while still feeling like a substantial surface to draw on. The tablet fits in my laptop sleeve with my 13-inch MacBook Pro. The Bluetooth connection is super easy, but I prefer using the USB-C cable for an instant link.
Why Should Designers Use a Drawing Tablet?
For my particular use case, I am 70% of the time designing for print — some kind of poster, publication, or product. This usually means a design combining 2D illustration with text. I also already remember all of my keyboard shortcuts on my Mac, so it is a lot faster and easier for me than touching through a bunch of menus. Affinity Designer is unique because it’s the only program where I can switch between vector elements and raster art on the same document. This streamlined workflow is possible with Affinity’s Persona System.

Tip 1: The Persona System – Designer, Pixel, and Export
As you can see here, there are three Personas. The Designer Persona is where you’ll spend most of your time if you’re focused on vector design, similar to how you would work in Adobe Illustrator. The tasks best suited for this persona are:
- Creating anything with vector graphics
- Vector-based text (This is crucial for printing sharp and clear text)
- Using symbols and reusable elements
The Pixel Persona allows you to work with raster images directly within Affinity Designer, something that Illustrator typically requires Photoshop for. The tasks best suited for this persona are:
- Pixel brushes; this is ideal for adding fine details or textures, or retouching
- Working with raster images
- Non-Destructive raster effects (blur, noise, grain, etc.)
The Export Persona helps you export in whatever file types you require for your project.
Switching Between Personas in a Design Workflow
The real power of Affinity Designer lies in the seamless integration between these two personas, allowing you to switch back and forth as needed:
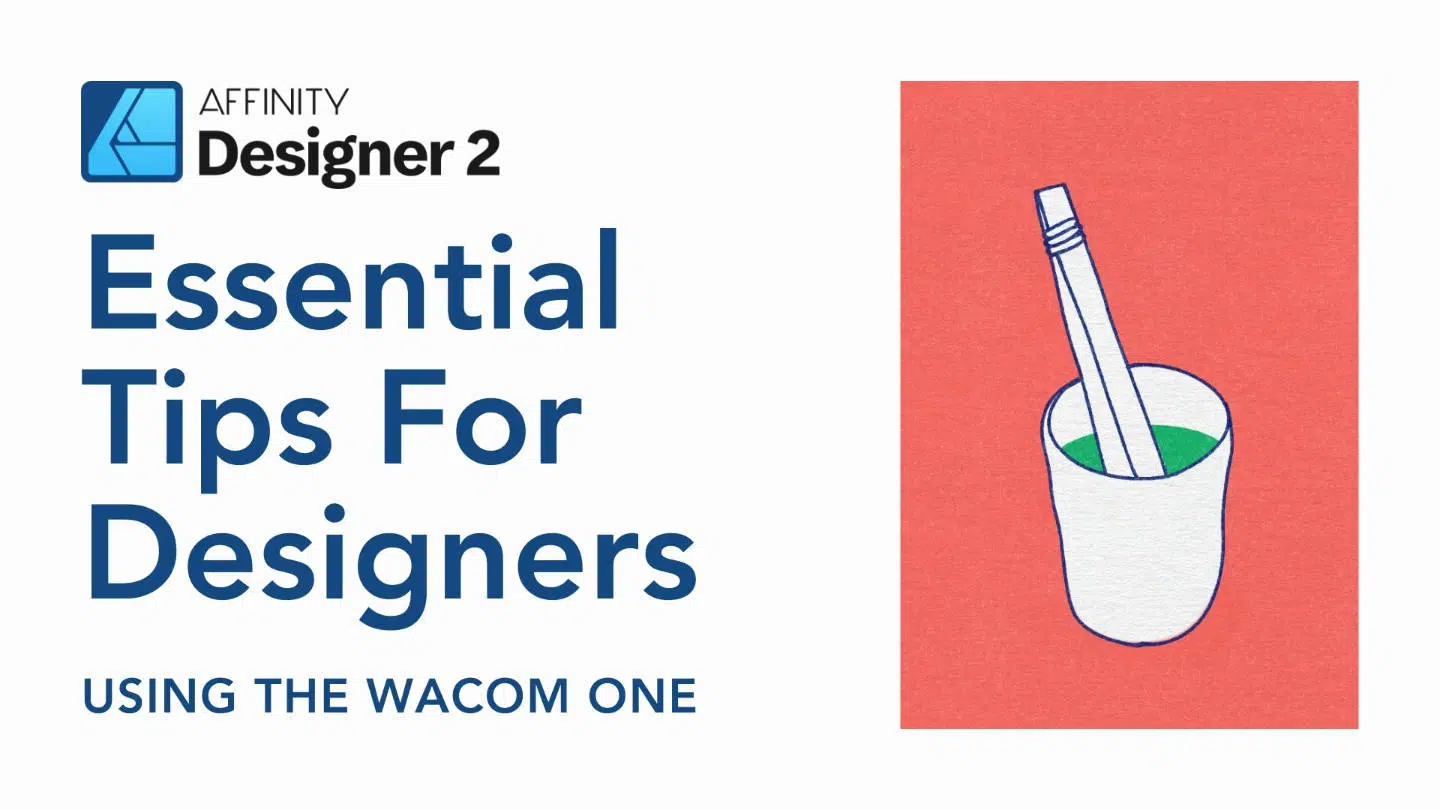
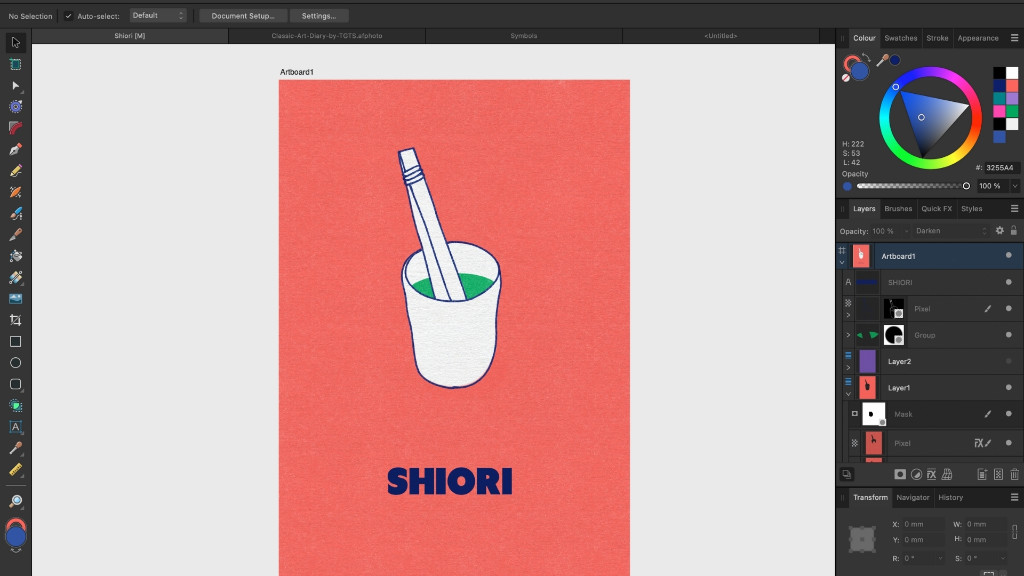
First, I start in Designer Persona. For this example, I used a personal photo of a meal I had in Berlin. I use the Vector Brush Tool to draw the spoon and teacup using the Wacom One tablet, which makes it super easy to create vector graphics from my sketches or photos.
Then, I switch to the Pixel Persona. I use a brush that mimics a risograph print, because I like the warmth that analog textures can add to digital designs. A useful shortcut to know is the keyboard brackets “ [ ”and “ ] ” change the brush size in both personas. I can also use the masking tool to erase vector curves in the Pixel persona without actually deleting them.
This is one of the ways Affinity Designer facilitates Non-Destructive Editing, which is crucial if you ever change your mind. Now I switch back to the Designer Persona to add type for the name of the restaurant. This file is essentially print ready and can go to the Export Persona.
In short, you can use Designer Persona to use vector tools and text, then switch to Pixel Persona to add texture and fine detail. Alternate between the two before going to Export Persona to prepare it for the file type you need.
This approach allows you to combine the precision of vector graphics with the richness of raster effects, all within a single document. The ability to switch processes without exporting to another program streamlines your workflow, saving time and effort while maintaining creative control.

Tip 2: Creating Symbols for Recurring Elements
Symbols can be used for any kind of recurring element that is used in a lot of different materials. The most common is probably a logo and wordmark. Here I drew a super simple logo for the restaurant and added the wordmark below. Now you can access the Symbols panel through the top menu “Windows.”
Then select each item and click Create. Now you can drag them out of the Symbols panel to duplicate that element. You can change fill color, transform the text, rotate it, etc., and every instance of the symbol will sync with your changes across artboards.
Conclusion
So whether you’re an experienced artist exploring alternatives to Adobe, or a beginner learning the ropes, I hope these tips will help you use the Affinity software more efficiently so you spend more time being creative. I can highly recommend the Wacom One tablet if you’re an artist with an illustration background looking to take your artwork to the next level using graphic design tools.
Affinity Designer and the Wacom One tablet are less expensive, more streamlined, and will make a lot of people satisfied for 80% of their use cases, without overwhelming you with expert features. I hope you learned something new!