

Note: the blog post below was originally written many years ago. The basic ideas below will still be relevant and useful, but both Wacom products and Adobe Photoshop software have been updated quite a bit since it was written. For some of our more recent Adobe Photoshop content and tutorials, please click here.
Pressure-sensitive features are built right into Adobe Photoshop — you just have to know where to find them.
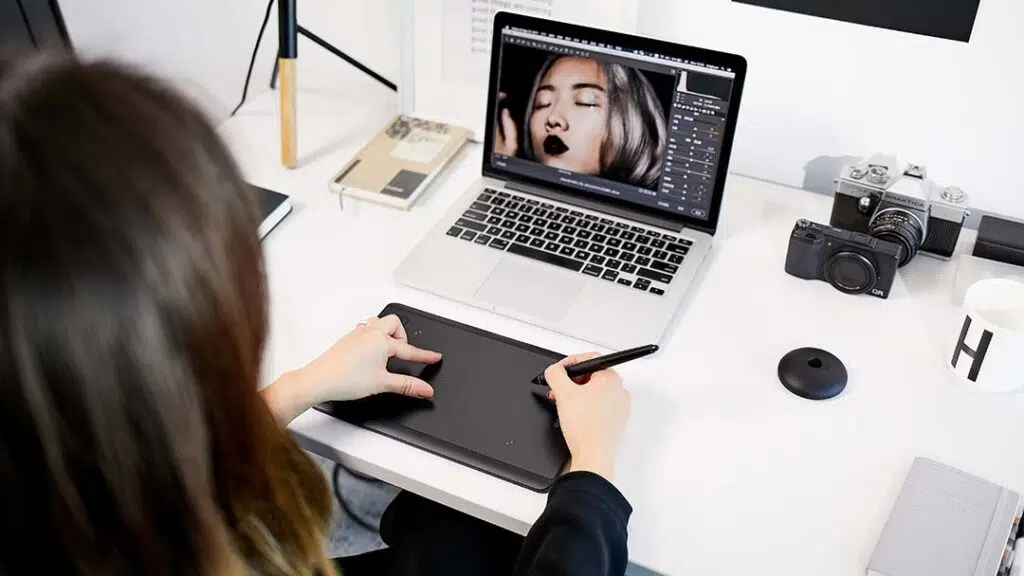
When you installed the driver software that came with your Wacom pen display or pen tablet, all the pressure-sensitive features within Adobe Photoshop became available to you. Still, even experienced users don’t necessarily know where these features are. So they’ll take their pen tablet, plug it in, and use it like they would a mouse, not realizing the powerhouse they have built into their software. Pressure-sensitivity tools help give you superior control to create beautiful images — with this attribute fully available in Adobe Photoshop, you’ll adjust lighting or tonal value like a pro by controlling the opacity of an effect based on how hard you press the pen to the tablet.
Like everything new, learning to take advantage of these features takes a little time and effort, but once you learn how to activate them, you’ll find using these unique features to be a much more natural experience than using a mouse. In Photoshop, the pressure-sensitive features are available in most tools that use the brush engine, including the dodge and burn tools, clone stamp tool, spot healing brush — even the eraser tool.
Step 1: Locate your pressure-sensitive features in Photoshop
- Find the Brush Tool: In the brush tool, choose the Options menu.
- Locate the Two Buttons: You’ll see two buttons next to the Opacity and Flow settings. Hover help will actually tell you what each button does.
- Enable Pressure Sensitivity: If you enable pressure sensitivity in this menu, it overrides what you may have selected in the Brush Options panel.
Step 2: Learn to work with pressure sensitivity
The easiest way to learn and understand pressure sensitivity is by using the Brush tool. When you click and draw pixels using the brush tool with a mouse, you lay down an even flow of paint or pixels. From the beginning to the end of your stroke, there’s no control over Opacity, that is, lightness or darkness, and there’s no control of line width; it’s the same amount of pixels. When you enable pressure sensitivity, however, you make the pen tablet a natural extension of your hand, much like any traditional art tool you are accustomed to using.
With pressure sensitivity turned on, Photoshop recognizes the slightest nuance of pressure on the pen to the tablet, so that you can brush on subtle variations in lightness or darkness. This pressure gives you a level of control that a mouse cannot even come close to providing!
Step 3: Controlling the pressure
When you want a darker line, you press harder, when you want a lighter line, you just touch very lightly on the paper. With a pressure-sensitive pen tablet, the same holds true, you’re just doing it digitally. After just a few practice sessions, many users say, “This is a much more natural feel than a mouse!” If you come from a traditional art background, you are already accustomed to doing this using traditional tools, like charcoal.
Step 4: Controlling opacity and brush size
- Enable opacity: When you enable Opacity, a light touch faintly lays down pixels. The harder you press, the more dense the color of the pixels.
- Vary your pressure on the pen tablet: The harder you press the pen to the tablet, the larger the brush size. The pen tablet registers just one gram of pressure, so you can very lightly touch the pen to the tablet and it is lays in a very faint amount of pixels — or a very small brush size.
- Experiment with opacity and brush Size: You can enable opacity alone or in conjunction with brush size. The important thing is to experiment and use what feels and looks like the best choice for you.
Step 5: Understanding the pressure-sensitive tool features
You can turn on the pressure-sensitive features at a variety of levels, and in a number of places. The easiest one to remember is the Tablet Control buttons on the Options menu. But in many Photoshop menus you can click on the control icon to access all the features you could use to modify the behavior of your brush.
Control Menus: In the Brush Panel, where you find things like shape dynamics, textures, and transfer, you’ll notice control menus. When you click on control menus, you’ll see there is a pen pressure setting, but there are also options for pen tilt, rotation and many others.
These all respond to the pen itself, so pen tilt basically corresponds to the way the pen is tilted on your tablet. Any time you see a control option, jump in and try different ways to use your pen tablet.

Step 6: Know the benefits of pressure-sensitive features
What do you gain by using pressure-sensitive features? It really depends; every brush is going to be a little different, every arrangement of brushes is going to be different, how you paint on your tablet is going to be different. We recommend you experiment with using the pressure-sensitive tools and set aside time to play. Once you are aware of how these features work in Photoshop, and you practice with them — have fun with them! — you’ll find that the tablet is going to be your new best friend.


