As a visual artist and author, I’ve found that pairing both writing and art has helped me visualize the whole world, and streamline its creation. Let me pull back the curtain and share a peek behind the scenes with some additional takeaways to help you get started on your worldbuilding journey!
Writing
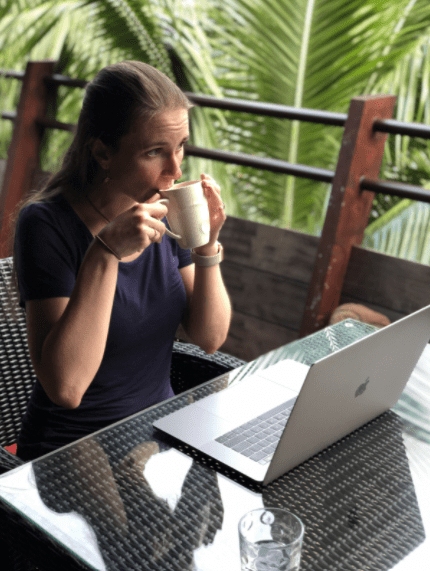
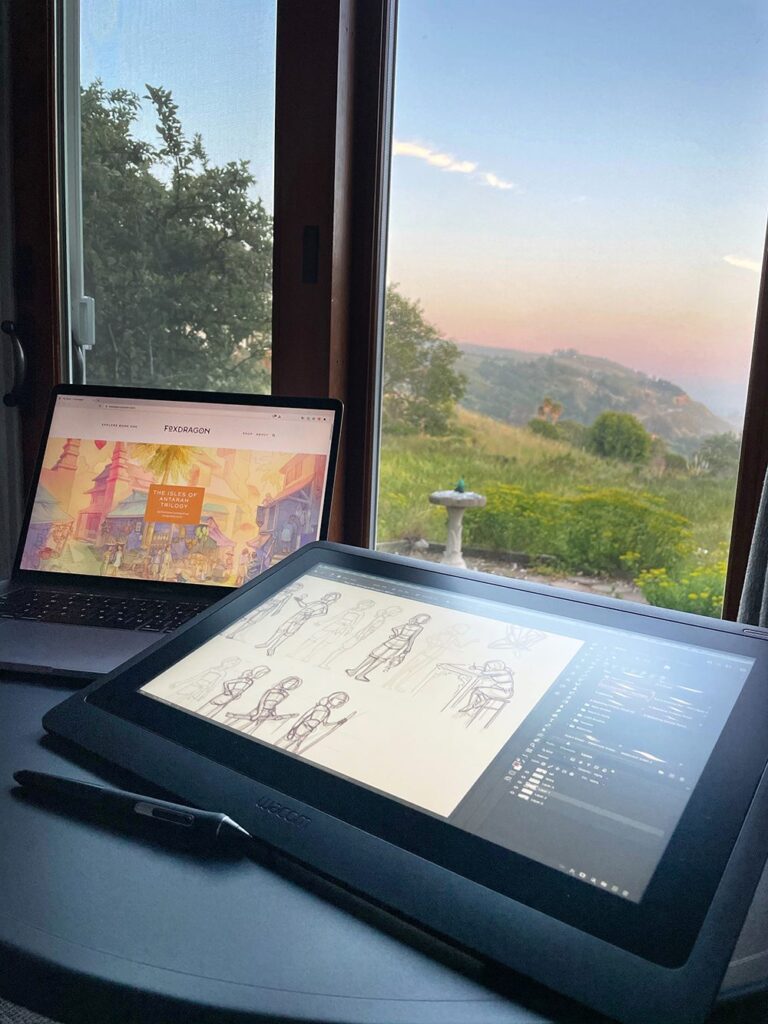
You might not think of the writing process as overly visual, and you would be mostly correct for much of it. The bulk of my writing time is spent offline in a cafe or secluded cabin on my laptop. However, before the writing process can begin, I always need a good visual outline. Obviously traditional outlining isn’t a new or groundbreaking idea for writing a novel, but being able to visually outline a book was a game-changer, and this is where my Wacom Cintiq comes in handy.
Here is usually how it goes: when I sit down to outline my books, I try to follow the story arc of each of my characters. This process can get complicated quickly, especially if I’m simply outlining it in a document with just words and bullet points. Instead, I prefer to go visual and create digital index cards or simply scribble and draw a lot of what needs to occur in my writing.
Character arcs for both of my full-length illustrated novels can get messy fast. I prefer to separate out big blocks of information (like worldbuilding relevant histories or character backstories) onto different boards. Sketching these out directly on a tablet helps keep all of my information in one place so I can refer to it later when I’m offline and writing somewhere away from the studio.
As an artist, working on an outline visually also helps me overcome much of the anxiety around writing and the fear of a blank page. For my first novel, I relied heavily on using my strengths in illustration to grow my writing skills, sketching out story arcs, plotting where the characters were in the book on simple maps and so much more.
Tip/takeaway: Writing doesn’t have to be daunting. If it is new for you, use whatever tools you have at your disposal, including visual sketches and outlines, to get started. And remember, refining comes with editing!
Thumbnails & Worldbuilding
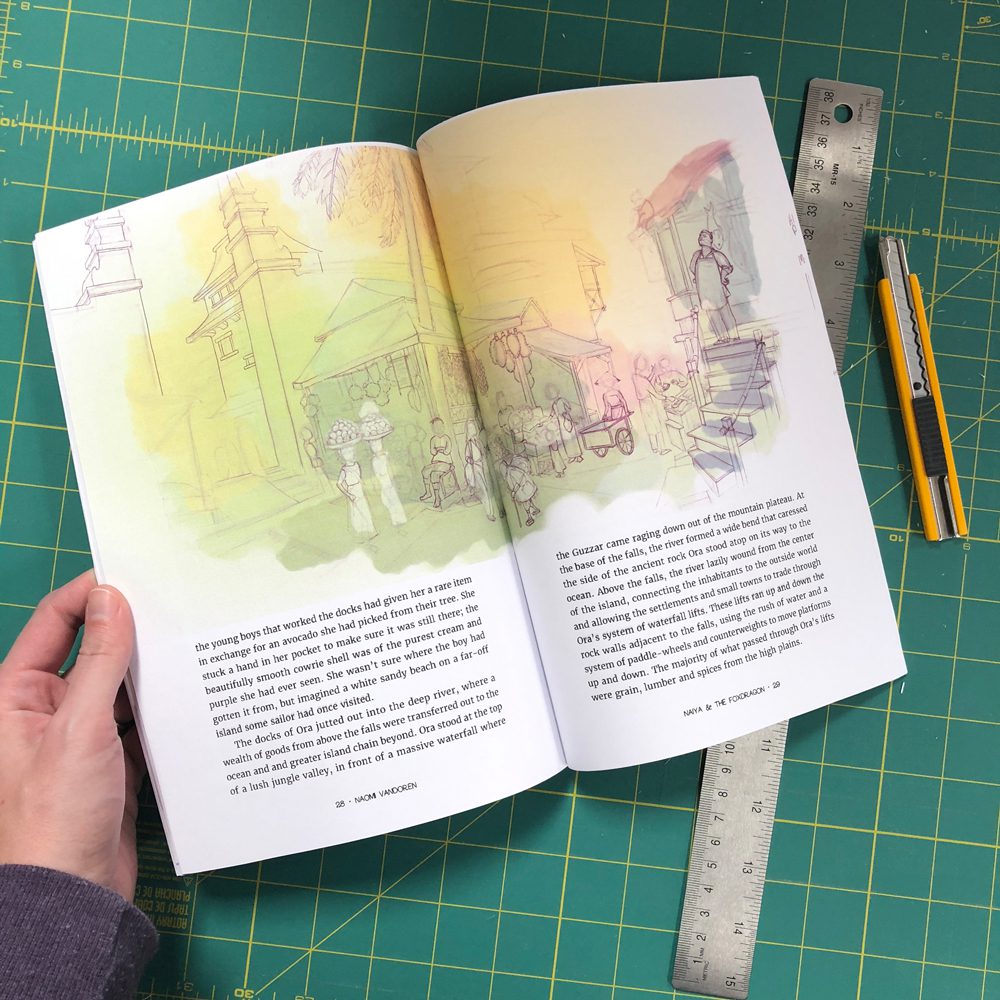
Through thumbnails and sketching, this is the stage where an illustrated novel comes to life, usually after my first draft of writing is complete. Occasionally I sketch traditionally, however, I usually prefer the range of tools available in Photoshop, coupled with a Cintiq. Here, I can quickly iterate on an idea or incorporate thumbnail sketches with a rough draft of my writing. Creating a rough page layout with text and sketches as I begin to compile a book helps me visualize even faster what things will look like as I progress through a project.
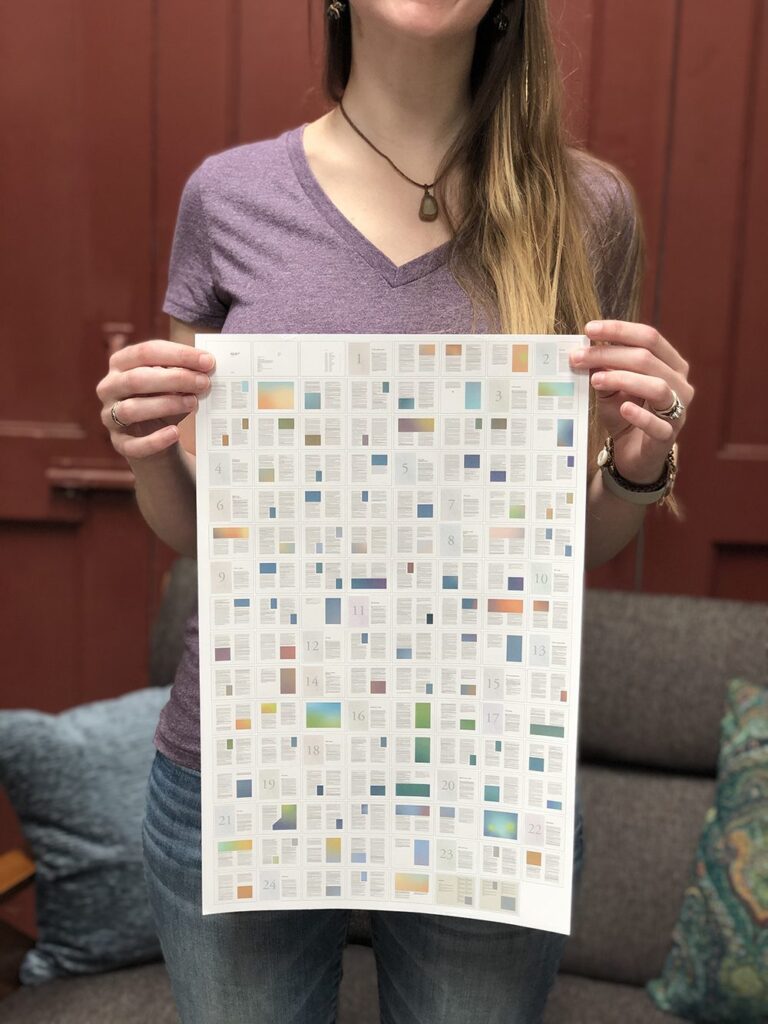
Another vital element that I create at this stage is a color comp for the whole book. Color is so important in my projects, and charting the color mood throughout the book is essential before I begin illustrating. This is a technique more commonly used in the film industry but is an idea a mentor gave me and has stuck well ever since.
Worldbuilding comes in many forms, and for me, gathering references onto mood boards, clipping color inspiration, or sketching out locations is one of the most rewarding parts of this stage in a project. As I’m sure you can already guess, I like to interact with my sketching and writing along the way, using a tablet helps me to remove one more barrier by allowing me to be that much closer to physical media but keep the convenience of accessing a host of information my IRL mood boards could never hold.
Removing barriers in the creative process early on opens up the doors for a lot of creative fun when it comes to the often intense workload a project of this scope can bring on.
Tip/Takeaway: When brainstorming what kinds of locations to include or clothing to put your characters in, have fun! This stage of the process is when you get to play and get creative with your worldbuilding designs.
Illustrations
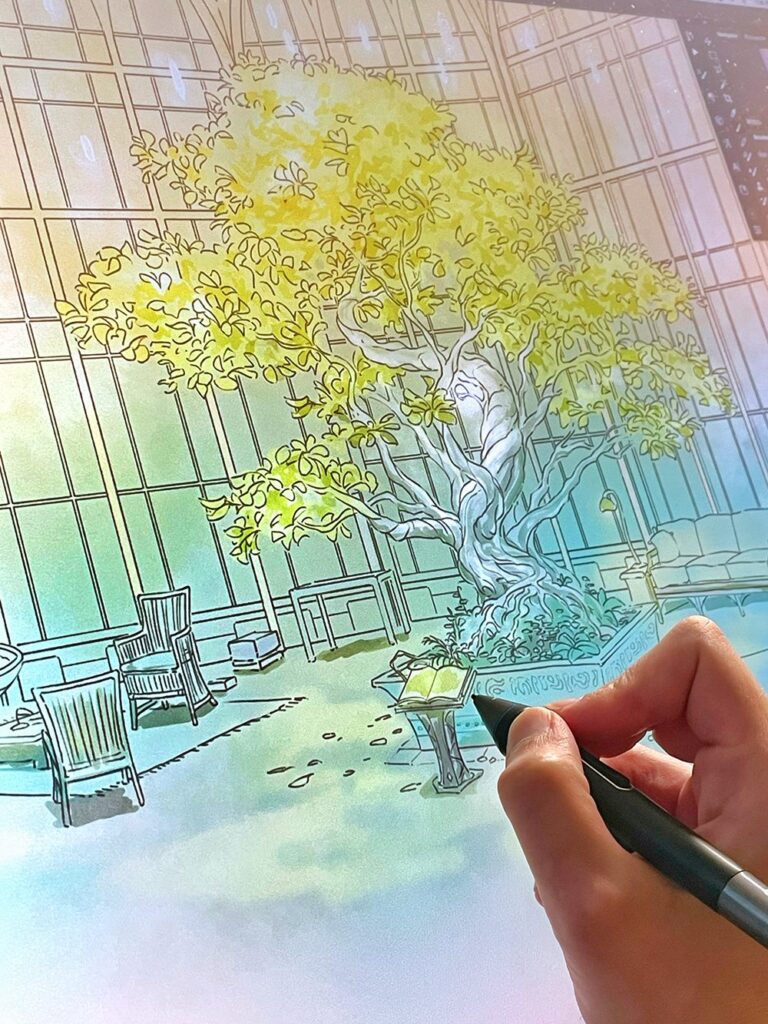
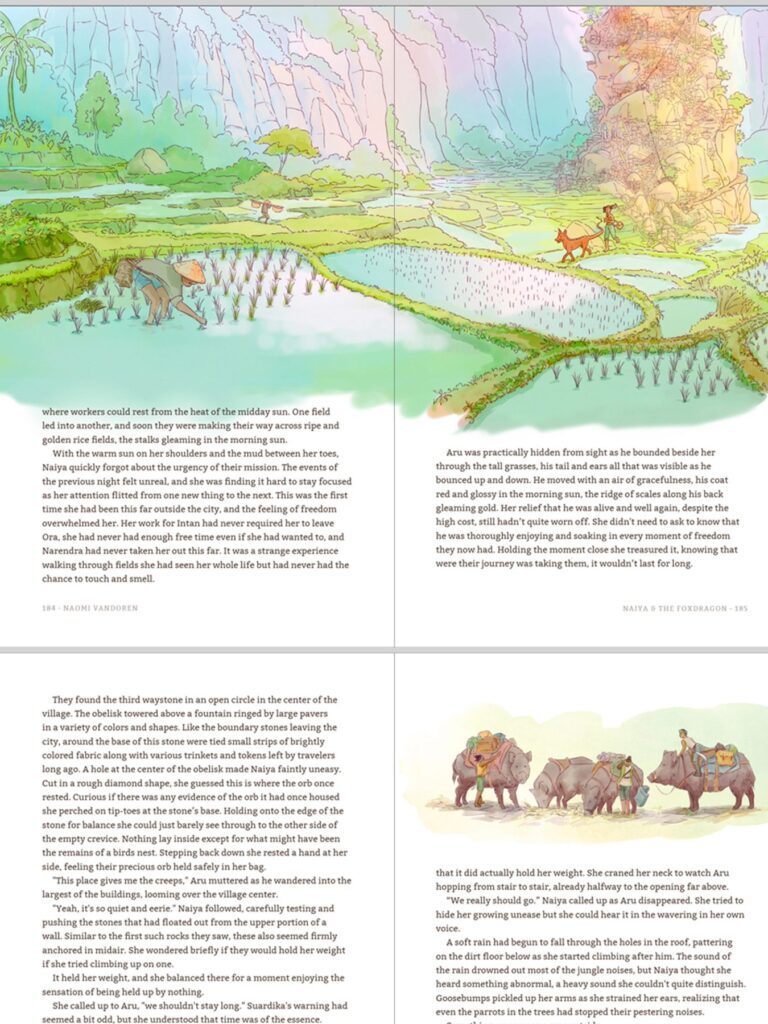
All of my illustrations begin in Photoshop on my Cintiq, even if they end up being completed in a traditional medium like watercolor or gouache. This stage is where I compile all of my references, where thumbnails turn into sketches, and, most importantly, where the detailed linework is completed. From an artwork standpoint, roughly two-thirds of my time goes into this preliminary work towards my final illustrations for a book.
Once the preliminary work is complete I finish my artwork in Photoshop with painting digitally, or I might work on them in Adobe Fresco or print them out for traditional watercolor painting. The finished results however return to Photoshop for color correction and additional textures. A consistent look and feel across the entire book is very important so this last step is not one I overlook.
I recently took this kind of work on the road with me using a smaller, more portable Wacom Cintiq 16. With a professional tablet that fits into a suitcase, I can work on everything from rough sketches to final renderings or even my book layouts in InDesign on the go. For me, this opens up some incredible freedom to do a lot of my work on-location at places I find inspiring and are a part of my writing and worldbuilding process. Being able to work on a Cintiq no matter where I go (even if it’s not as large of a screen as I have in the studio, is key.
Tip/takeaway: Create an illustration formula to follow. Once you decide on your book’s look and feel, stick with it so your illustrations look consistent across the entire book. This also streamlines the process and helps you make better time estimates on how much more work needs to be put in before completion.
Book Layout Design
My book designs often go through the same messy-to-refined iterations as an illustration, from a rough draft to the final layout. To begin, I love looking to other books as references to see how they were created during this early design stage. Creating a rough design draft early in a project while still thumbnailing the illustrations for your book also goes a long way in helping you piece everything together in the end. What page size will it be? How many pages of text versus illustrations will I have?
As you can imagine, working with my book design is very much a physical process (I’m sure at this point you see the theme here.) Moving elements around in InDesign, juggling the text layout and images is so much easier when I can jump into Photoshop to manipulate an illustration to fit with the text. This process saves so much time and is a seamless experience on a tablet.
Tip/takeaway: Take a trip to your local library or bookstore for inspiration! This will help you decide early on in the process what final form your book might take and inform your design and layout process. From here, create a template to work from as you design. This will help save you from needing to make major design changes down the road that might result in a lot more work than you had planned.
View this post on Instagram
Additional Media
Most book projects are not complete without accompanying media to go with them. I’ve self-published several art books and one illustrated novel (currently working on the second), and each needed accompanying promotional animations or a book trailer to go with them. I love compiling videos in Premiere Pro and using my Cintiq for this kind of work. I wouldn’t say using a tablet is essential in the video editing process but for me, I’ve found it to be my preferred method.
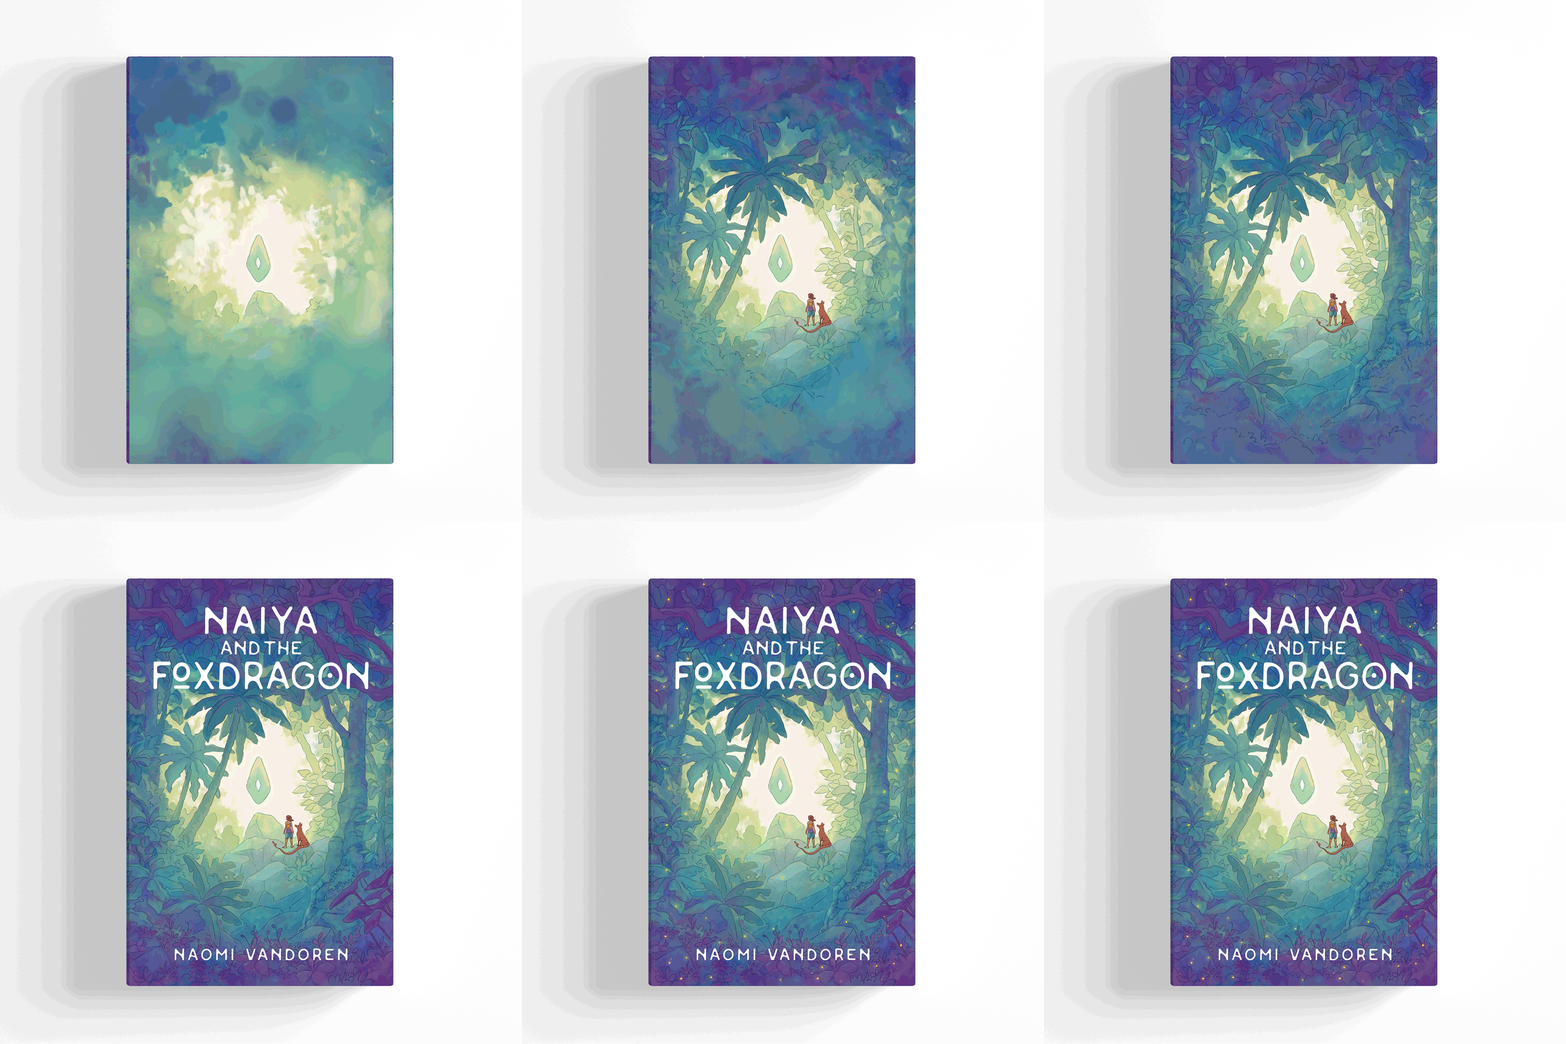
Animating any of my illustrations on a tablet, however, has obvious benefits such as being able to hand draw animated elements or new keyframes. When creating my book cover reveal I needed to paint in the background behind several layers of the animation.
If you’re self-publishing your project, explore what other kinds of media your project can take on, have fun and use some of these creative ways to truly celebrate all of the hard work you’ve put into your project.
Tip/takeaway: Take note of your favorite book launch or Kickstarter project. What other things drew you to it that you can include in yours? Was it a cover reveal video or cool animation?
Wrap up
Thank you so much for joining me on this behind-the-scenes walk-through. I hope you’re inspired to tackle your first illustrated writing project and find the tips here helpful in tackling this wonderful pairing of writing and illustration. If you want to learn more about me or my books you can find me in all the usual places on social media @naomivandoren.
(Image credits: Portrait photo by Nicole Nordstrom. All other images by Naomi VanDoren)
About Naomi
I am an artist and author and have spent much of my life abroad. I grew up in the Spice Islands of Indonesia. A childhood of travel and immersion into a variety of cultures at such a young age has left me with the desire to explore the earth and share my experiences through art.
Like many creatives I know, for as long as I can remember, I have made art. It began at an early age sketching in my mother’s garden and photographing the neighborhood cats.
I have a formal education in graphic design and began pursuing illustration on my own after moving to Japan in 2013. I dove deep into painting digitally full time, and my passion for drawing and painting blossomed. In 2015, I experienced painting in watercolor for the first time and found it to be the perfect medium for traveling and I haven’t put it down since.
Currently I am developing projects around my own foxdragon creatures and am illustrating the first in a series of novels. Find out more about these novels and my writing at Foxdragon.com.

