Maybe you’ve been using Adobe Photoshop for a while, or maybe you’re just getting started. There are many ways to do every type of edit in the software, as well as all kinds of tips, tricks, and hacks to do things more simply and easily.
In this tutorial Colin Smith, the creator of PhotoshopCAFE, demonstrates how to merge photos together, seamlessly blend them into a digital collage, and add a text effect on top.
Check out the video below for the Adobe Photoshop tutorial, or read on for a summary of the instructions!
In this Adobe Photoshop tutorial, we’re going to show you how to blend images together and create a photo collage.
1. Load images
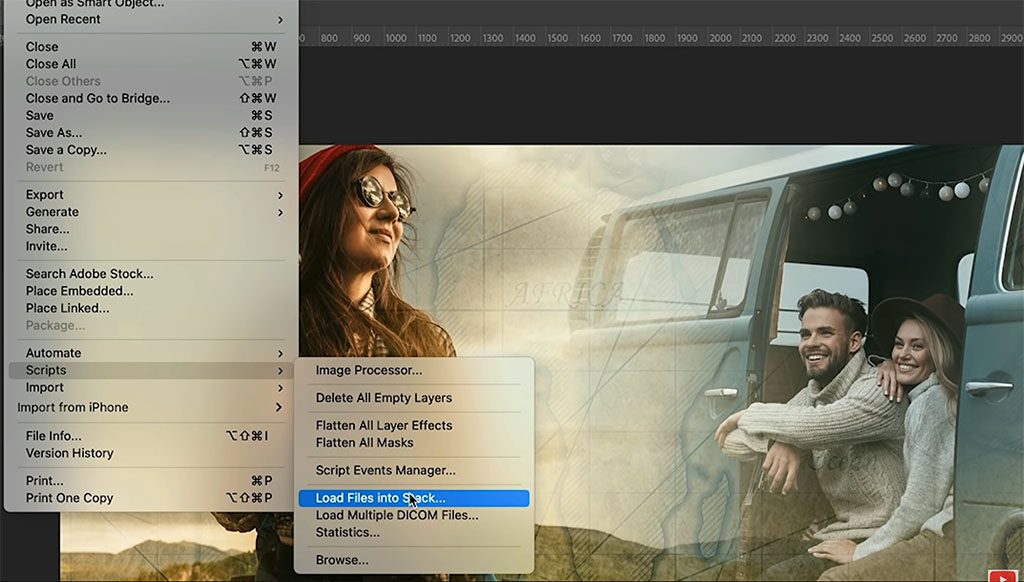
So the first step is to bring in the three images that we’re going to work with. Create a folder if you haven’t already and put the images in it.
In Photoshop, choose File > Scripts > Load Files into Stack. This is going to put them all into one document. Hit Browse, find the folder you created, select the images, and click OK. Photoshop is going to build a new document and drop the three images, one on top of the other.
2. Crop canvas
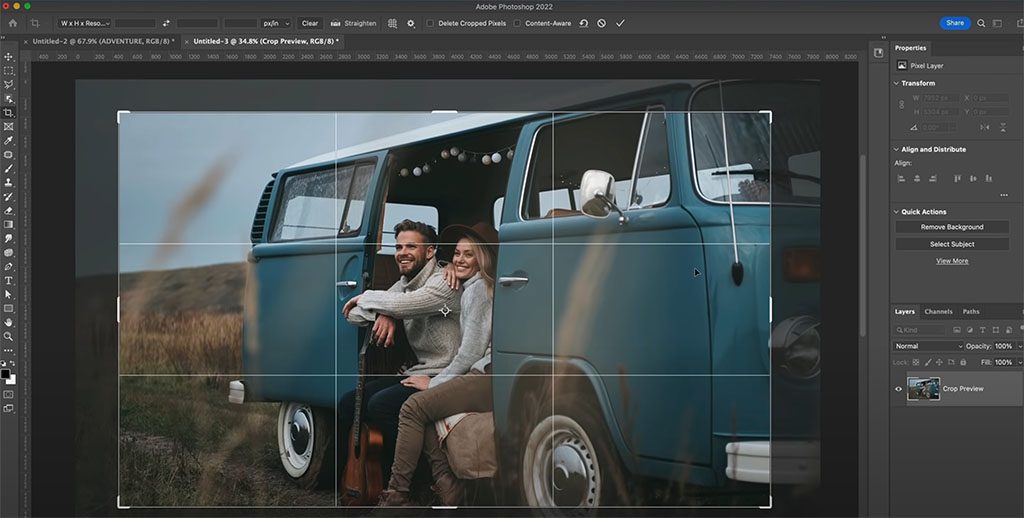
Now hit Ctrl/Cmd+0, and that’ll zoom out so we can see the entire image.
Now let’s crop the image to the size that we’re going to use. Use the Crop tool (Shortcut C). Make sure Delete Cropped Pixels is not checked. If it does that, it’s actually going to cut away the other parts of the image.
3. Move and resize image layers
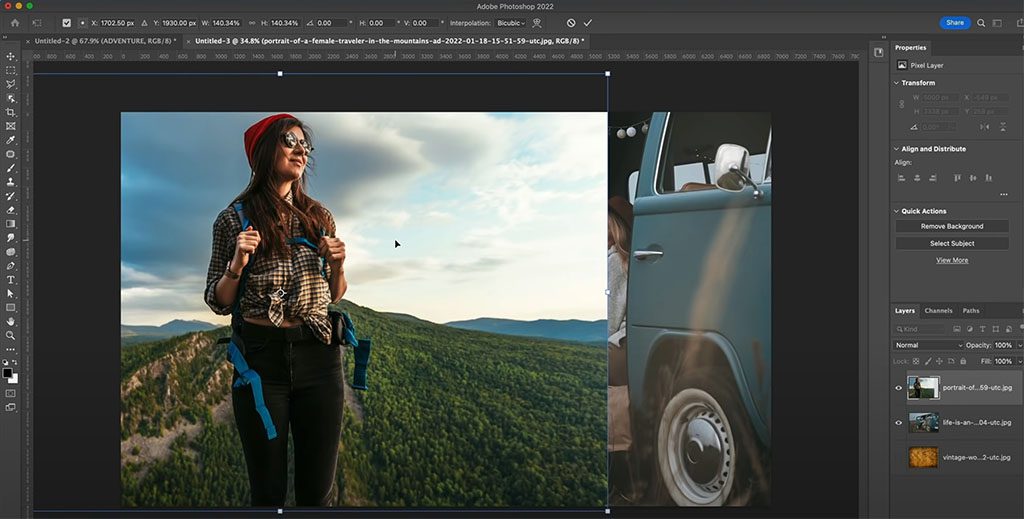
Use the Move Tool (Shortcut key M), and position one image on top of the other where we’re going to blend it into the other image.
In my example, I’m going to drag the image of the woman to the top left and have the folks in the bus on the right. Resize your images by using the Transform tool (Ctrl/Cmd+T) so they’re the size you want.
Tip: Try to avoid resizing images to make them larger — it can create pixelation. Doing this a little bit is OK, especially for smaller images and for the Internet — but for larger images or for print, it’s not a good idea.
4. Blend images
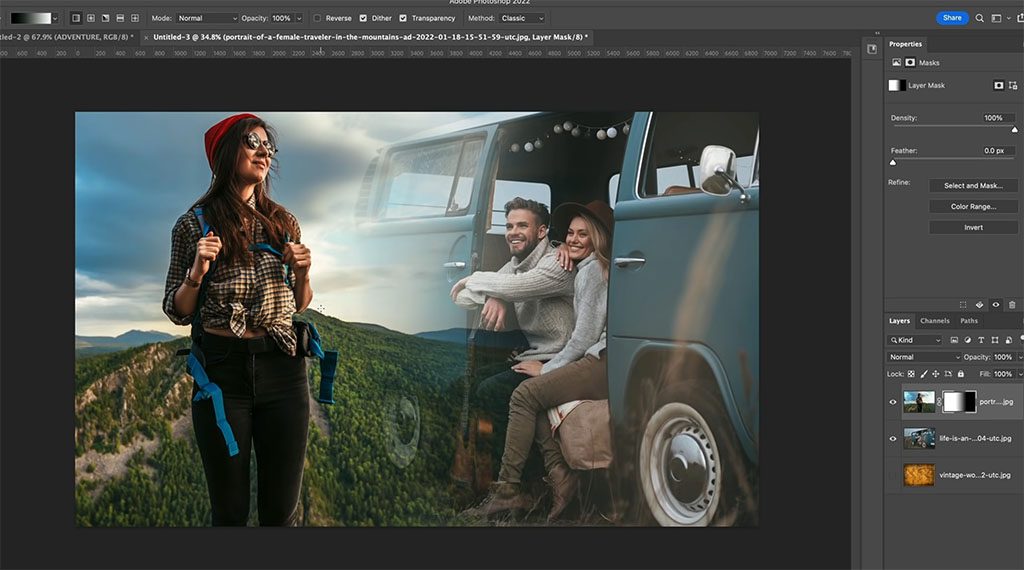
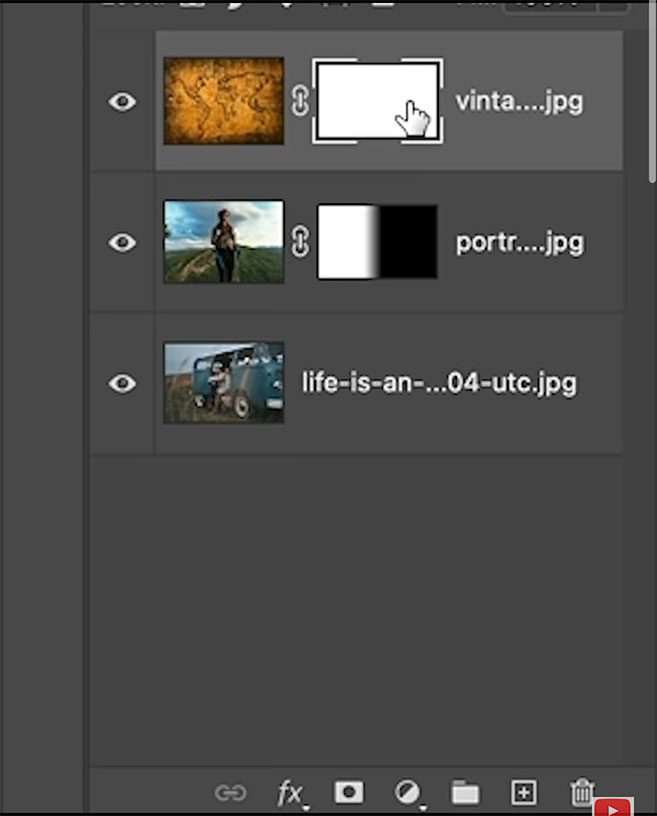
So first, create a layer mask on top. With the top layer selected in the Layers Panel, click the New Layer Mask button.
Hit the D key to reset the foreground and background colors to black and white. Select the Gradient Tool (Shortcut key G). Use the foreground to background or black to white Swatch in the Basics folder. Set gradient direction to Linear and Opacity to 100.
Now, with the layer mask selected, drag the mouse from the right edge of the image to the left. The blend should remove the edge of the photo, like in the image below. If you want to blend more, drag it further. For a smoother blend, you’re going to start further away and drag further out.
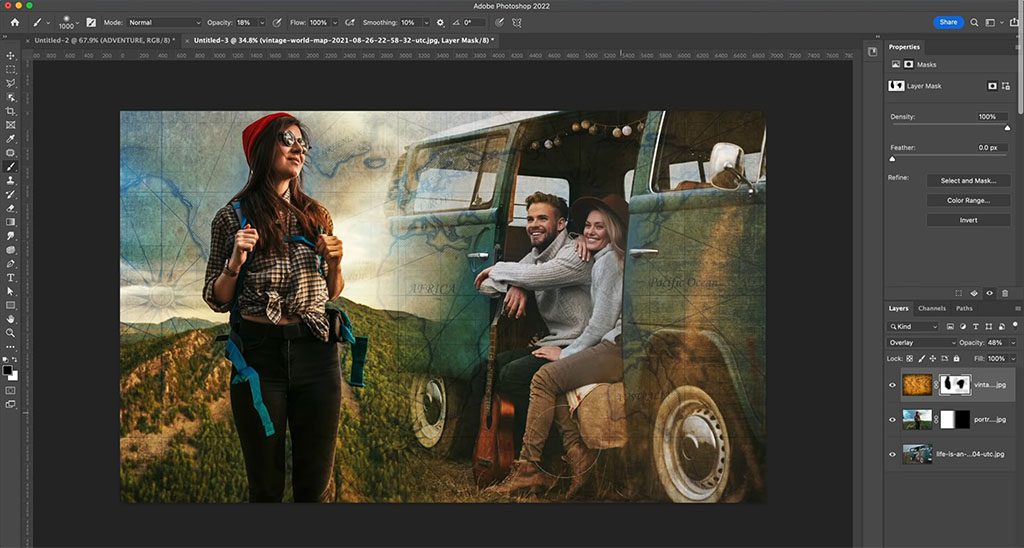
5. Apply overlay
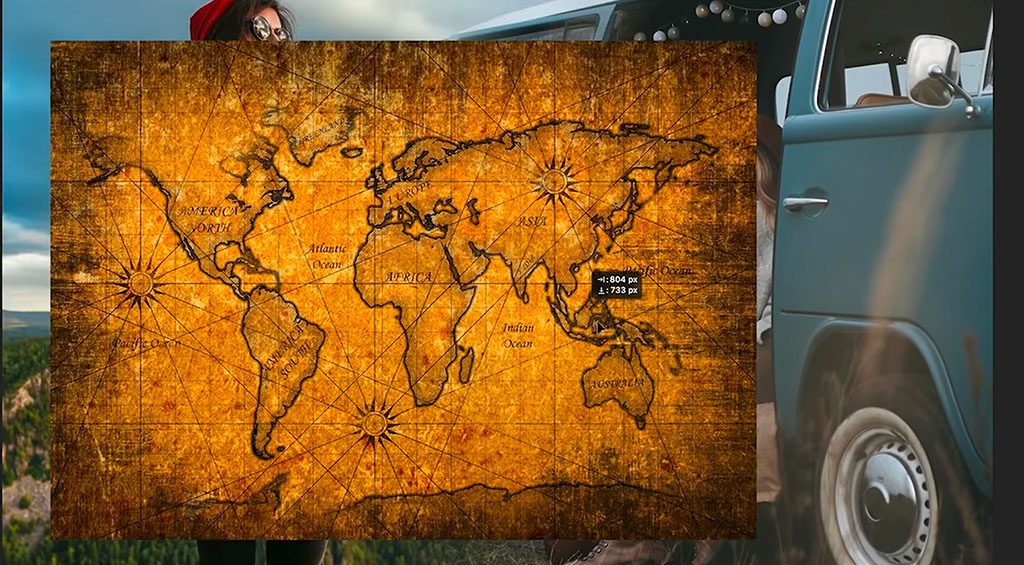
To create an overlay, we’ll use the third image as a blended background texture with the other two. In this example, we’re using a vintage looking map layer. Unhide that layer in your layer stack. Use the Transform tool (Ctrl/Cmd+T) to resize the layer to cover the entire canvas.
Tip: If the shape is changing when you’re dragging it, hold down the Shift key and that will constrain it.
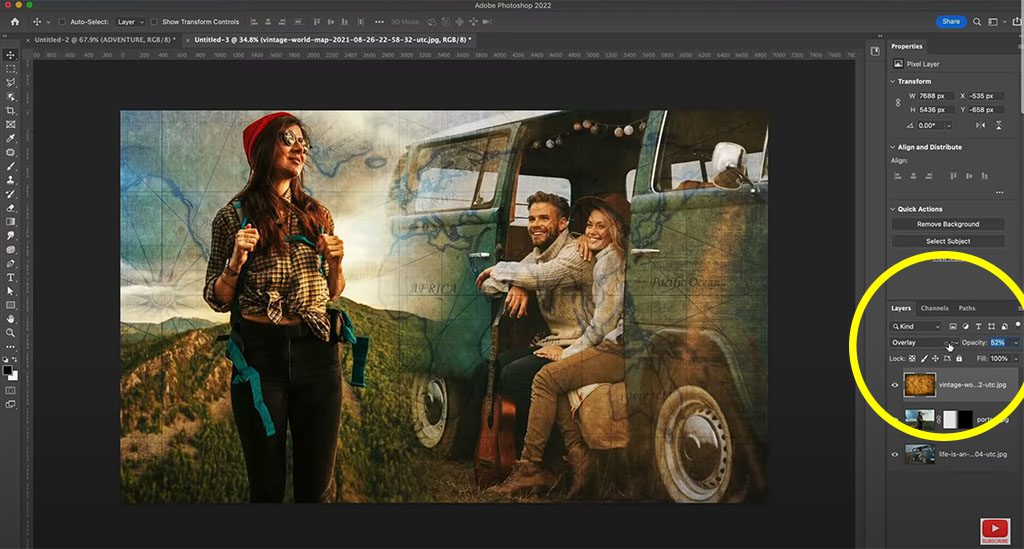
Change the Blending mode using the menu in the Layers panel. There are many different effects that can be achieved and that you can play around with. Try different types of blending modes depending on what kind of images you’re working with. For this tutorial, we are going to select Overlay, and set Opacity to 52%. See how things are starting to blend in a little bit better now.
Now let’s remove the overlay from the faces of the models. Create a New Layer Mask and Select it. Hit the X key to set black as the foreground color. Select the Brush Tool (Shortcut key B) > Soft Round Brush. Set Opacity to 100.
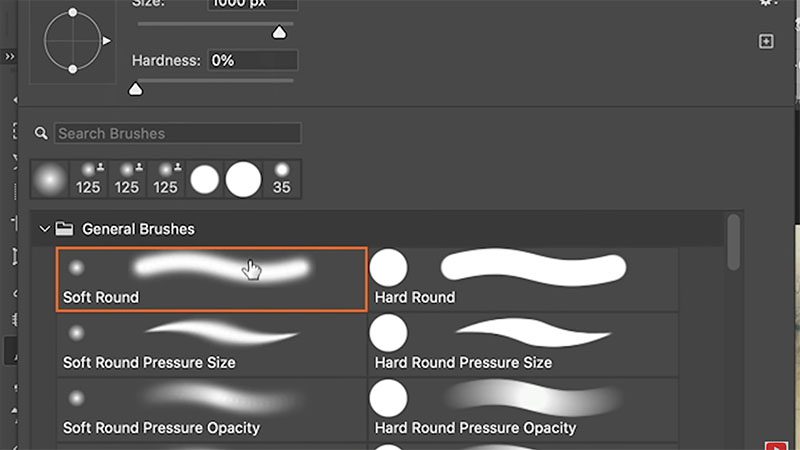
Now paint over areas you want the overlay completely removed, like the faces of your subjects. Then drop Opacity to about 18, and keep fading the overlay in areas where you think the effect can be softened — perhaps the subjects’ clothes and/or gear, or parts of the background you want to be more visible.
6. Add a color effect using a gradient
First, make sure you have the layer selected, not the layer mask.
Choose two colors, ideally a warm and a cool hue, using the Eyedropper Tool (Shortcut key I). You can choose colors from the image by clicking or dragging the mouse around while the Color Picker panel is open. For this tutorial, colors #b65d23 (Foreground) and #6ba1b4 (Background) were used.
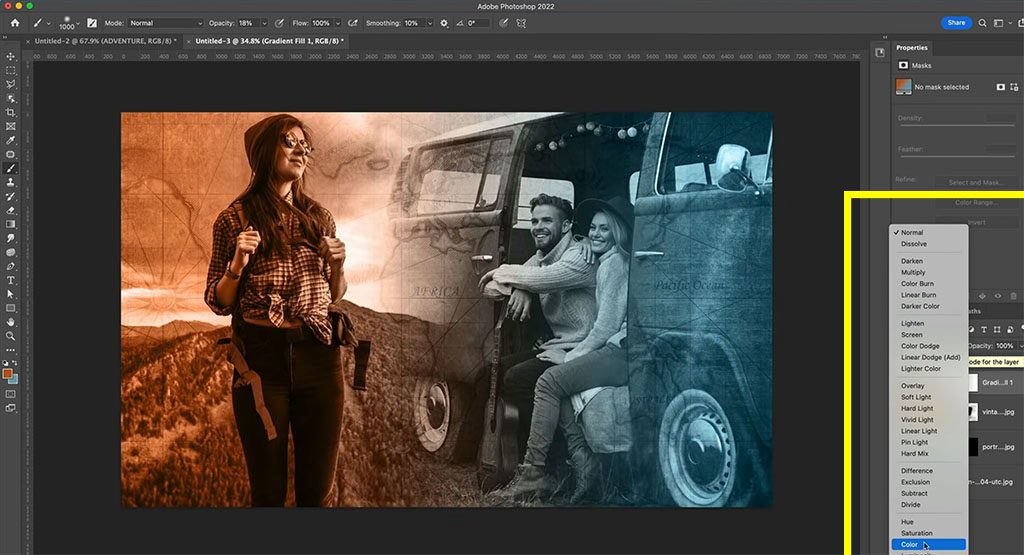
Now, in the Layers Panel go to Adjustment Layer > Gradient. The Gradient Fill window will open. Change the Gradient Type to Foreground to Background, and you can see the colors we choose. Set the Angle to 1.46.
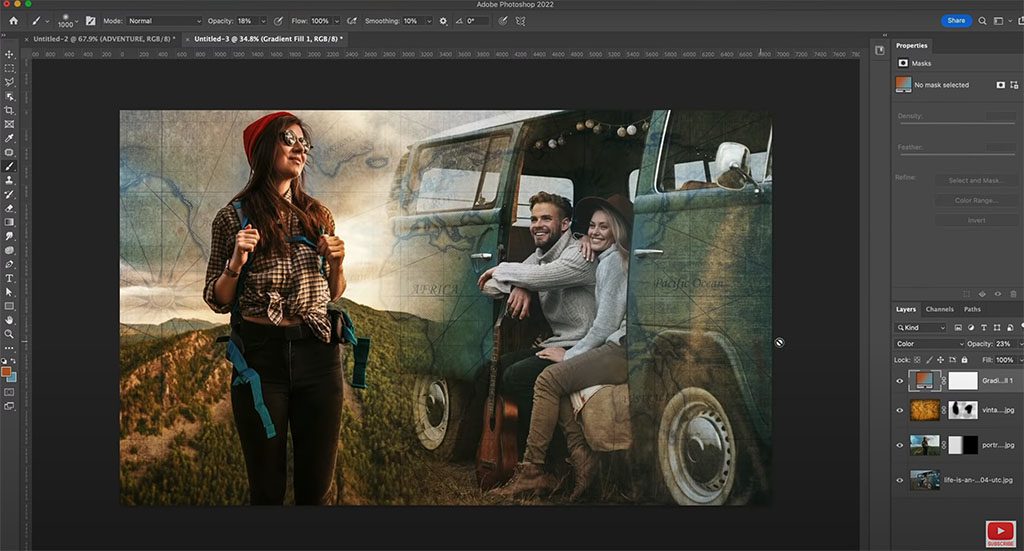
Now, in the Layers Panel, change the blending mode to Color. What this does is it applies the color from our gradient onto the image while allowing all the image detail to show through.
Now let’s blend the original colors with the color gradient layer. Reduce the Opacity of the gradient adjustment layer to 20%, then adjust according to your tastes.
7. Add Text With Drop Shadow Effect
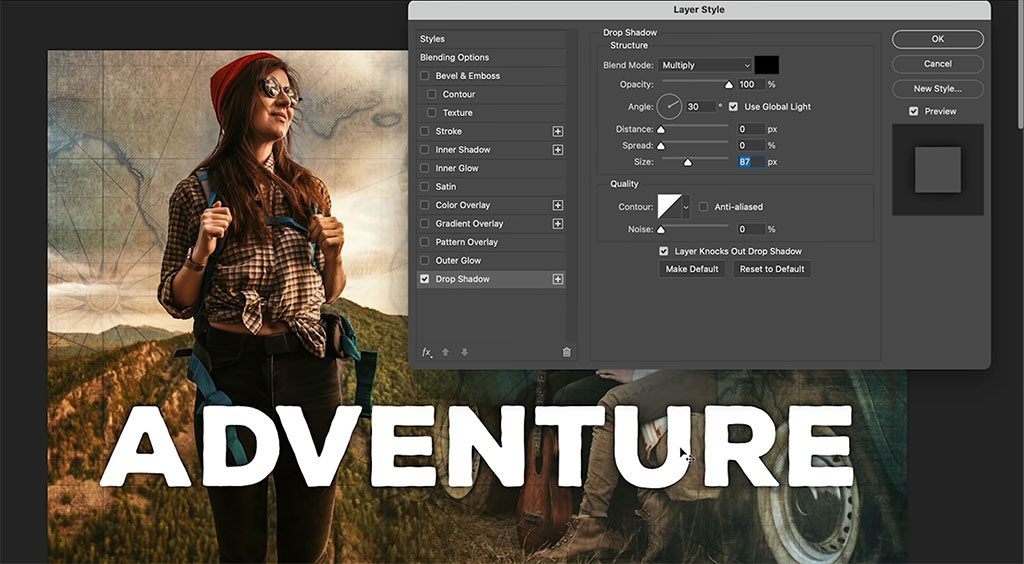
Use the Type Tool (Shortcut: T key). The font used here is Nexa Rust Sans, which can be downloaded and used for free for personal use, but you can use anything you like. For this tutorial, we typed “ADVENTURE.” Change the color to White (#FFFFFF) and resize to large.
Select the layer with your type. In the Layers Panel, click on Effects > Drop Shadow.
In the Layer Style window that opens, make sure the Drop Shadow tab is checked. Click there. Set Opacity to 100, Distance to 0. Play around with Size according to your preference (this actually refers to softness of the shadow edge). Set Fill to 10%.
Tip: If you want to see what the final result of the text effect is going to look like, go under Blending Options and you’ll see Opacity and Fill Opacity, same as we have on the layers panel. Reduce Fill Opacity to 0 and you’ll see that it hides the textures, but still allows the effect to show through.
Now, with the type layer selected, Duplicate (Ctrl/Cmd+J) the layer. Set Opacity and Fill to 100.
We want to blend the duplicate layer with the more transparent original layer underneath to create a gradient effect. So first, create a layer mask on the duplicate type layer. Select the Gradient Tool (Shortcut key G) again. Hit the D key to reset foreground and background colors to black and white. Then use the linear gradient like before, now dragging from top to bottom. Set Opacity to 50%.
If you feel like the image is too dark, you can change the blend mode to Screen, which will lighten it. Notice that we can get a completely different feel depending on the blend mode, so experiment with different ones.
That’s it! Here’s our final image below. We hope you enjoyed this creative project.


About the presenter:
Colin Smith has been using Adobe Photoshop professionally for 20 years. He does training for Adobe and Apple and has written 20 books. At his YouTube channel, PhotoshopCAFE, he has hundreds of easy to follow Photoshop Tutorials and tips as well as Lightroom tutorials and occasional photography tech or drone videos.
For more information or to see more of Colin’s free Adobe Photoshop resources, check out the Photoshop Cafe website, or check out his premium training library.