Nearly everyone’s on social media these days — including brands. If you’re managing social media for a brand, you can’t just throw some content up on a social media page and expect it to work.
In this tutorial, Lauren Gonzalez, graphic designer and founder of 4 The Creatives, shows how creatives, whether working for a brand or for their own freelance businesses, can make sure their social posts stand out.
Check out the video below or read on for all of the details!
Nowadays, about 60% of the population on Earth is on one or more social media platforms.
Social media is where the conversation starts for brands to connect with their target audience, and it is natural that brands want to put out posts to entertain, educate, inspire or promote. But designing a proper social media post requires more than just going to a free online image editor and replacing the colors and text for that brand.
Designing a post has its own procedure in order to get the proper result. Here’s how to do it!
Introduction
For this tutorial, I will take on one of the most famous toy brands in the world: LEGO.
This was inspired by a recent visit I did to NASA’s Kennedy Space Center. LEGO had its own exhibit there, showing its program intended to inspire kids to essentially become future rocket scientists and astronauts, called Build to Launch. But I was quite disappointed to see how they don’t really promote this program much! So when I was doing research for this video topic, I decided to take on LEGO — to show them how to do it.
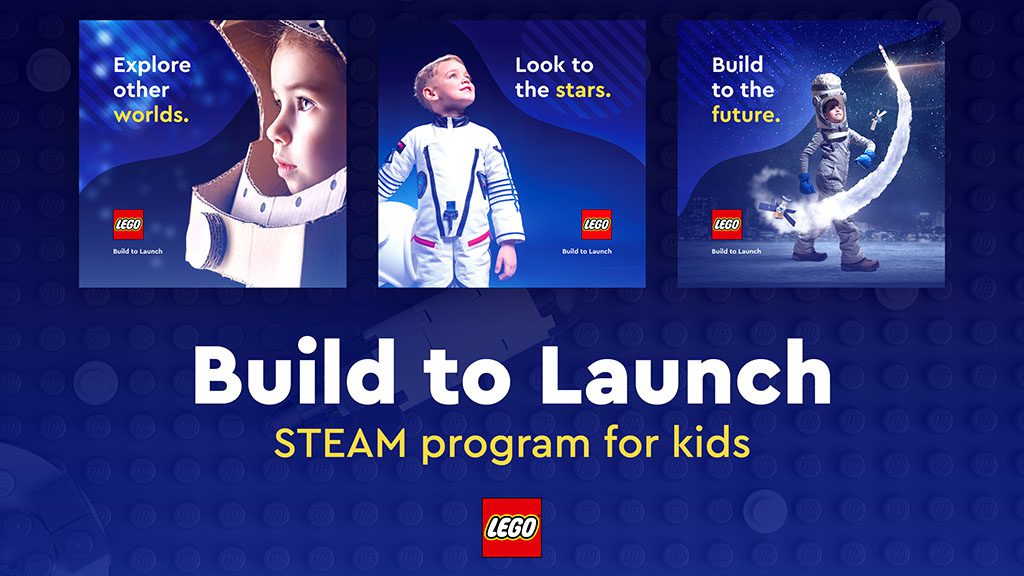
I will therefore design a series of 3 social media posts to help interest parents in getting their kids into the Build to Launch program.
Step 1: Understanding the brand, product, and/or campaign
The first step is to understand the brand or product you are doing the social media for. So here is some of the information I was able to pull from NASA’s website.
Build to Launch puts students in the shoes of NASA engineers, scientists and astronauts as they explore the technology, STEAM concepts and careers behind the Artemis I mission to the Moon. Join the all new LEGO Space Team and their Artemis I counterparts for a 10-week interactive learning adventure.
So now that we understand the purpose of this campaign, next we need to understand the purpose of our social media post.
Step 2: Decide on your purpose and audience
When creating posts you have to ask yourself: what is the purpose of this? Will this be to educate? To inspire? To entertain? Or to promote a product or service? In this case, I want to use this post to showcase and build awareness about this program in an inspiring way — to promote as well as inspire.
Then we need to figure out who this post will be for. These social posts will be on Instagram, to catch the attention of parents similar to me — parents whose kids are obsessed with LEGO and/or space, just like my son.
The colors for the program are these deep blues and light blues, as well as LEGO’s iconic yellow. Plus, I found out the typeface they use is called Cera Pro — and while it’s a professional font that costs money to use for commercial projects, they offer a free trial for personal use.
I also chose three stock images that showcase kids as astronauts, which I will be using for the design, and have done some sketches of the general layout I want to do.
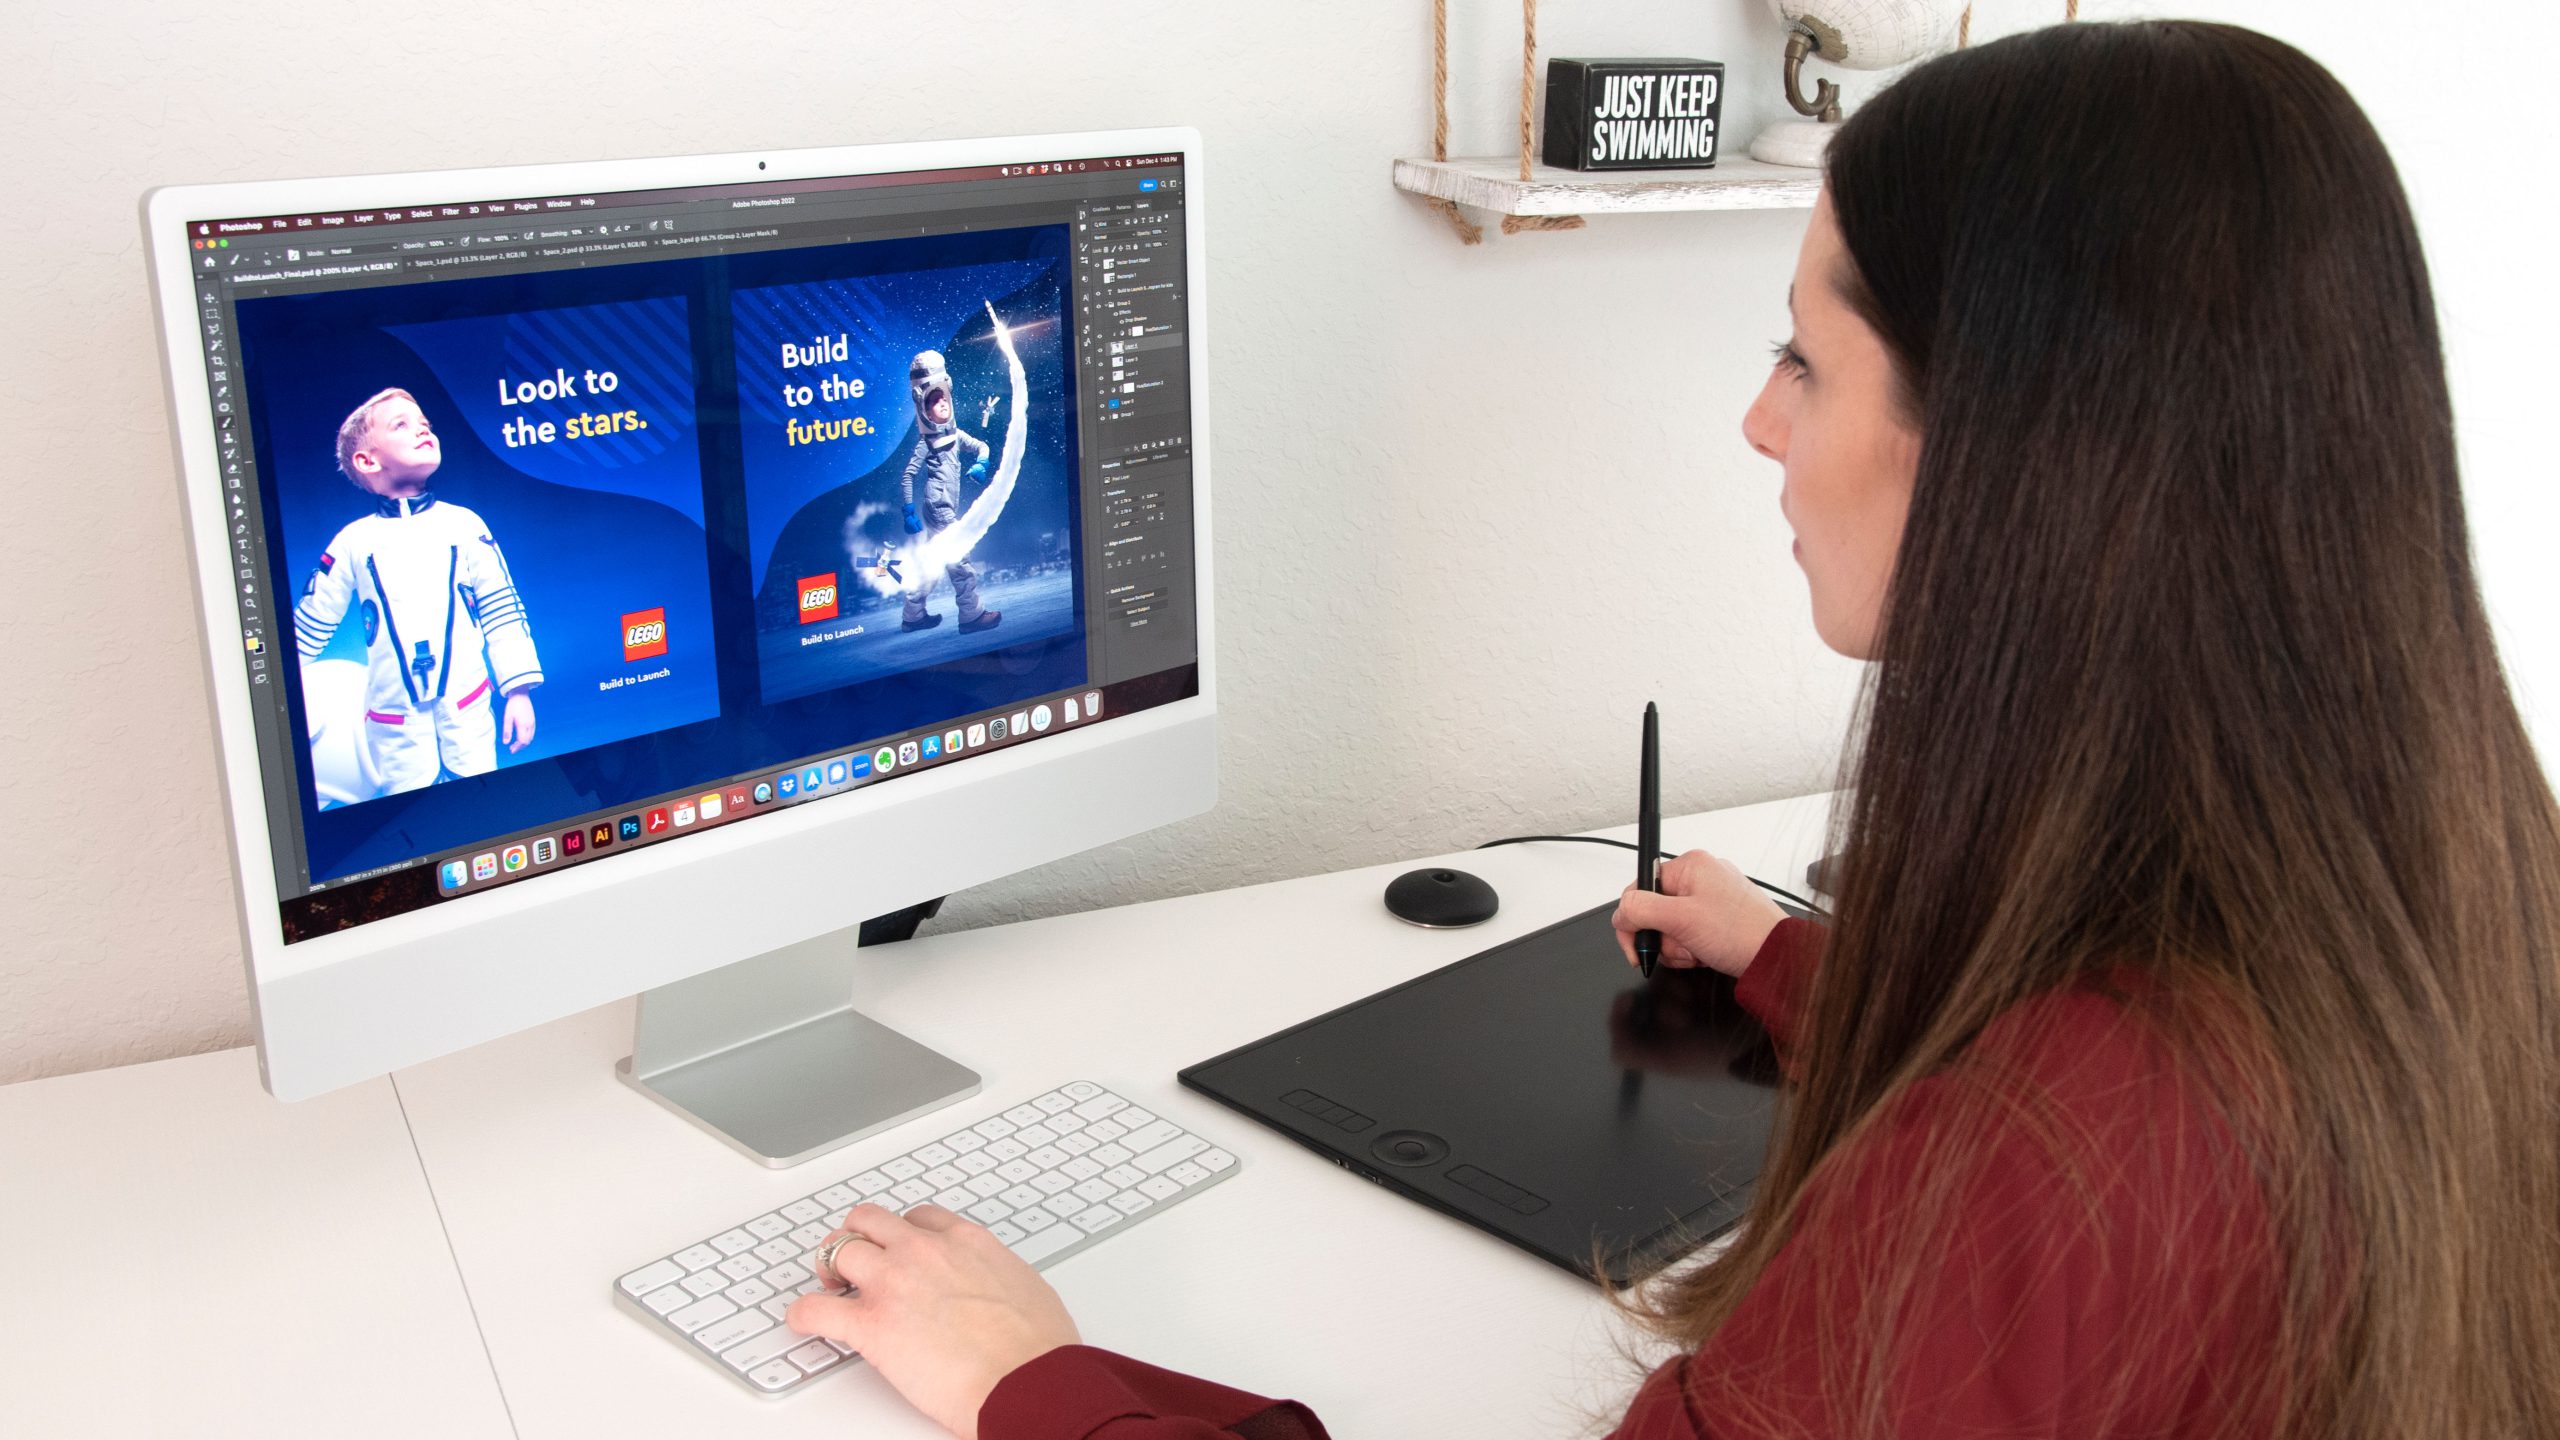
Gonzalez creating social media posts with her Wacom Intuos Pro
Step 3: Create!
So first, I will import one of my stock images into Adobe Photoshop, and put an overlay on it using the blue colors I chose.
I also want to add a shape element that will be subtle, but add consistency throughout the three social posts. So I need to mask some of this shape to make it look like it is going behind the little boy — and I get to do this very easily using my lovely Wacom Intuos Pro pen tablet, which makes my whole job so much easier as opposed to masking using a clunky mouse!
Then, I am going to import this into Adobe InDesign, as I find it easier to work with type in InDesign, and to re-create the simple phrase to go on the image. For social posts, it’s important to not put tons of small writing as people won’t — or can’t — read it. Small, catchy phrases or short sentences are best — and then in the caption, you can put more.
I am going to have one of the words be yellow from the LEGO color, and then at the bottom have it say Build to Launch with the LEGO logo there as well. I make sure to align everything with the “rule of thirds” to make sure the composition is nice.
Then we will do the second stock image in Adobe Photoshop, and import the same blue overlay as is on the first image to keep it looking consistent. And I will have the shape I created on the other side on this one, to add contrast to the first.
Next we will do the final image in Photoshop with the blue overlays and the shapes. And again using my handy Wacom Intuos Pro, I can mask out the head and the ship from the shape there. And one more time, we will duplicate this in InDesign and have the type on the same side as the first. InDesign makes it easier to work with the type.
Then I want to display all of them in one place as if I was presenting these to LEGO, so I am going to have this other stock image of a rocket ship LEGO there and put an overlay on it. I then export the social posts into JPGs from InDesign and then import them each into Adobe Photoshop so I can put them all together to display them. I’ll add the phrase Build to Launch, and have it there ready to present to LEGO as if they were the client, so they could see the consistency in the look.
Conclusion
So as you see, creating a social media post is not just about putting random stuff out there. It has a whole sequence and it has to be done right for maximum impact. Next time you create a social media post for someone, follow each of the steps above and you will see how simple it is to create posts — and that you will get more engagement this way!

About the author:
Lauren Gonzalez has been a graphic designer for over 11 years, an artist since she was very young, and has been an avid Wacom user since she first began her design career.
After working in-house as a designer and then creative director for six years, Lauren set out on her own, building a design business from scratch. After realizing how many other freelance designers were struggling, she created 4 The Creatives with the primary mission to stop creatives from being undervalued and provide a roadmap for them to build their own dream businesses. She continues to puts out weekly design-related tips and tricks on YouTube and Instagram, and runs the Consistent Clients Blueprint program, where her students learn to set up successful design businesses of their own. Check out 4 The Creatives, or follow her on social media!


