Mother’s Day is coming up soon! Want to give your mom something more special than a store-bought card? How about designing and creating a special, custom greeting card just for her? Graphic designer and Wacom user Lauren Gonzalez, of 4TheCreatives, has you covered.
In this tutorial, Gonzalez uses Adobe InDesign to design the card, then heads over to Michael’s to get the rest of the supplies she needs in order to take the custom card from concept all the way through to execution! Watch the video below for, or read on for all the details.
Michael’s is likely your partner for all of your craft and DIY efforts, but did you know they also support digital design and sell Wacom tablets as well? They’re running a bunch of Mother’s Day sales right now, including 40% on tons of Cricut accessories. Speaking of, check out our series of Wacom + Cricut tutorials with Heather Cash!
In this video, I’m going to show you how to make a greeting card from scratch for Mother’s Day! We’re going to start by designing on the computer, and then we’re going to go to Michael’s to get the craft elements to put onto the card.
1. Setting up the design
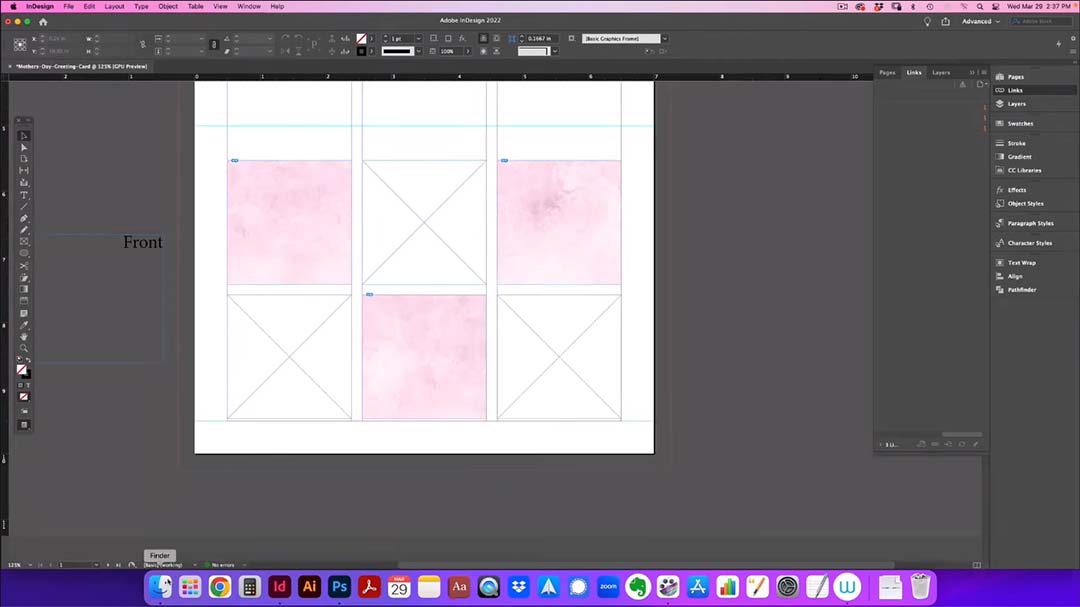
So first, I’ll create my Adobe InDesign document. I’ll set my document to 7 inches wide by 10 inches high, because the card will be 5 x 7 when it’s folded, so I need to make sure that it is 10 inches high. I’ll divide it into two, so I can see what’s the front of the card and what’s the back of the card.
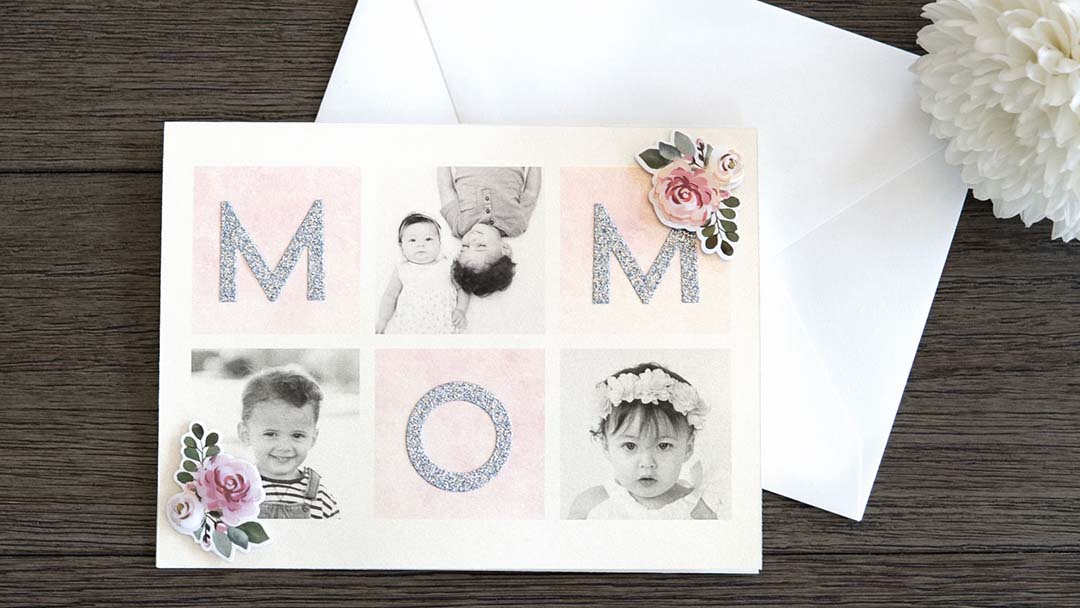
For my design, I’m going to do six squares. In three of them, I’m going to put pictures of my kids. And the other three are gonna say “M O M.”
2. The front of the card
When you have kids of your own, and you’re making a card for Mother’s Day for your mom, she wants to see pictures of the grandkids. I found it’s not really about the the kids anymore, it’s about the grandkids! So I don’t put pictures of myself, I put my kids. And for the ones that are gonna say “M O M,” I’m putting a blank kind of a texture to it, that is gonna be pink.
And that’s where I’m going to take the craft “M” that we’re gonna get from Michael’s, and I’m gonna put it on top of that, and then the “O” and then another “M.” Because this is gonna be pink and flowers and such, I want to just have nice black and white photos. So when I’m using the photos of my kids, they’re gonna be black and white.
And to make your design process so much easier. I really suggest using Wacom. You can use any type of Wacom tablets, they all work great. And now if you’re into really into craft, like I am, Michael’s is actually selling Wacoms, which is exciting because it’s like, unifying the design and the craft world together.
3. The inside of the card
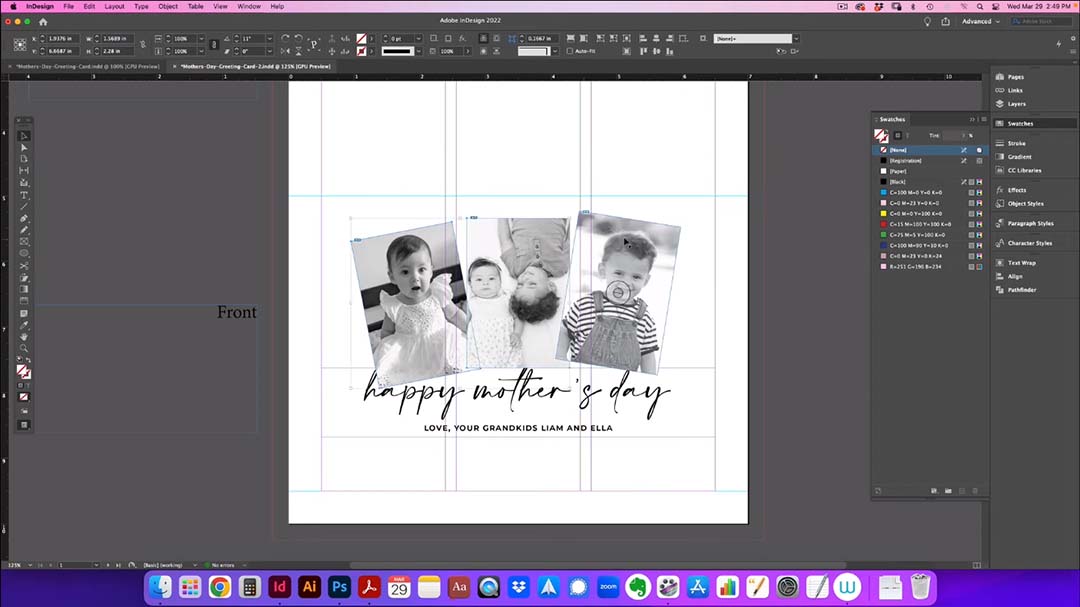
Then I’m going to do the inside of the card. For the inside, the bottom will be what is the inside, and the top is gonna be the top of the inside. So when they open the card, they’re gonna see that bottom writing, you know, normally it says Happy Mother’s Day, or I love you, or whatever you want to have it say — this is where it’s going to be.
4. Export and print settings
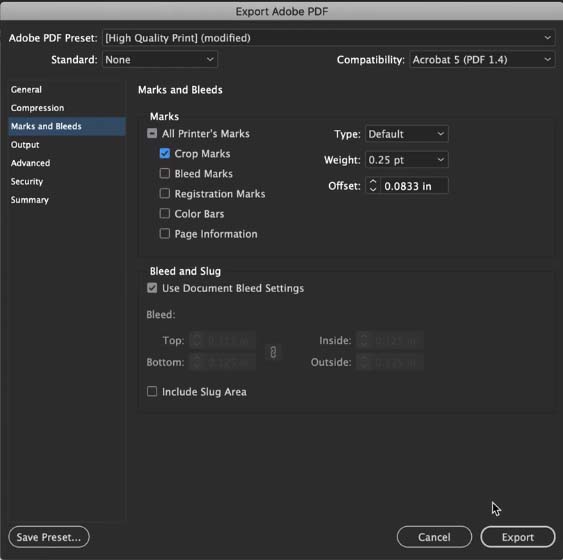
Then what you’ll do, is you’re going to export the design to PDF. Make sure you have crop marks so that the printer knows exactly where to cut it.
Tip: when exporting a PDF in InDesign, typically the default settings will include “bleed” on the edges of the document to make sure it prints correctly. To make sure, in the Export settings use the default “Adobe PDF (Print)” Preset, and click “Marks and Bleeds” in the left-hand column, and make sure “Crop Marks” and “Use Document Bleed Settings” are selected.
5. To Michael’s: stickers and paper
Now that our card is designed, we’re gonna go to Michael’s!
So first, we’re gonna check those letters — “M O M” — for the greeting cards. There’s tons of different colors, so I’m gonna figure out which one’s gonna look best. The next thing we need to find are flowers, because of course moms love flowers! So we’re gonna go see if there are specific flower stickers, because I don’t want to deal with glue on this specific card.
Now, let’s get the card stock paper. We’re going to do this card on card stock, because we need to make sure the card can stand up — that’s what greeting cards do. There’s a wide variety of papers to choose from.
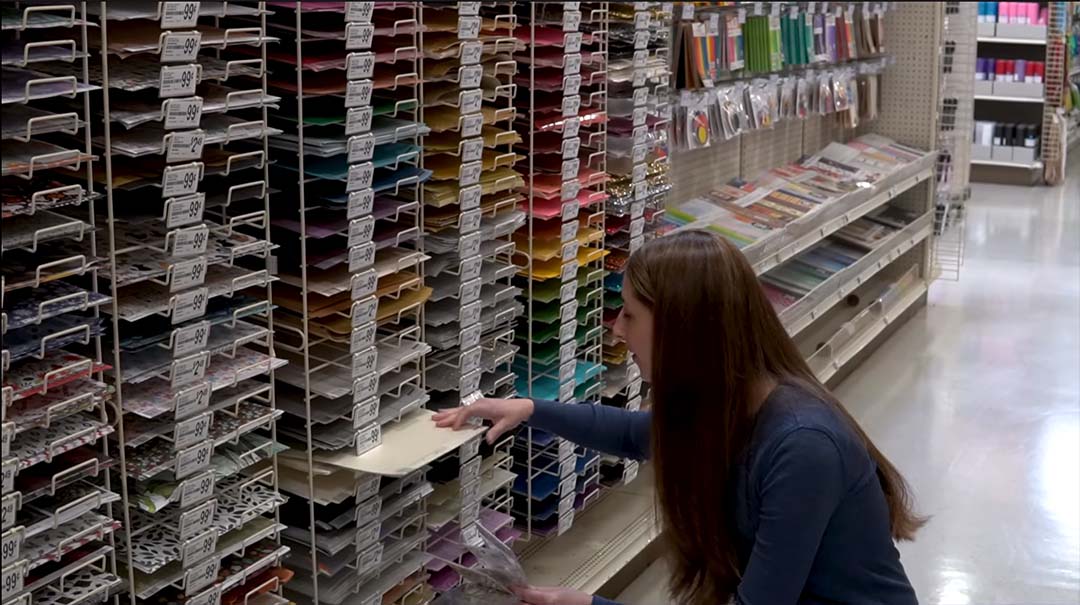
For this card, we need it to be 7 inches wide by 10 inches long. The final card will be 5 by 7, but we need it to be at least 10 inches long because it will be folded. So this is gonna work great. So we have our paper, we have our letters, and we have our flowers!
Some Michael’s locations provide on-demand printing services, but you could also bring your PDF design (via an email or a USB drive, typically) and your chosen card stock to a print shop or an office center like FedEx Office to print there as well.
6. Putting it all together
I got the card printed, and now I’m ready to put the craft on top of the finished design! I carefully attach the stickers and letters I got — and the scoring of the card really helps here.
Tip: ask for the printer to “score” the card it at the middle fold point, because that will make it so that it has a little bend to it, and that you can then fold it easily. If you just folded a piece of card stock paper without it being scored, it may look crinkly and won’t look professional.
Thank you so much for going along this whole journey with me, and I’ll see you next time!