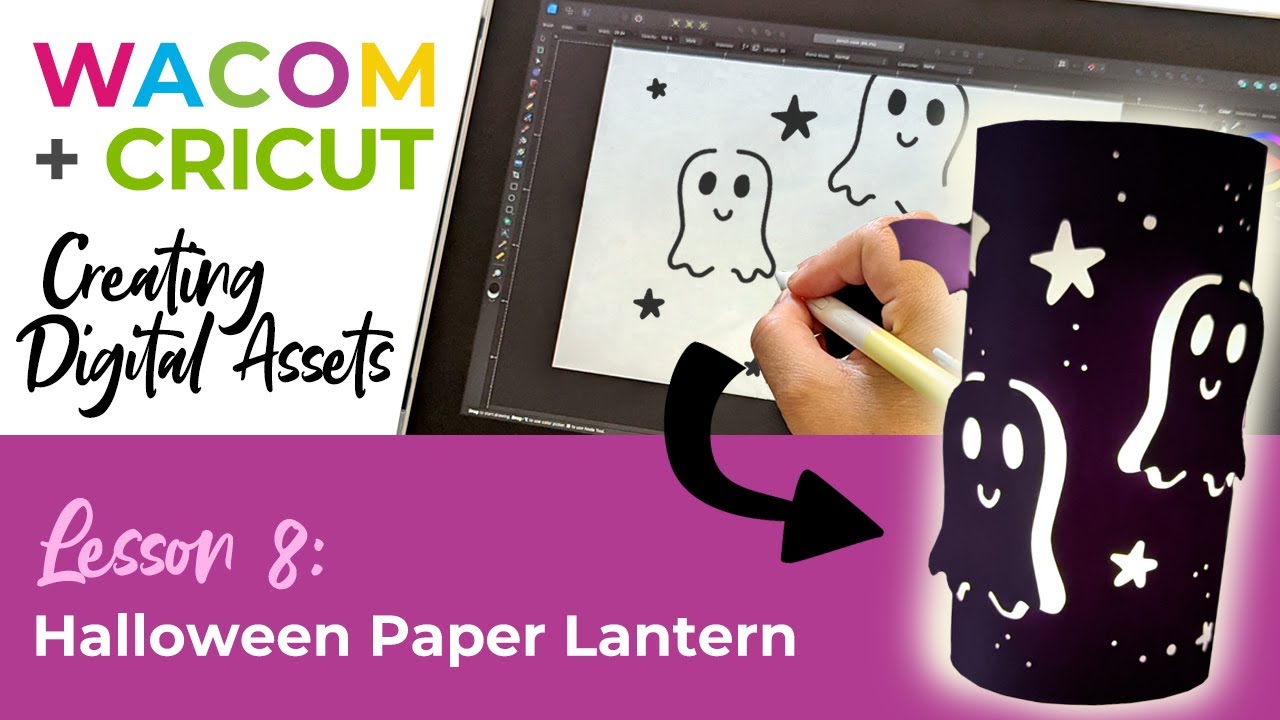
In the guest post and video below, crafter and creator Heather Cash continues her Wacom + Cricut series by showing you how you can use a Wacom One pen display and Affinity Designer software — included with every Wacom One purchase — to create a Halloween paper lantern as a fun project or a gift!
Check out the video below, or read on for a text-based explanation.
Hi, my name is Heather, and welcome to another episode of Wacom + Cricut, my series where I show you how to create digital assets for the Cricut, using your Wacom Tablet. And of course I’d like to give a huge thank you to Wacom for sending me this tablet, and sponsoring this series!
Today we’re going to be creating a Halloween Paper Lantern with pop-out shapes.
First, get your supplies:
- 8.5″x11″ colored cardstock
- 8.5″x11″ transparent vellum cardstock
- Tacky glue
- Clear packing tape
- LED tealight candle
Step 1: Create your lantern SVG
The first step is to create your file in Affinity Designer.
Create your file
Create a new file in Affinity Designer by selecting File → New. For the dimensions, enter in 8.5 for the width, and 6 for the height. Ensure that Inches is selected under Document units. Set the DPI to 72 (this will ensure that it gets pulled in as the correct size in Cricut Design Space). Now click Create.
Start drawing!
Grab your Pencil Tool from the toolbar on the left. Test out the size of your pencil by drawing some test strokes. If the strokes are too big or too small, you can change the size in the top toolbar next to Width.
Draw a few outlines of Halloween characters, and leave their middle portion unconnected. This is what will cause the sides to pop out when you roll the paper into a cylinder. If you need to adjust the shapes at all, you can grab your Node Tool from the toolbar and select individual nodes to move them around.
You can also add little circle holes all around your design, to let more light through. Grab the Ellipse Tool from the toolbar on the left, and hold down shift and drag to create a circle. You can duplicate the circle by holding down Alt and dragging the circle to a new position.
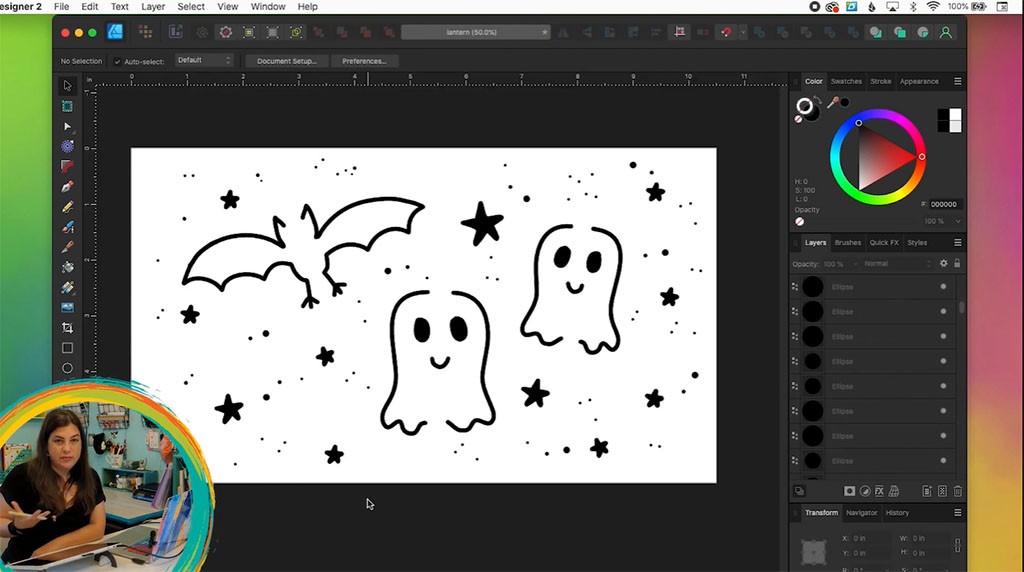
Format for Cricut Design Space
After you’re all done designing your lantern, you’ll need to format everything into shapes for Cricut Design Space. To do this, grab your Move Tool, select everything, and select Layer → Convert to Curves. This will convert your circles into actual shapes, rather than “circle objects” in Affinity Designer.
Now, click on Add in the Toolbar (looks like two shapes and a plus sign) to combine them all into one shape. Next, let’s hide those circles so we can work on the other elements. Head over to the Layers Panel and click the little colored dot on the layer that contains all the circles to hide them.
Next, grab your Move Tool again, and select everything, then select Layer → Expand Stroke. This will convert all the lines you drew into shapes. Then, combine all of these into one shape by clicking the Add button in the toolbar. We need to combine the circles and the rest of the drawing into one shape, so head over to the Layers Panel and show the circle layer (by clicking that dot again). Then, select everything, and click Add. Now everything should be one shape.
Lastly, we’ll just need to create a rectangle and then cut these shapes out of the rectangle. Go over to the Tools Panel and grab the Rectangle Tool. Make a rectangle the same size as the canvas. After you create the rectangle, you can make the size more exact by going over to the Transform panel and entering in 8.5 for the width and 6 for the height. You can also set the X and Y coordinates to 0.
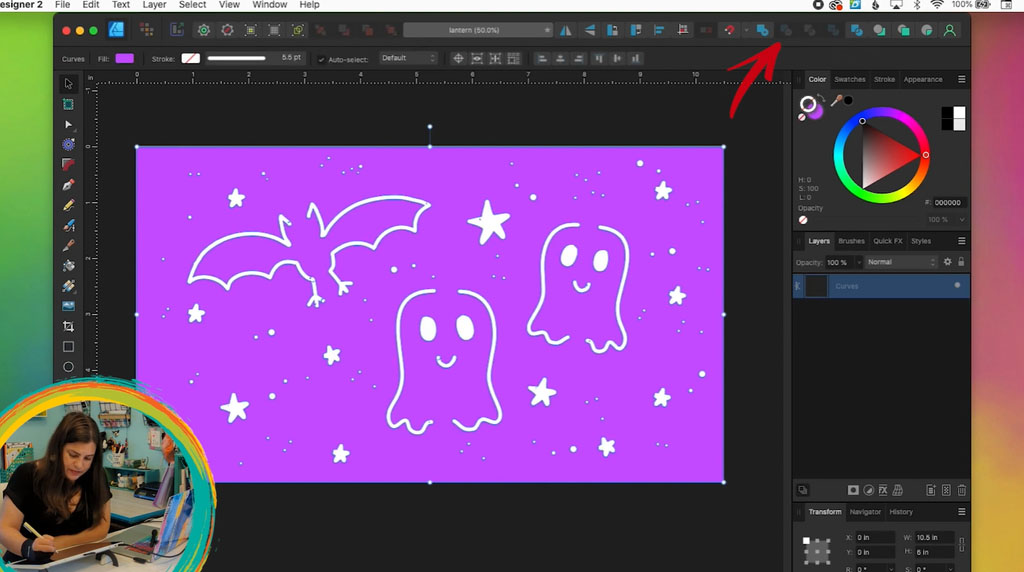
Now, select everything, and click the Subtract Front button in the toolbar. This will cut the drawn shapes out of the rectangle.
Export for Cricut Design Space
First you’ll want to save your design as an Affinity Designer file by selecting File → Save. Then, you can export it as an SVG for Cricut Design Space. To do this, select File → Export. Choose the following options:
- SVG
- Preset: SVG (for export)
- Set Use DPI to 72
- Uncheck “Set view box”
- Then click Export.
Step 2: Cut out your design
Bring into Cricut Design Space
Now we can create our lantern! In Cricut Design Space, upload your new design. Go to Upload, Upload Image, Browse, select your SVG file, click Open and Upload. Click your design and select Add to Canvas.
Next, click Make It. Then, click Continue. Ensure that your Cricut is connected and that your material is set to Cardstock, and click Done.
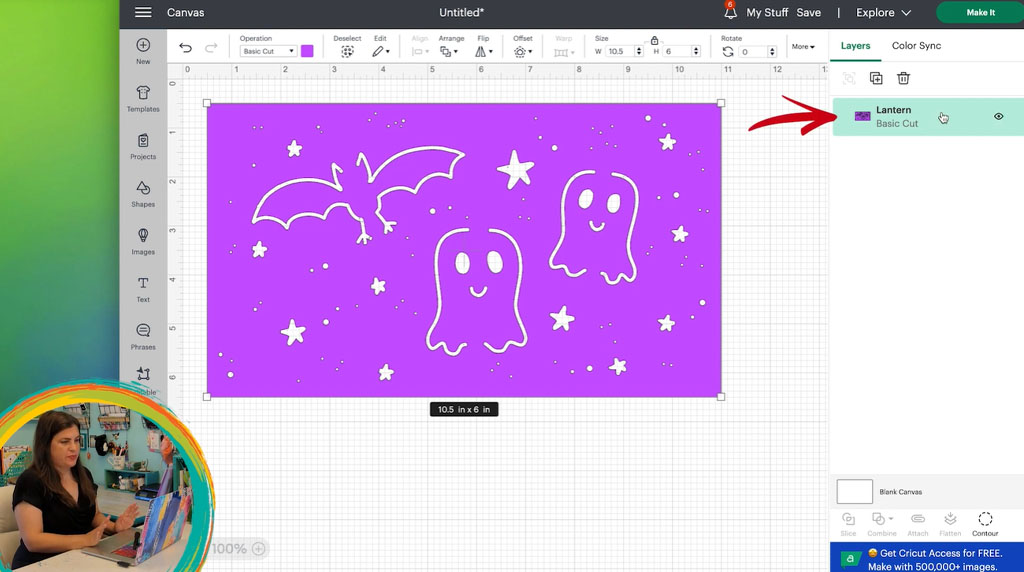
Cut Out Your Design
Place your cardstock in the upper-left corner of your mat. Then, run it through your Cricut, flip over your mat, and remove the completed cut-out lantern. Lay your lantern rectangle over your vellum, and cut a piece of vellum just a little bit smaller than the lantern.
Assemble Your Lantern
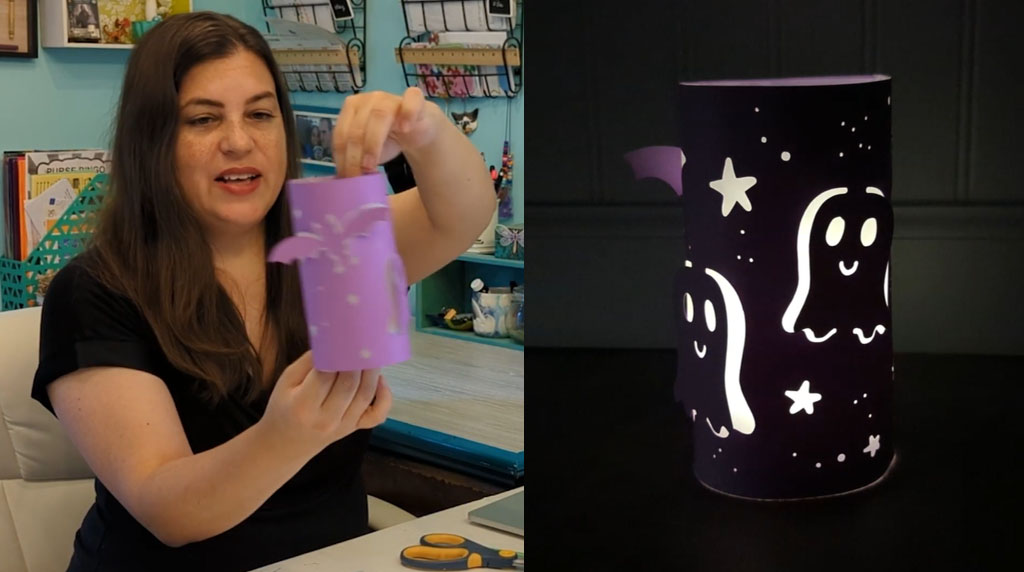
On the backside/inside of the lantern cardstock, glue the vellum into place using a thin layer of tacky glue. Then, apply tacky glue to the short edge of the lantern and roll into a cylinder. You can also make it more secure by adding some clear packing tape as well.
Enjoy!
Now, your lantern is finished! You can put a tealight votive in the lantern and watch it light up!
