Illustrator and manga artist Miyuli, known for her comics such as Hearts for Sale and Lost Nightmare, takes us through her process of making comic pages in Clip Studio Paint Pro. Every purchase of a new One by Wacom or Wacom Intuos tablet comes with a free two-year trial of the software, by the way! Miyuli uses a Wacom Intuos pen tablet in her video.
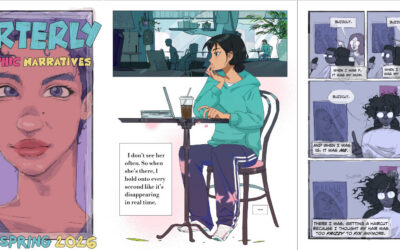
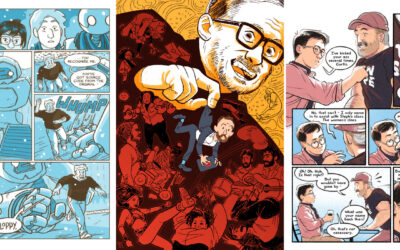
For anyone who loves creating and writing comics, this is a great tutorial on how to get started and learn the basics. The work you will see is from the comic "The Idols of Solanşehir," written by Vera Greentea. You can watch or read the tutorial below.
1. First digital sketch and traditional pencil tracing
For this project, I decided to sketch the pages in Clip Studio Paint, and then do the linework traditionally on paper. I‘m using a mono eraser and a 2B pencil from Faber Castell. Since it‘s just pencil, I'll be using the cheapest and thinnest paper I could find -- it's just regular copy paper.
I used a similar technique when drawing Hearts for Sale. I like how organic pencil linework looks, though it doesn‘t necessarily fit every project. My upcoming webcomic, Demon Studies will be all digital.

2. Adding line weight
Once I’m done tracing the lines, I add some more details and line weight to the final panel. I like to do a thicker outline for characters or foreground objects. It helps separating it from the background. With details that indicate texture, I try to be as light as possible so it doesn’t pop out too much.
I like to finish lining a panel before going to the next one to keep things interesting, but it’s basically the same thing for all the pages.

3. Fixing, layering and grids in Photoshop
Once that’s all done I scan the page, tweak the levels, and clean in up a little. Also, I like to separate the lines from the white background, which is pretty easily done in Photoshop. You can also do it fairly easily in Clip Studio Paint, but it’s just a habit for me to use Photoshop at this point.
The great advantage of doing sketches digitally is that it’s much easier to set up perspective grids. Sometimes I also like to use 3d objects, like the house on the first panel below. Clip Studio Paint has a really nice perspective help. For the digital part, I'll be using the Wacom Intuos. I’ve done a review of the pen tablet, so check that out if you want to know more about it.

4. Blocking in characters and filling with basic colors
First, I like to block out the characters and separate them from the background. This makes things easier later on. Once that’s done I block in the basic colours.

5. Perspective through painting styles and adding shadows
For Solanşehir, I wanted to use a colourful and saturated painting style. It’s supposed to be a little messy, but being the perfectionist that I am, I tend to clean it up too much. For the actual painting, I like to use a Sai Watercolour brush that I mentioned in my last video. I like the way it can produce both soft and hard edge,s but I also use some adjustment layers with an airbrush pen.

This scene is starting out from a coolish grey outside setting and gradually goes into a warmer interior. The first issue has me use a lot of red, yellow and bluish tones. Giving colours a purpose makes your work a lot better but to be honest I don’t really know what I’m doing 70% of the time.
It’s basically just fooling around and guessing a lot until it looks good. But I also like to do studies, and I hope I can improve my colouring and perspective work.
6. Rinse and repeat
And yeah, that’s basically it! Rinse and repeat for all the other pages.

Thank you for reading!
Want to learn more about Miyuli's work? Check out her Patreon, Twitter, Instagram, Facebook, or Youtube.