If you’re just getting into creating digital art with Adobe Photoshop and your Wacom device, or have been using them for a while but want to deepen your understanding of how Photoshop works so you can level up your artistic practice, this guide is for you. The best way to create digital art is to use the full range of the features available in software like Photoshop — and you need a creative pen tablet or display, like a Wacom Intuos, Wacom One, or Wacom Cintiq, to do so.
This article is Part Two of our four-part, complete guide to Adobe Photoshop’s brush engine. If you haven’t already, be sure to check out Part One before continuing. This post will walk through all the different types of brushes that Photoshop has to offer. This will be important to understand before Parts Three and Four go into the settings of these brushes, and then finally how to create your own.
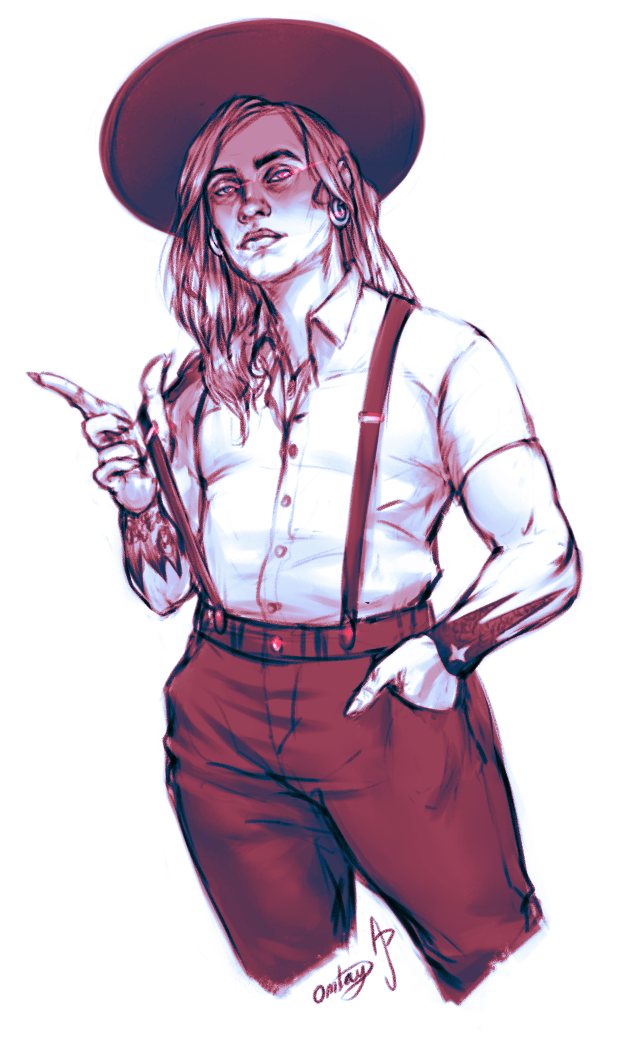
Let’s take a moment away from Photoshop’s interface to cover the different types of brushes and why you’d use them. For this and the following sections, I asked several questions about brush use to artist Axel Patterson, who goes by Omtay Dover around the internet and previously wrote “How to Draw Your Dragon” for us.
Look throughout this article for boxes with gray backgrounds, like this one, for Photoshop brush insight from a pro.
The basic types of Photoshop Brushes
There are countless subtypes, but I think these are the broad categories most of them fall into:

Round Brushes
Hard and Soft Round: this is as simple as digital painting gets. A circle, with hard or soft edges, that makes pixels change color.
There are two extremes on the spectrum of digital painters: “brush hoarders” and “Round-Brush purists.” Most of us will fall somewhere in between, but an exercise many pros recommend is to practice using only the Hard Round brush for a piece. It’ll force you to focus on values, colors, and blending, not taking shortcuts to achieve an aesthetic result, and help overcome the idea that you just need the right brushes to take your art to the next level.
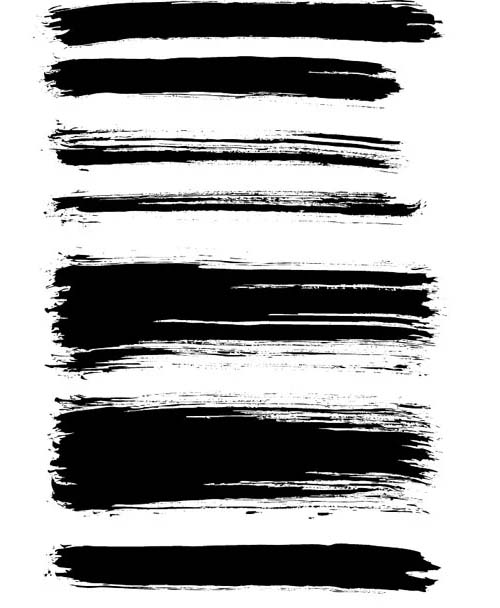
Media and Grunge brushes
Media brushes imitate, with varying degrees of success, traditional media. They’re often made from scans of that medium’s marks on paper.
Grunge brushes are one of the most common types you’ll find in packs online. In function, they’re like media brushes, just with the grit turned up to 11 — think of them as drawing with charcoal compared to pencil.
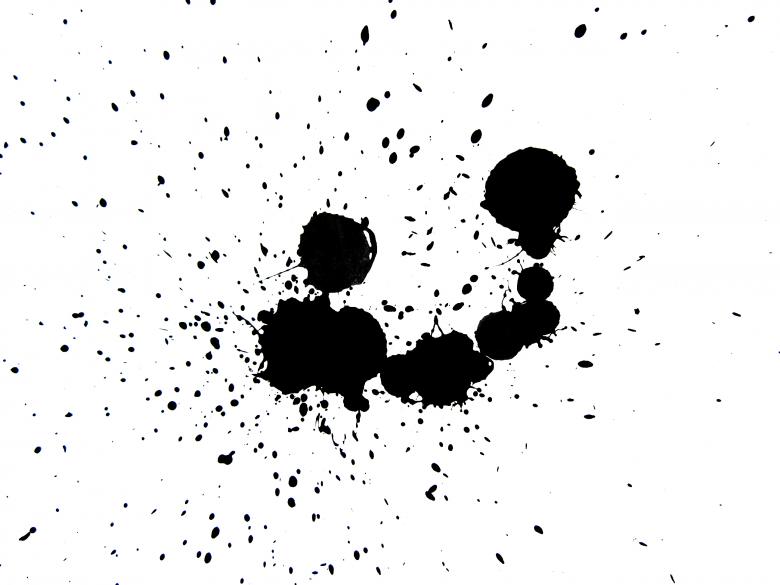
Drip and Splatter brushes
If you turn the chaos of a grunge brush up even higher, you get brushes that are just random splotches. These are often intended for abstract art (or blood), but some people like the wild quality that painting with them gives you. By trying them with different blending modes and opacities, they can also be used to apply texture.

Is there any particular thing you always use a certain brush for?
Axel: Fur. Self-explanatory as to why, but still at the end of the day, you can use the right kind of fur brushes for so many different things. Fur, hair, grass, moss.
Just tweaking the settings to make the brush denser or less, changing the scatter and amount of rotation. Getting creative and troubleshooting ideas.
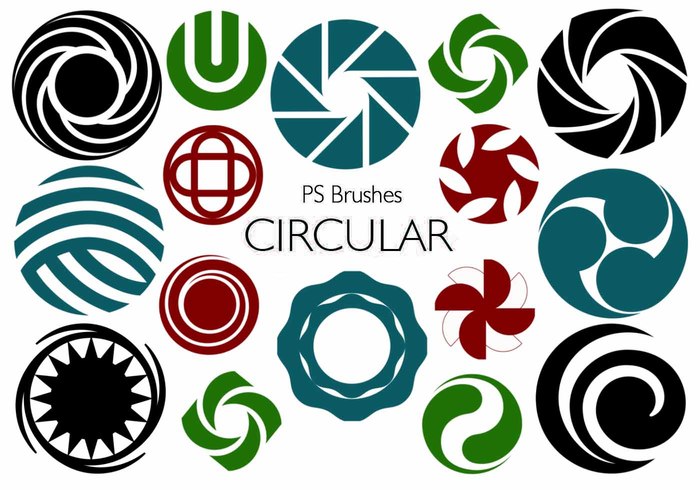
Shape and texture brushes
Shape brushes are for basic shapes, as well as abstract ones, as well as icons, wingdings, silhouettes, dialogue balloons, clipart-style ornaments, and more.
Texture brushes are made to imitate a textured surface, usually made from a photo or another painting of it. Can be used either to paint that surface from scratch, or with a transparent Blending Mode to create an overlay of that surface’s texture on your picture. Very different from using either the Texture panel in Brush Settings or the Pattern Stamp tool because the texture won’t be fixed in place or tiled. Common texture brushes include hair, fur, concrete, canvas, and pores.
Object brushes
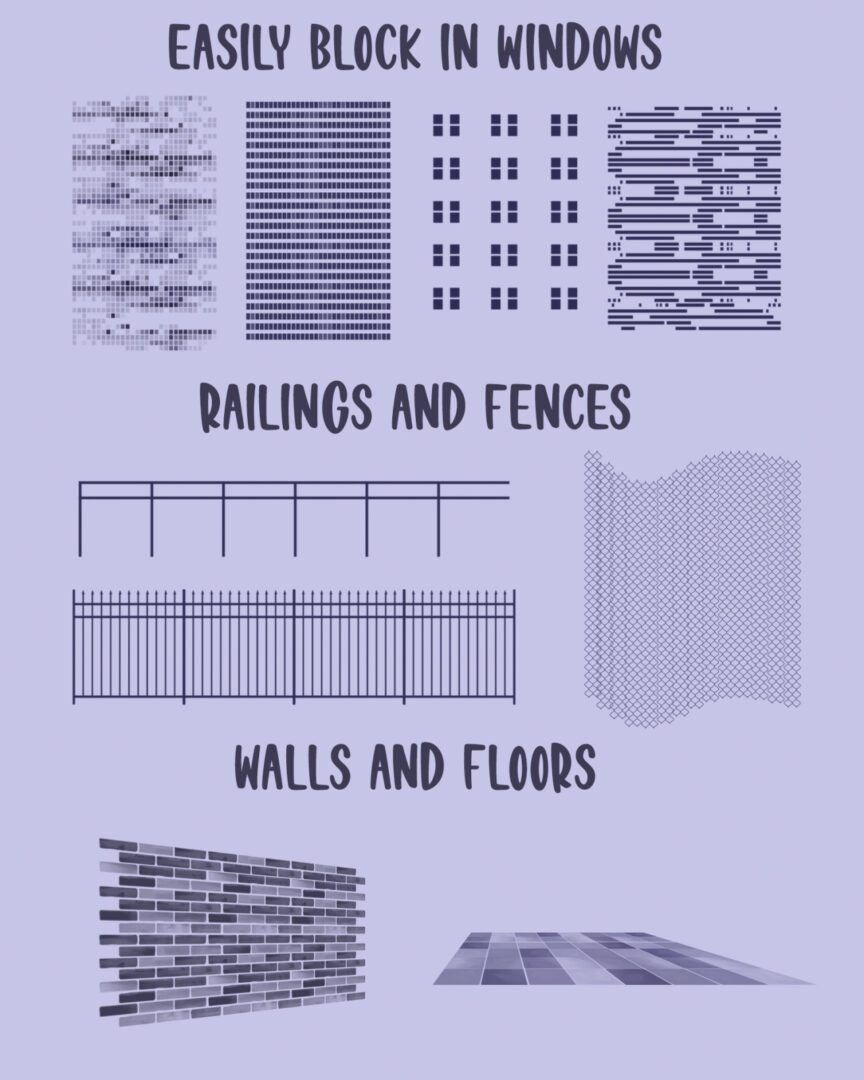
Object brushes place objects into your image, usually to save time drawing dozens of repeating objects. Most are stamps, meaning they place one brush tip at a time, or directional, meaning they place stamps in an angled line. We’ll cover both types in the Brush Settings section.
Object brushes made from photos are a staple of photomanipulation, but care should be taken when using drawn object brushes you’ve gotten from other artists. An object brush in someone else’s style won’t match your own, meaning you’ll have to trace the brush tip’s image to recreate it yourself (a valid option as long as you don’t redistribute it as your own brush) or live with a noticeably out-of-place element. Learning to make object brushes from your own art is an incredibly useful skill, though.
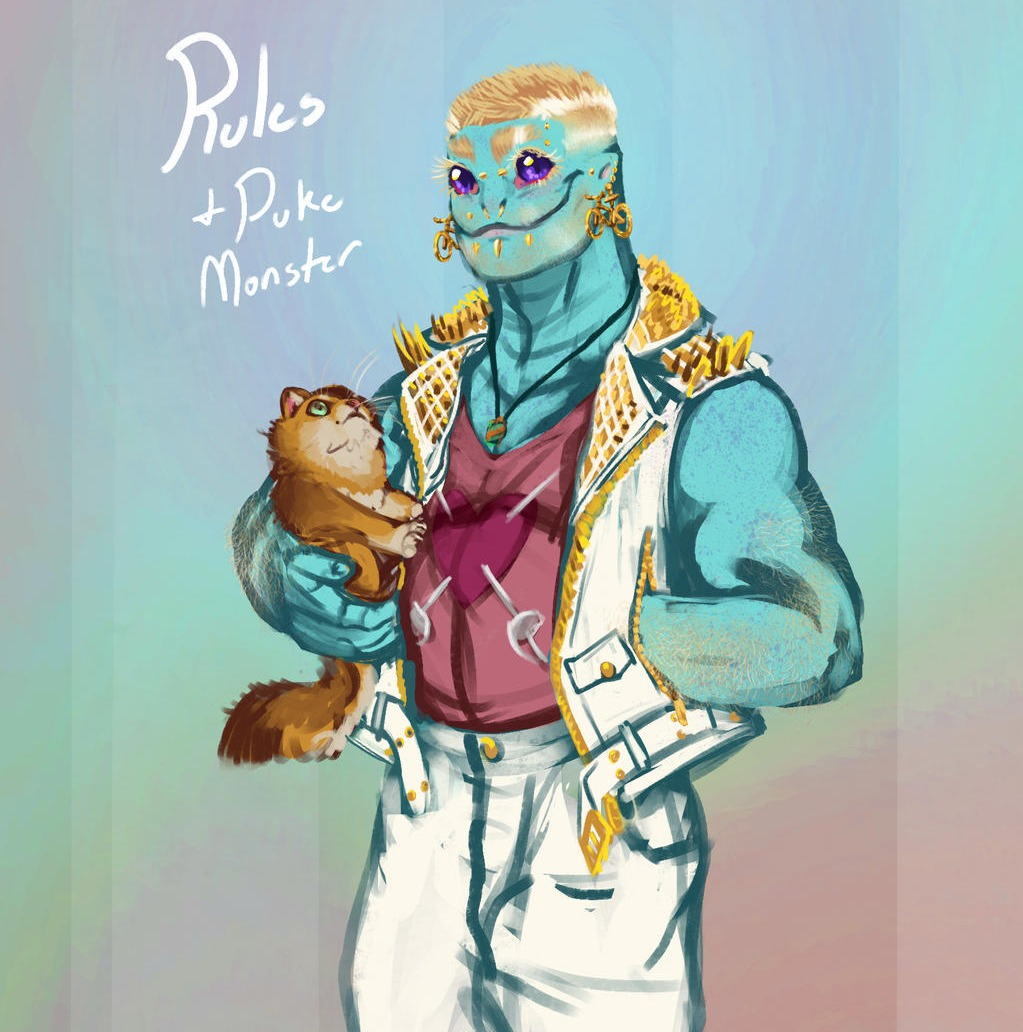
Do you have a go-to brush for skin textures?
Axel: My style is particularly more stylized, so I stick with a mixture of a spotty, slightly jittery brush, and airbrushes.
What are some specific tasks you have designated brushes for?
Axel: Chains, sparkles, lace fringe. For any sort of consistent repeating pattern that I don’t normally use, I’d make a new brush for it. Cut down on work time.
Special effect brushes
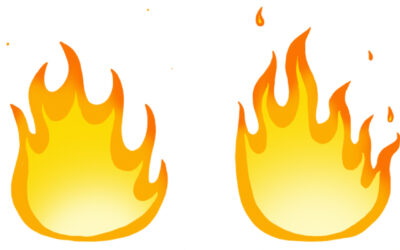
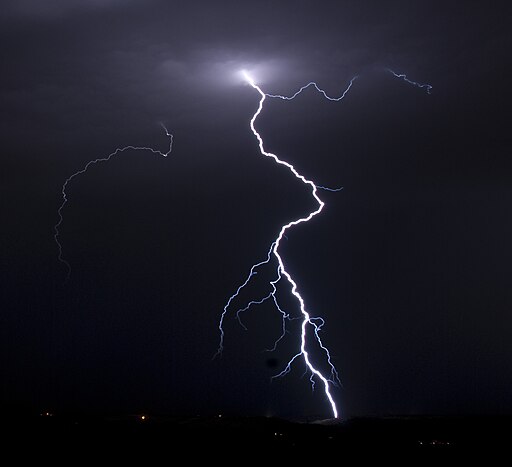
Special effect brushes create effects like lights, rain, flames, lightning, or abstract swirly things. These are hard to define and can get wildly creative.
As with many other categories, there are so many subtypes and edge cases that I could split hairs about the different types for days, but this should help you make sense of them.
One last tip: beware brush “hoarding”
When browsing Etsy, Tumblr, Deviantart, or wherever Photoshop brushes are offered, it’ll be tempting to hoard as many hyper-specific brushes as you can just in case you ever need them. But don’t fall for the trap of thinking all you need is a shiny new brush pack, and you’ll be set. And by no means should you be bouncing between fifty downloaded brushes in one piece.
Concept art Youtuber BoroCG recommends that, for consistency, you should only use one brush per painting: “Whenever you use some kind of different brush for certain objects, like a cloud brush for clouds, it will stand out as just something that you Photoshopped into the painting,” he warns. “It just won’t work with the rest of the painting; it will have a different quality.”
Conclusion
Knowing the various types of brushes is still valuable so you know the terms to Google when brush-hunting, and to give you some ideas for what kinds of brushes you can make yourself. But to make it more worth your while, here are some brush collections to check out:
- Devin Kurtz’s City Brush set is brilliant. There’s a Youtube tutorial on how to use it here.
- Her Bookshelf Brushset is great too. The best thing about her object brushes is how often she makes them out of simple colored shapes, removing the problem of them clashing with your other art.
- Mohamed Saber’s photorealistic Light Beam, Clouds, and Water Splash brushes are recommended.
- Syntetyc’s Environment Brushes: Brushes for painting plants, rocks, clouds, and things, are cool.
- Sketchyfun’s Photoshop Pencil Set. This isn’t free ($3), but they make up for it with how much they look like the real thing.
- Sakimichan’s Brushes. No matter what you think of her subject matter, there’s no doubt she’s a master renderer. And these are what she does it with.
- Deharme Brushes. Bastien Deharme is a prolific fantasy illustrator who’s made brush packs for Adobe themselves; here’s an eclectic pack of some of his faves that he gave away for free. Check out his 2019 set too, which is also $3 but contains more, and more advanced, brushes.
- nikafargos2iris’s Traditional Artistic Set. 158 media brushes.
- Mels Mneyan’s 8,000-Image Custom Shapes Ultra Bundle. Silhouettes of vehicles, tech, people, and virtually everything else under the sun, as both brushes and shapes. Meant for concept generation: combining silhouettes to create ideas for spaceships, fancy weapons, and more.
Just make sure to avoid brush hoarding — check a few of these out, but don’t download them all!
If you appreciated this post, check out Part Three and Part Four in the series to extend your learning about Adobe Photoshop brushes!

About the Author
Cameron “C.S.” Jones is a West-Philly-based writer and illustrator who’s been contributing to Wacom for four years now. You can see more of his work, including most of his contributions to this blog, at thecsjones.com, or follow him on Instagram or Twitter.

