Valentines Card Noelle Feature

How to make a DIY Valentine’s Day Card, with Joli Noelle David

February 7, 2024

We love Joli Noelle David’s infectious personality and openness to sharing her experience as a design student at UC Davis on her YouTube channel. So we sent her one of the brand-new Wacom Ones — the medium pen tablet version — to get her thoughts, impressions, and ideas.

In the last post and video, she showed viewers her process for illustrating a tattoo-style ice cream cone. In the below video, she gets into how to digitally design unique Valentine’s Day cards to print and gift to your loved ones, and shares three design ideas for inspiration.

Valentine’s day is just around the corner! In today’s video, I show viewers how to digitally design unique Valentine’s day cards in Adobe Illustrator using my Wacom One tablet.

The first step: Choose your paper size

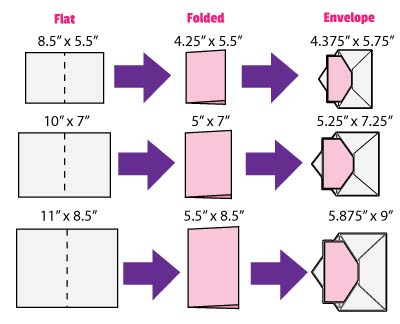
The first thing to do is to decide on your paper size. In the U.S., 5″x7″ is the standard greeting card size, but really depends on your preference. If you’re printing at home, 5.5″ x 8.5″ might be easiest, as the card will fold easily from a standard Letter size sheet of paper. Make sure you have the right size envelopes, too, if you’ll be using them.

If you’re going to either have a Print On Demand site print your card, or will go to a copy shop like FedEx Kinko’s, they might be able to print your design on different sizes, and offer envelopes as well. Here’s a little guide from ZooPrint that could help:
Valentines Card Noelle 1

Whichever size you decide on, you’ll need to open up Adobe Illustrator and set up two art boards, set to the Folded Size of your paper. One will be for the cover, and one for the inside page. Then it’s time to get designing!
Valentines Card Noelle 4

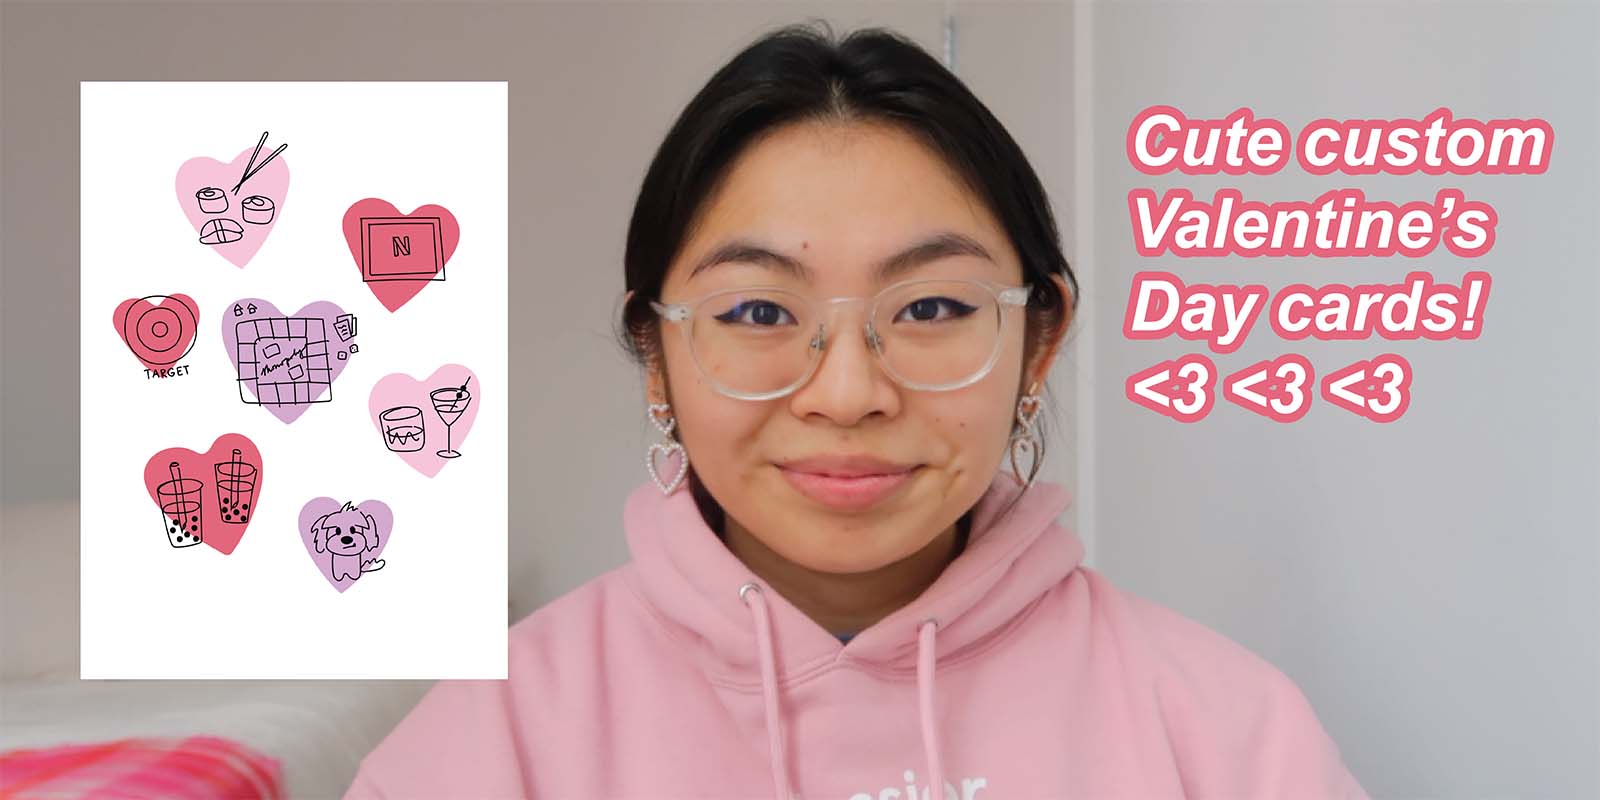
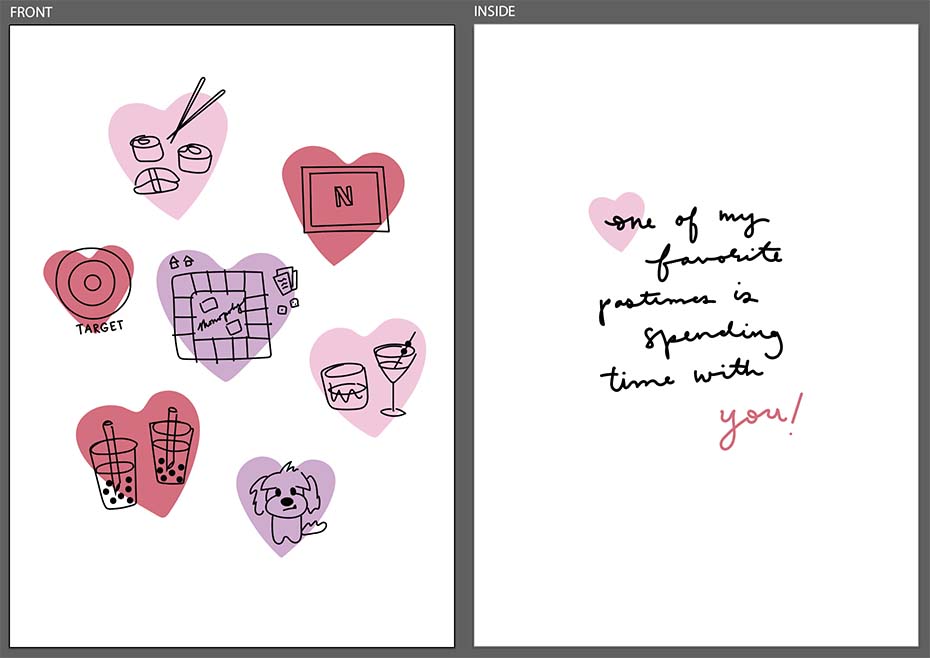
Design 1: Spending time together

The idea for this design is to illustrate things you and your partner, best friend, or whoever love to do together! I used the Pencil Tool to draw some hearts, and then made simple line drawings of the things I love to do with my card recipient, and wrote a heartfelt message on the inside.
Valentines Card Noelle 3

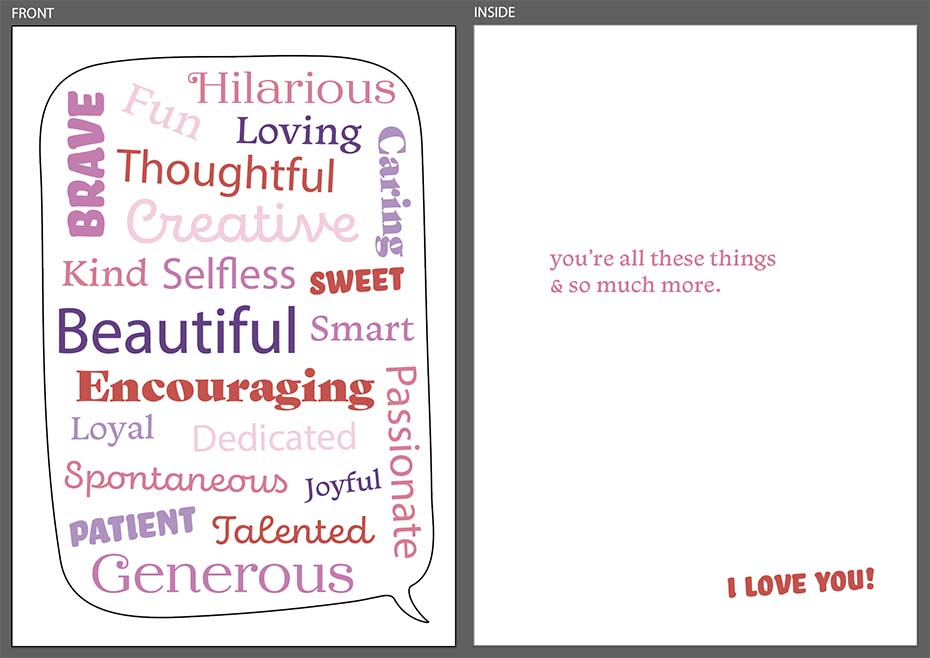
Design 2: Speech bubble typography

For this design, the idea is to sketch out a speech bubble and fill it with words/positive adjectives to describe the person you’re giving it to. I used the Pencil Tool again to draw the speech bubble, then used the Text Tool to write a bunch of different descriptors of the person in different fonts and to write a message on the inside page. Try out as many different fonts as you can to see how they look together!
Valentines Card Noelle 2

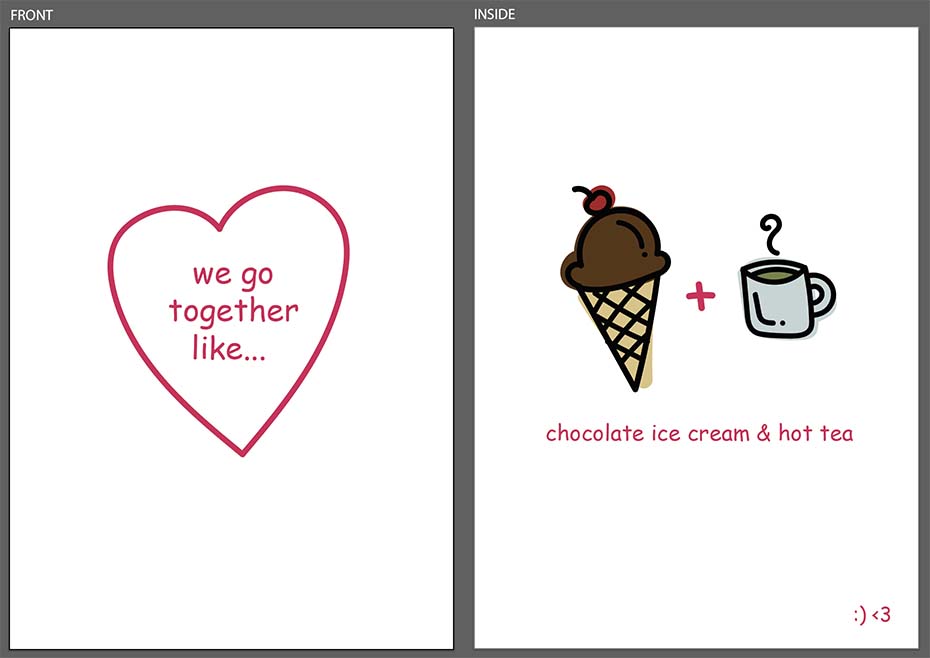
Design 3: We go together like…

This design focuses on the unique pairing between yourself and your valentine. Instead of the typical PB&J, try illustrating a pairing that is unique to you and your person! Choose a non-traditional pairing that is special to the both of you. On this one, I used the paintbrush tool to get a more artistic effect.

Conclusion

Hopefully these three simple card ideas inspired you. They’re perfect to send digitally, or to print out and send via snail mail. Make sure you’ve got the documents set up correctly according to the printer you’re using — if it’s at home, you can practice a few times to make sure you’re printing double-sided, they’re showing up in the right places and folding correctly, etc. If you’re sending them to a printer, make sure to follow their instructions, and look at a proof, to make sure it all works out right. Happy Valentine’s Day!
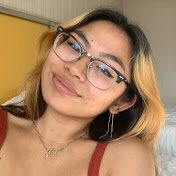

Joli Noelle David

About the creator

Joli Noelle David is multidisciplinary designer who enjoys all things creative — graphic design, digital illustration, and content creation to name a few. She recently graduated from the University of California, Davis with a degree in Design, and strives to use her experience to teach others how to develop their own creative skills. She believes in a people-centered design approach and in the power of creating with purpose. Noelle is a big foodie, a lover of dogs, an entrepreneur, a small business owner, and a YouTuber.

Check her out on Instagram, LinkedIn, and YouTube.

Related posts:

Making the most of your Wacom, with Pablo Munoz Gomez – Tip 5: How to use ‘Precision Mode’

Making the most of your Wacom, with Pablo Munoz Gomez – Tip 5: How to use ‘Precision Mode’

Comparing Affinity vs. Adobe for designing a bookmark, with Vivienne Le

Comparing Affinity vs. Adobe for designing a bookmark, with Vivienne Le

Connected Ink 2024: A Day in the Life of Independent Jewelry Designer Quincy Vadan

Connected Ink 2024: A Day in the Life of Independent Jewelry Designer Quincy Vadan

Making the most of your Wacom, with Pablo Munoz Gomez – Tip 4: How to Create Custom Radial Menus

Making the most of your Wacom, with Pablo Munoz Gomez – Tip 4: How to Create Custom Radial Menus

Connect with Wacom on social media

Have you ever considered becoming a jewelry designer? 

As part of #CareerDevelopmentMonth, we're excited to share a handful of diverse careers among Wacom users. ✍️⁣
⁣
Meet Quincy Vadan (@champagne_corpse), an independent jewelry designer and the artist-owner of Vadan Jewelry. Quincy shares his entire process for creating a three-piece capsule collection. His setup, including the Wacom #CintiqPro, makes it possible for him to remain completely independent and to take charge of the vast majority of his creative process.⁣
⁣
Head to the link in bio to watch the full video!⁣
⁣
#Wacom #MadeWithWacom #WacomForEducation #Jewelry #JewelryDesigner #SilverJewelry #ConnectedInk #ConnectedInk2024
101 20
Brushstrokes, along with subject matter, color and types of media, often identify the author of a piece without a signature or overt documentation. 🖌️ The same concept applies to digital art. With Yuify, you can embed your authorship in your work, while allowing for hassle-free licensing and easy collaboration. ⁣
⁣
Join the Wacom team for a look at Yuify, including the steps for registering artwork with your unique proof of creation, retrieving and identifying the creators of pieces of art and creating and honoring licenses that you have chosen.⁣
⁣
Register via the link in bio. ☝️⁣
⁣
#Wacom #WacomYuify #Yuify #creativerights
104 0
Register for an amazing FREE webinar TOMORROW at 1pm PST with the amazing @aaronblaiseart! ❄️🐻‍❄️🤍

Learn from one of our favorite animation mentors as he walks us through the process of creating amazing animal characters like the main character of his animated short, Snowbear. 

Sign up through the link in our bio ☝🏼
#wacomwebinar #wacomconnectedink #digitalart #artwebinar
525 10
Want to learn how to create licenses for your artwork? @zeythehuman walks you through how to easily set up licenses* in Wacom Yuify, ensuring your work is protected. From using templates to customizing your own agreements, it has never been easier  to manage your creative rights.

Ready to protect your art?🔑
Register for free at Yuify.com
‌
*Yuify Licensing is only available in selected regions and may require additional agreements for specific cases not covered by the License Builder.

#WacomYuify #Yuify #CreativeRights #DigitalRightsManagement
107 1
Let's dive in with @alexferreiraa to learn how to improve our poses using the #WacomMovink and the 2D workflow to push them to the next level. Check out the full video through the link in our bio or head to @animationflow.academy YouTube channel. 
#animationflow #madewithwacom #characteranimation
285 4
Looking for a gift that will thrill a 7-year-old, a dad, or a co-worker? 🎁⁣
Get them a #WacomIntuos!⁣
⁣
Perfect for sketching, animation, comics, photo retouching, and note-taking, it's a gift that will keep on giving. ⁣
⁣
Now on sale on the Wacom US estore 🏷️⁣
#WacomSale
167 1
When author and @verabee had a fast deadline approaching, she was away from home and away from her usual work setup 😱

Enter Wacom Movink, a truly portable and powerful pen display she could use anywhere.

Watch the full video on our YouTube to hear her full #WacomMovink review, and to see her spot illustration process. And make sure to look out for Return to Sender, publishing in 2025!
#movink #creativeprofessionals #madewithwacom
#creativesonthego #digitalart
155 0
@zeythehuman reminds us that sharing your art with the world is essential, but so is protecting it. Yuify helps artists safeguard their work and identity, so you can showcase your creativity without worry.

🔒 Want to know how to protect your art? Visit Yuify.com for more info. Now available for @clipstudioofficial 

#WacomYuify #Yuify #CreativeRights #DigitalRightsManagement
130 6
Let's create a little magic this season...❄️🪄💜⁣
Art by the one and only @aaronblaiseart⁣
#animation #madewithwacom #aaronblaise #snowbear
1423 6
✍🏻 The flagship pen for the ultimate feel

Wacom Pro Pen 3 is not a generic design meant for everyone. Instead, it is the ultimate companion for professional creatives and promises the best pen experience. Wacom is committed to its claim “to deliver the best pen experience” and leaves no stone unturned to keep this promise.

Engineered for adaptability and precision, the Wacom Pro Pen 3 offers unparalleled customization options, making it an essential tool for professionals in digital art, design, and beyond. 🚀

Discover how the Pro Pen 3 is redefining creative possibilities. Link in bio.

#PrideOfWacom #WacomProPen3 #digitalink
243 15
👻 You cannot either run or hide from these digital nightmares 🏃🏻😅

Add yours in the comments below ⬇️

#HappyHalloween #WacomMovink
496 10