School of Motion is reimagining art school with world-class training that is available on your schedule from anywhere on Earth. They offer a wide variety of courses that can take your creative goals to the next level. Check out their website to see all of their offerings. The below video originally appeared on School of Motion’s YouTube Channel, and this explanatory article originally appeared on their website.
We’re going to take a look at ways you can improve your Cinema 4D renders using Octane and Redshift. By the end of this process, you’ll have a better understanding of a professional 3D workflow, a better handle on the tools you’ll use, and more confidence in your end results. In this tutorial, we’re going to take a look at how mimicking photographic effects improves your renders.
You’ll learn how to:
- Use bokeh to enhance shallow depth of field
- Desaturate your highlights in-render and add bloom
- Effectively use lens flare, vignetting, and lens distortion
- Add effects such as chromatic aberration and motion blur
Note: To download the files and follow along, go to School of Motion’s website.
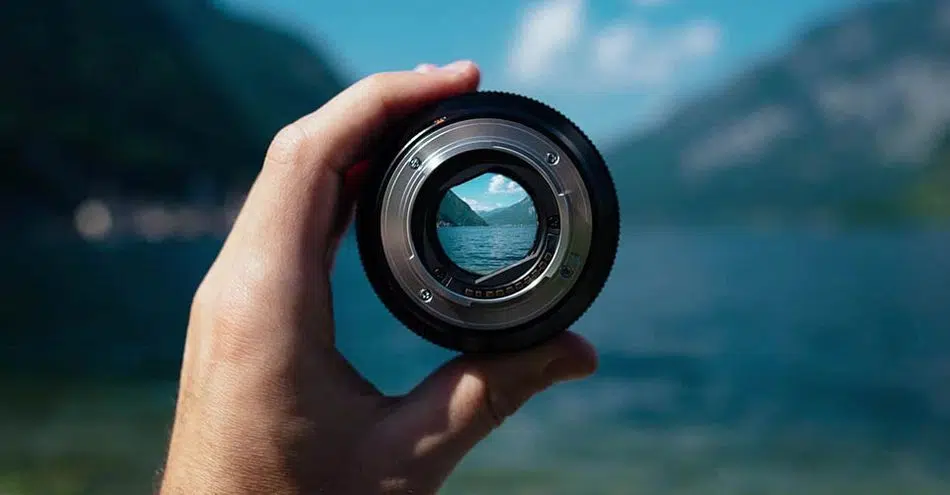
If you study lenses and all their properties, you’re way more likely to create a beautiful render. There are a lot of these properties to look at, so let’s jump in. Before we get started, let’s define a few key terms: Depth of Field and Bokeh.
Depth of Field is the distance between the nearest and the farthest objects that are in acceptably sharp focus in an image. Landscapes tend to have a deep depth of field, while portraits or macrophotography tend to have shallow depths of field.
Bokeh is the blurred effect seen in the out-of-focus portion of a photo taken with shallow depth of field.
With shallow depth of field comes many different flavors of bokeh. For example, here’s a sci-fi tunnel render I created without shallow depth of field. When we add some in, it immediately looks more photographic. Then when I crank the aperture, we can really see the bokeh.

In my render we’ve got the standard bokeh from Octane, but if I turn up the aperture edge, we get a more semitransparent center to the bokeh and a more defined edge, which happens in cameras and looks more natural to me.
Next, we can play with various shapes. By taking down the roundness, we can create hexagonal bokeh, which happens with lenses with only six blades in their aperture. We can also stretch out the bokeh to a 2:1 aspect and create anamorphic bokeh, because anamorphic lenses have an oval shaped aperture.
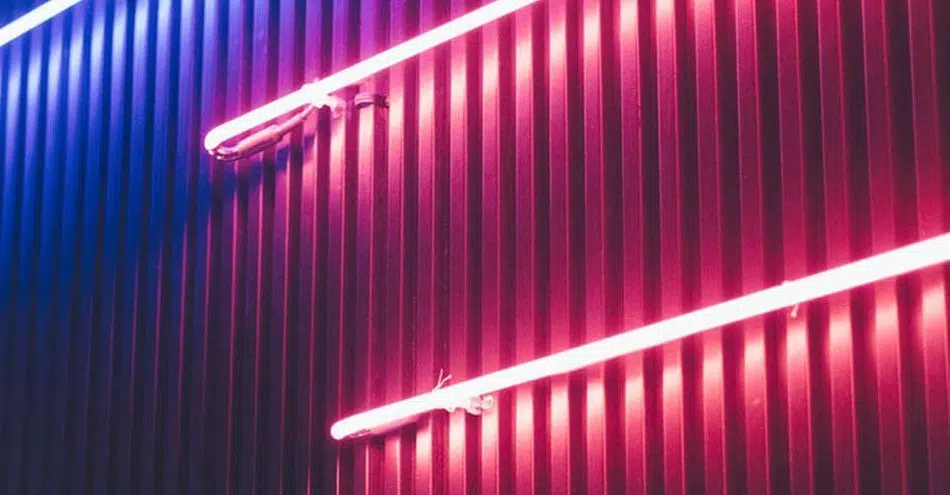
One property of lenses is that as the highlights get brighter, they desaturate. Many renderers have a way to mimic this effect in-render. For example, here in octane there’s a saturate to white slider. Here’s what the neon lights in the tunnel look like before that — just an unrealistic flat saturated color — and here’s what it looks like after. Now we’ve got a nice white hot core that falls off to a saturated color, and that’s much more realistic.
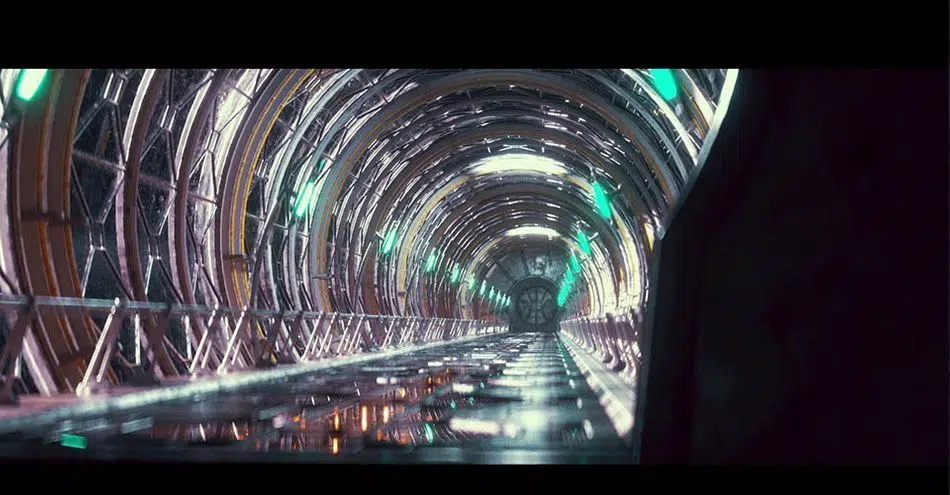

Another common photographic effect is blooming highlights: a subtle amount of glow that happens to the highest highlights when light bounces around in the lens. We can turn on the bloom in Octane, but too often I see artists crank the effect too high across the board. Thankfully, Octane now has a cutoff slider which allows for only the highest highlights to bloom out. A little goes a long way here, but it creates a nice soft effect that gets away from the overly crisp and harsh look of CG:


Similar to bloom are lens flares. This effect comes from light bouncing around and refracting in the various lens elements, and is often used as an intentional stylistic effect. Stronger light sources such as the sun typically flare out. If you want to go the extra mile, it can be great to composite these in with something like Video Copilot’s Optical Flares. At some point, Otoy has plans to add true 3D flares into Octane, and that’ll be much easier than comping them in.
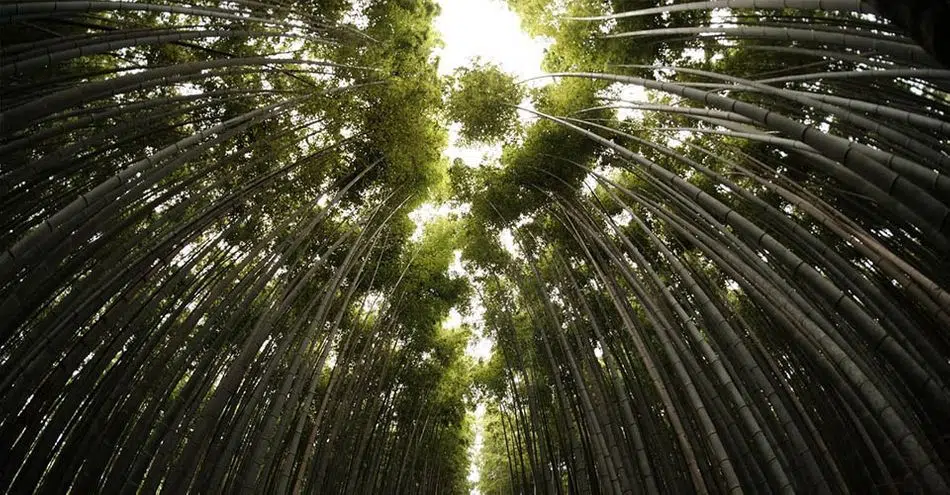
Lenses also have various kinds of distortion, which isn’t usually accounted for by default in 3D. An obvious example is a fisheye lens, and recently I used this heavy barrel distortion look in some concert visuals for Keith Urban. Here’s the shot before, and after. It can create some additional believability because we’re used to seeing various levels of distortion in photos and in film.
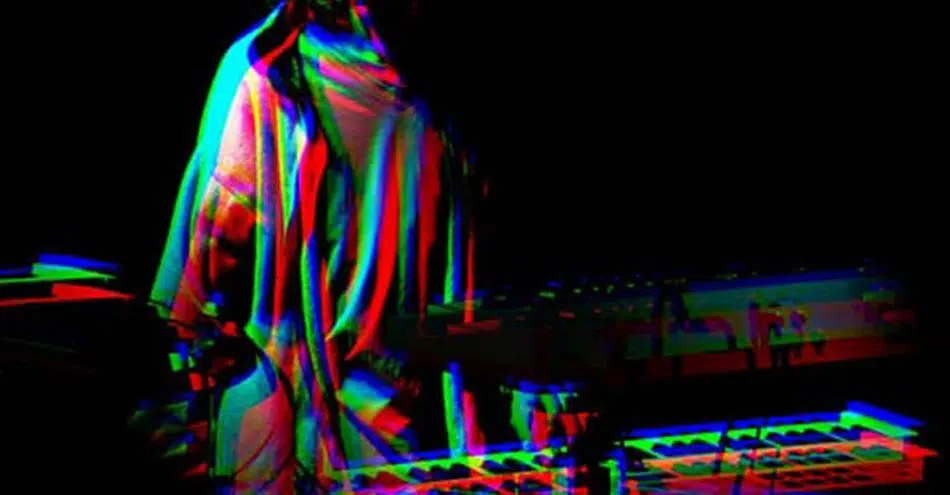
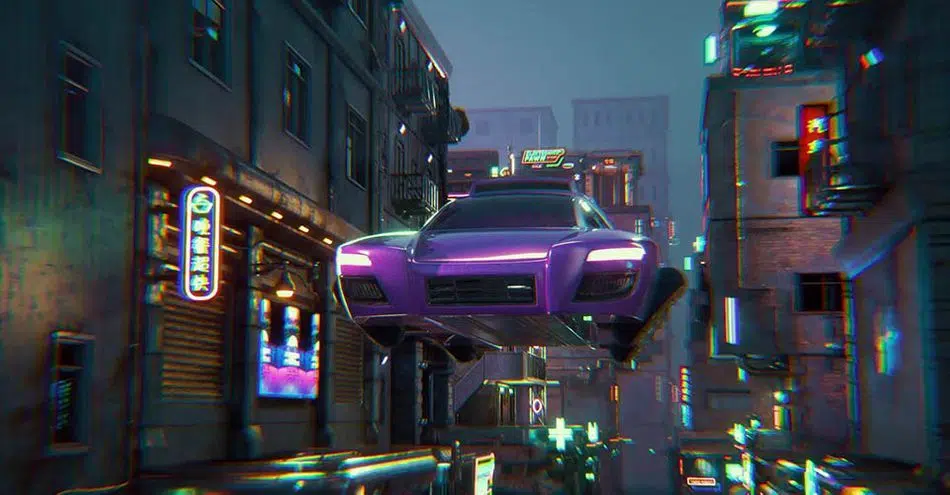
Next, we’ve got chromatic aberration, and this is another one that I feel many artists overuse. Often the easiest way to add this effect is by splitting the R, G, and B channels and then offsetting them by a couple pixels in various directions.
With Octane, the solution is a bit weirder. I attach a glass sphere to just in front of the camera and then up the dispersion slightly, which creates a similar RGB split. It’s a bit more render intensive, but creates a more true chromatic aberration, and a cheaper solution for this is coming soon to Octane.

Motion blur is another effect that we associate with film and video, but is also often used in photography when the shutter is left open longer than normal. Sometimes this can be a great effect to imply motion in our renders.
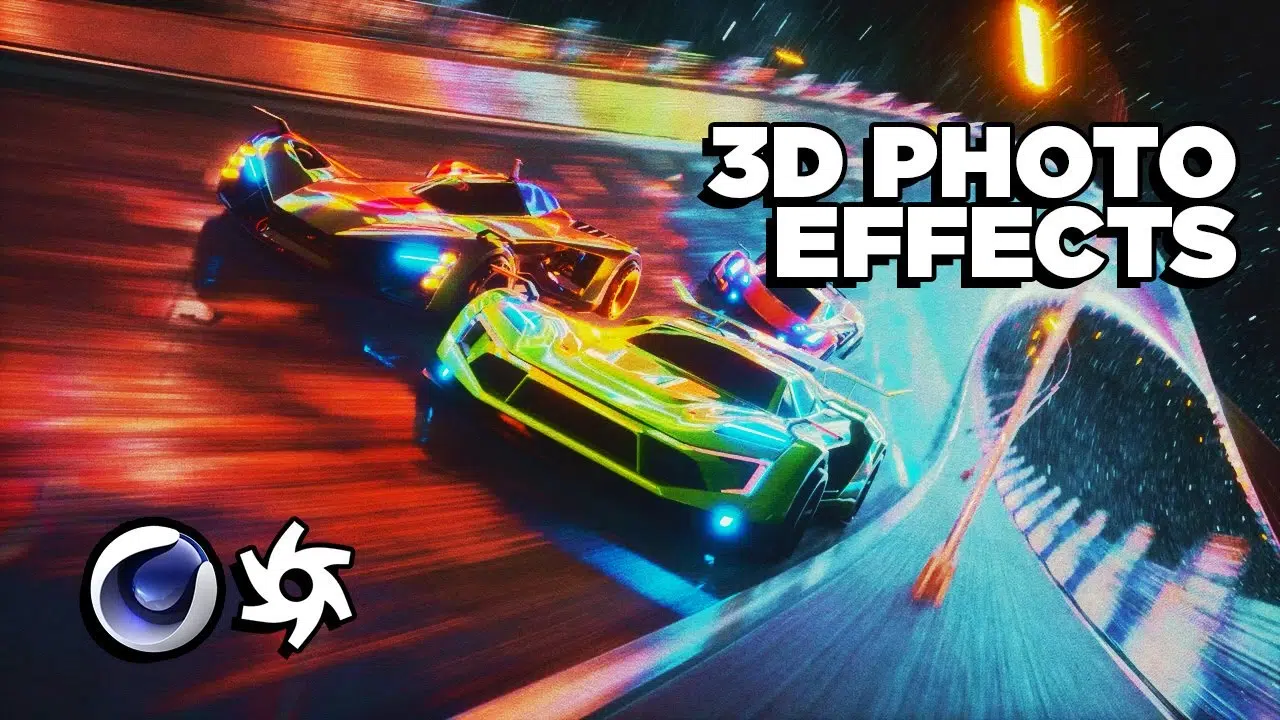
For instance, here’s a render of some cars supposedly racing, but it doesn’t feel fast in just a still. Afterward, here’s the render with motion blur.
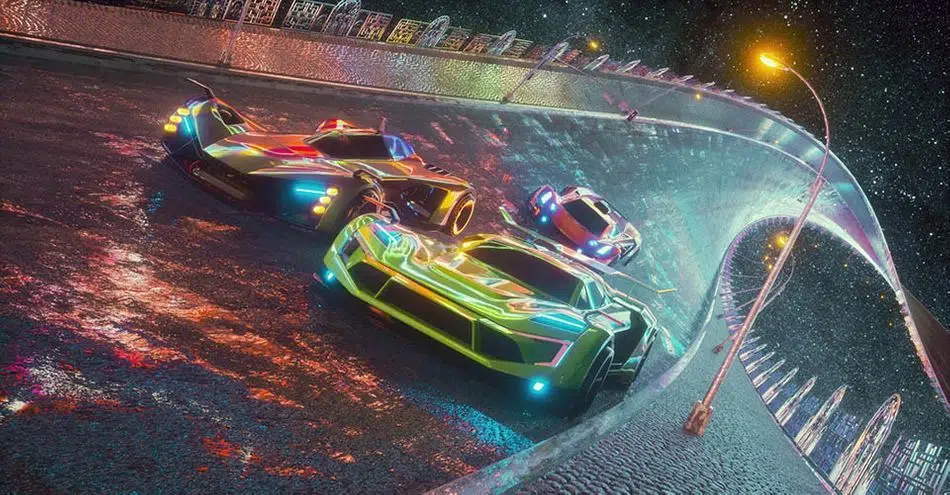
To do this, I’m just attaching the camera to the same null that’s moving the car, and then putting an Octane object tag on the car so Octane knows that it’s moving in relation to the camera.

Another option is to just animate the camera with a couple keyframes and turn on motion blur for a POV shot.
We used real-world references to make our renders more realistic, and the same is true for mimicking real-world lens effects. Now that you understand a little more about depth of field, bokeh, highlights, and distortions, the rest is up to you. Experiment with these techniques and you will find your renders look more professional and interesting. Now go create something amazing!
Want more?
If you’re ready to step into the next level of 3D design, we’ve got a course that’s just right for you. Introducing Lights, Camera, Render, an in-depth advanced Cinema 4D course from David Ariew.
This course will teach you all of the invaluable skills that make up the core of cinematography, helping to propel your career to the next level. You’ll not only learn how to create a high-end professional render every time by mastering cinematic concepts, but you’ll be introduced to valuable assets, tools, and best practices that are critical to creating stunning work that will wow your clients!

Want to learn more?
While this was not a complete guide to 3D rendering, it will certainly get you started. Interested in learning more about rendering, Cinema 4D, animation, or more? For more tips, head to School of Motion’s Youtube Channel, or find complete courses on their website.
