As your resource for creative education, the Wacom team is excited to share an introductory mini unit on exploring light, shadows, and highlights. This blog post is Part Two of a series. For Part One, click here.
Building upon the foundational concepts introduced in lesson one, this lesson dives deeper into the nuances of digital painting, honing in on the utilization of color gradients to elevate the depth and dimension of digital artworks.
Continuing our exploration, our aim remains steadfast — to guide your students towards a deeper understanding of how color gradients can intricately shape shadows and highlights, thereby refining the quality of their digital creations. In this lesson, students will look at examples of gradient color in art. They will create a simple grayscale gradient and practice creating a digital color scale.
This lesson is designed to be adaptable for students from middle school to high school levels, ensuring that it caters to a diverse range of skill levels and interests. With a duration of 60 minutes, the lesson provides time for students to explore hands-on activities while also having class discussions and reflecting on new learning.
Since this is lesson two in a short series, students will need to have a photograph of an object that they are able to identify light source, shadows, and highlights. If the students do not have a photograph to work with, you may need to pause this lesson after completing the color scale. You can go back and explore the ideas from lesson one by reading the blog post here.
Building upon the foundational knowledge acquired in lesson one, students will embark on a guided exploration of color gradients. Through examples and discussion, they will deepen their understanding of how gradients can contribute to the overall composition and visual impact of a digital painting.

Start the lesson by looking at examples of artwork that showcase color gradients with the use of shadows and highlights. The digital works of Simon Stalenhag, or Yoki Honda are great examples of gradients. Discuss gray scale and have students practice a scribble gray scale gradient on scratch paper with pencil by starting dark and getting increasingly lighter ending with a white box.
Next you will model how to set up Adobe Photoshop and their Wacom tablet for digital painting. Show the students how to create a shape and duplicate the shape on multiple layers, adjusting the opacity to create a color scale. Give students the opportunity to experiment and refine their techniques independently by exploring various brush settings, opacity, and masking layers.

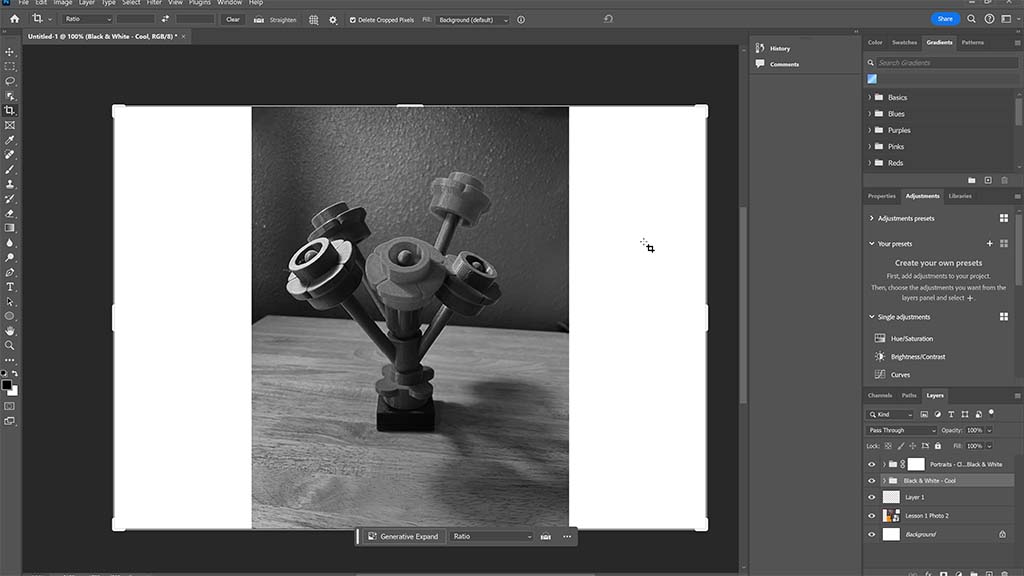
Through classroom discussion, help students draw connections between light sources, highlights, and shadows explored in lesson one. Students will apply their understanding of color gradients to further enhance their digital paintings. The first step is to import the photo taken during lesson one into Photoshop. Have the students add and use the black and white adjustment layer. This can help to identify the shadows and highlights even more. The next step is to trace the lines of the object in the photo. This photo will continue to be the reference image in future lessons.

As a form of assessment, students will analyze artwork to identify the effective use of color gradients in creating depth and dimension. Through guided reflection and discussion, students will have the opportunity to share their observations and experiences with their peers, fostering a culture of continuous improvement and self-reflection.
The activities the students have done are all building towards the ability to use color, highlights, and shadows in their digital painting.
Stay tuned for lesson three, coming soon! Additionally, if you’re interested in accessing detailed lesson plans and teaching resources, we invite you to join our new Wacom Creative Educators Facebook group, launching June 2024. Exclusive access to in-depth lesson plans, resources, and other exciting opportunities await within our community of creative educators.


