Maybe you’ve been using Adobe Photoshop for a while, or maybe you’re just getting started. There are many ways to do different things with the software, as well as all kinds of tips, tricks, and hacks to do things simply and easily.
In this tutorial Colin Smith, the creator of PhotoshopCAFE, shows you why pen pressure is so essential for editing photos. Check out the video below for the Adobe Photoshop and Lightroom tutorial, click here to visit PhotoshopCAFE and learn more about his process. Read on for a full transcript of the video.
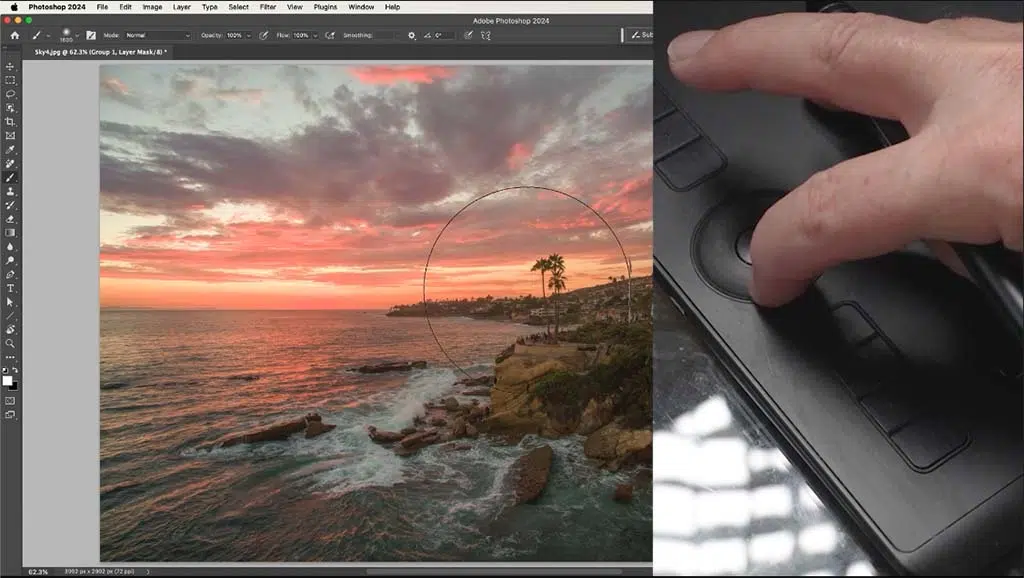
Hey, I’m Colin Smith from PhotoshopCafe, and today I’m going to show you how to adjust a photo and give it some pop and punch and make it look good. We’re using Adobe Photoshop and the Wacom Intuos Pro medium tablet. So let’s get started!
I’m going to create a brighter layer, and then we’re going to maybe add some other layers there, and we’re going to mask them in. So why don’t we go to the Adjustments. And under the adjustments, the first thing I’m going to do is I’m going to have some Curves. And I’m looking at this area here. This is where I want to just give it some pop. So if we look in the curves on the left side are shadows, on the right are the highlights. So we’re going to go somewhere around the midtones and just boost this a little bit. So what I’m doing is looking to boost this area. Don’t worry about the rest of the image; notice the sky is getting too bright, and this is exactly why we’re going to selectively adjust this. So I’m just going to go in there, maybe in the shadows, pull those back just a little bit.

Nice. See how we’re starting to see a little bit of definition here? Once again, don’t worry about the rest of the image just yet. So let’s go to another adjustment. We’re going to add a second adjustment now. Why don’t we give this a Vibrance adjustment? And I’m just going to pop the vibrance a a little bit just to put a little bit more color into this area here. And I feel like I want to do another adjustment. So let’s go in again. This time we’ll do Levels. So why do I want to do Levels? Because I already added Curves. Well, sometimes I like to do this. It’s just a quick and easy way. Notice that you can just open up those midtones there. I’m going to take those shadows, pull them back a little bit. So this is almost like a contrast adjustment, but it gives you more control than just an overall contrast. It gives you shadow contrast, highlight contrast, and a mid-tone contrast. All right, so we’ve got these three adjustments, and if we look at them before and after, you can see they look good here, but we’re losing it in the sky in some of these other places.
So what I want to do is group these together so I can adjust them all at the same time. So I’m going to grab the first one, hold the Shift key, click on the bottom. I’ve selected those three adjustments, and I’m going to hold down Command (Control on Windows) G for group. So what I’m doing now is I’m putting them all in a group so I can adjust them together as if they were one layer. Now, the nice thing about a group is I can apply a layer mask. So if we apply a mask to that group, if it’s selected, we’re going to choose the mask. Now, with the mask, where we paint with black, it’s going to hide that adjustment. And where we paint with white, it’s going to show the adjustment. So as you can see, it’s a white mask there, but nothing is changing. And that’s because it’s all white. So what we want to do is we want to invert this and fill it with black and then selectively paint in this adjustment exactly where we want it. And this is going to give us so much depth to our image.
And if you scroll down to the bottom of the masks panel, you’ll see an invert button. Now, I could just hit the Control I or Command I on Mac to invert it. Now we’ll do exactly the same thing. I’m just going to hit invert now, and it’s going to fill that mask with black. So what we’re going to do is paint this back, but I don’t just want to just make it the same. I want to be able to shade this, to be able to blend it in. We apply more in some areas than in other areas. And this is where we take advantage of pen pressure. So what we’re going to do is we’re going to grab the brush, and that would be the B key. And we’re going to grab a brush tool. Now, what we want to do on the Brush tool is we’re just going to tap on the top, and this is going to take us to the Brush Settings. So under the settings, we want to set this to transfer. And under transfer, we’re going to adjust the Opacity with pen pressure.
And that’s all we’re going to do. So this means that if I paint with white, because white will show that layer. If I press hard, it will show that layer very, very strong as you can see there. But if I just gently paint, notice it doesn’t apply as much, and I can slowly build that up. So let me undo this. Now, another thing I like to do, too, is I like to set the touch ring to change the size of the brush. So if we go to our Wacom center here, and then we want to hit our touch ring settings, it’ll take us into the preferences here on Mac. On Windows, it will take you into the windows. And what we’re doing is we’re setting the touch ring here to a keystroke. And if you look at the keystroke, we’ve set it to the bracket key. All right. And so And when we go back on here now, if I change this touch ring, notice it changes the size of that brush. So what I can do now is I can vary the size just by changing that. And as I gently paint in here, I can also decide how much I want to add.
Now, another thing I can do is I can go to the tablet and I can pinch to zoom in if I want. And why don’t we do that? And we’re just going to position this. All right, let’s start painting now. So I’m just I’m going to try with a gentle a touch here right now, just gently painting in some of these areas. Now, if I want, I can use selection tools to help me.
So say we grab the Object Selection tool and we drag it around this area. Notice that it selects this for us. Make sure we’re still using the Brush tool. And now we can gently begin to paint this in. And notice that we’re brightening up these areas by themselves. And I definitely want to bring more brightness to the side that’s facing the sun. So I definitely love this workflow. It just helps me a lot. So when I’m retouching my photographs and I want I give them some depth and some punch. Just something I can do with the pen pressure in Photoshop, it just enables me to adjust the photos in just the way you can’t do it any other way.
All right, let me just turn off that selection. Control D will turn off the selection. And if we look at what we’ve done so far, there we are before and there we are after. Notice how it’s really starting to bring some life into this image. I’m just going to zoom out. And now what I’m going to do is I’m just going to free-hand it, just touch up some of these other areas. You could use selections to help you if you want. In this case, I’m not going to. I’m going to go quite large with this brush, and I’m just going to gently paint on the horizon. Not too hard, just a little bit, just to light that up a little bit. There we go. And same with here with this highlight. There we go. Just brightening that up a little bit. Another way I like to work with this sometimes, too, is to drop the flow down quite low. So if we drop this flow to a very low amount, then what it does is it just comes out a little bit slower, almost like… It’s I like an air brush.
And a smaller brush will work nice in these areas here. I want to make sure that the surf is nice and bright. But when I’m working on larger areas, I like to use a larger brush like this because then that will help us just cut down seeing the brush strokes because you don’t really want to see the brush strokes in the image. I feel like we’re really starting to get somewhere in this. And so if we look at what we’ve done now and we go before, see how flat that image is, and then after, see how it just starts come to life like this light actually hitting it. And if you want to increase the effects of that, you can double up on it. So if we select that layer and then we hit Control or Command J, we double up. And notice how we get a very, very strong because we’re doubling up on that. Now, you might not want twice as much. So what we can do is take opacity all the way down, and then we just give it a little bit. If we could say give it a 10 % or somewhere around there.

So this is actually giving us a 110 % adjustment because we get 100 % on the the underlying layer, and we can just boost it a little bit if we want. Now, if we wanted to put just a little bit of shadow on there, we could definitely do that. There’s a couple of ways we could do another adjustment, or we could just paint that into a transparency layer. So let me show you. If we create a new layer, hold down the Alt or Option key and click the new layer, the Alt / option will give us this dialog box, and we’ll call this darker. And the thing is, if I change this mode to overlay, what that does is it hides 50% gray. I can fill it if I want. It doesn’t matter if I turn this on or off. If I’m using the paint brush, it makes no difference. If you’re going to be using the Dodge and Burn tools, then you would definitely want to turn this on, because otherwise it won’t do anything. So we’re just going to click okay. We’ve got the darker layer. I’m going to hit the X key.
So right now we’re going to paint with black. We’re going to keep that flow nice and low. We’re going to zoom out. And what I’m going to do is I’m going to create a little bit of a vignette just by painting gently around the sky and just building that up a little bit. If we want to put some darkness and maybe around the edges of the image, we’re also going to do this just to give us that. That vignette just draws the eye into the photo and frames it a little bit. And now we could go for a smaller brush here and just add a couple of little shadows. Probably don’t need to do much on this image, but maybe a little shadow under here. It’s just to enhance it a little bit here. And what it’s going to do is it’s just going to give us a little bit of depth. So where we were adjusting with the other adjustment layers, what that was doing is brightening and bringing it forward. When we paint with the shadows here, what it does is it pushes it back and it creates more depth in the image and gives us the illusion of the image being more three-dimensional.
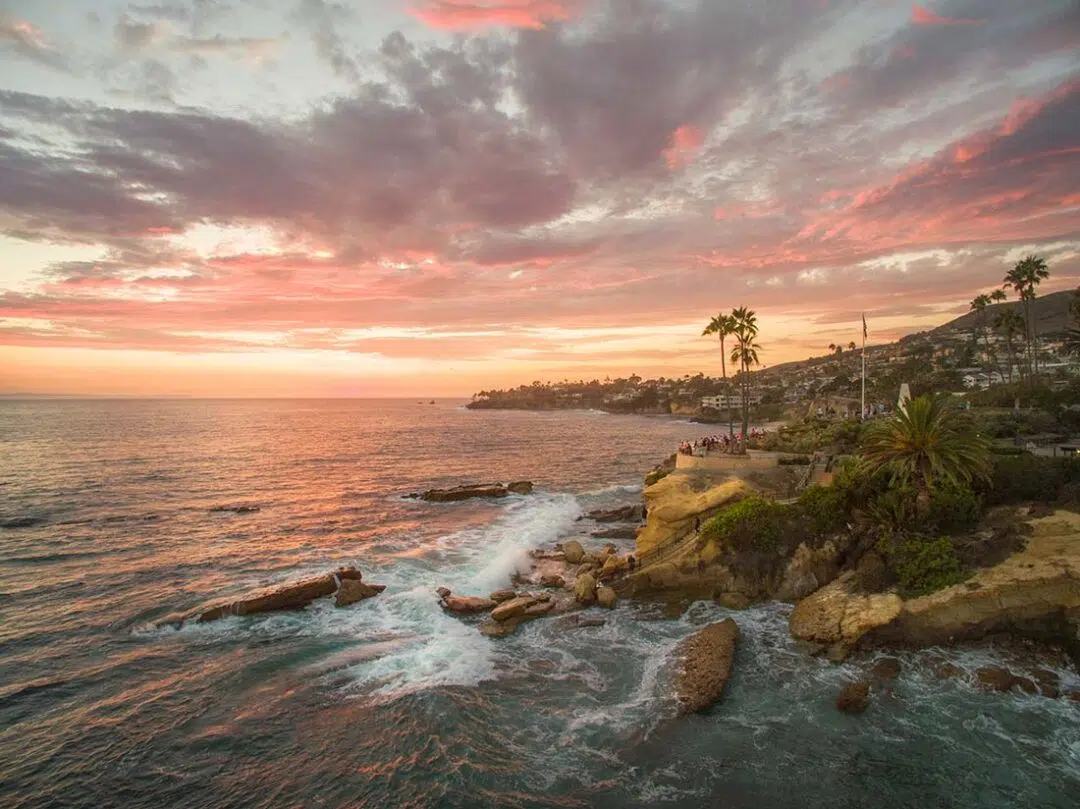
Before:
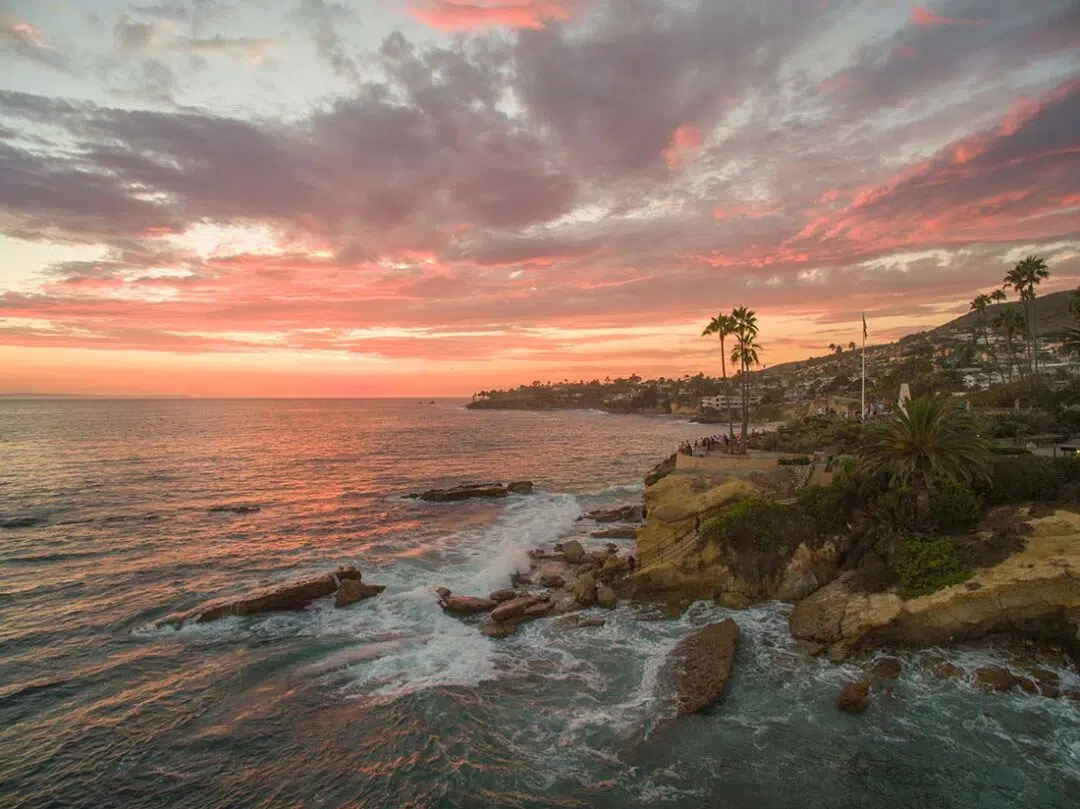
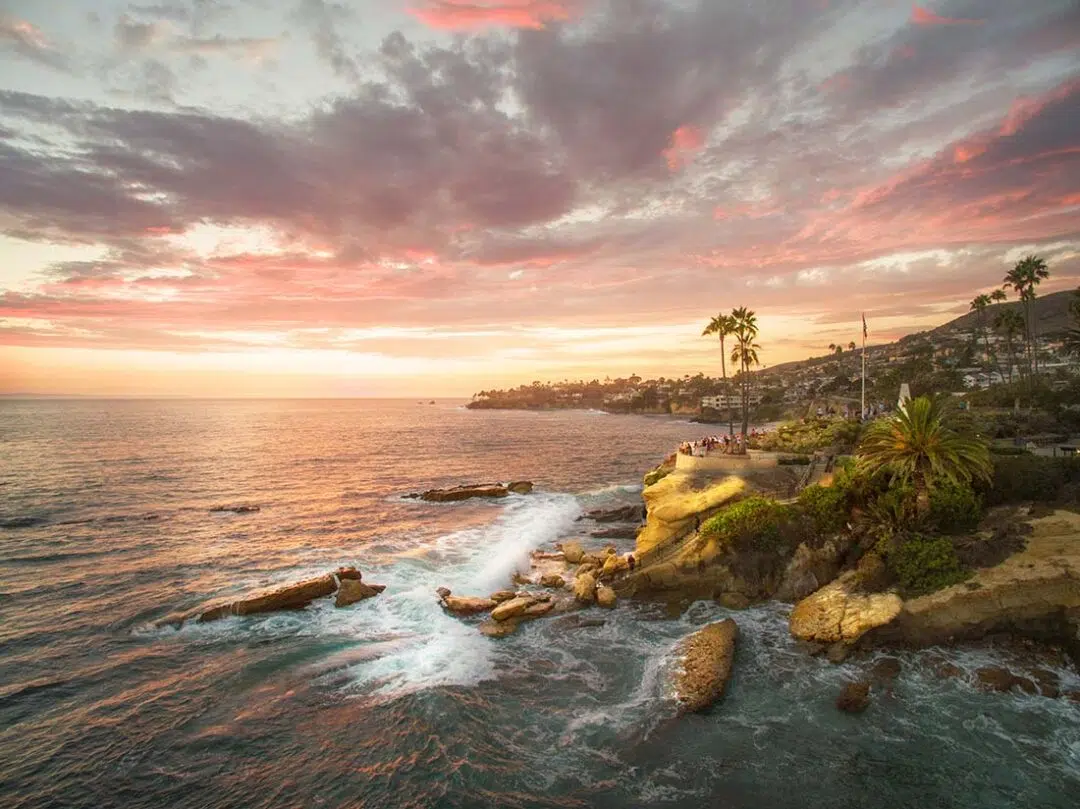
After:

About the presenter:
Colin Smith is a Los Angeles based trainer, photographer, designer and digital artist. He is founder of one of the world’s most popular websites for creators, PhotoshopCAFE.com. As an Award winning digital artist, his work has been featured in most of the industry magazines as well as Time Magazine and the New York Times, and he has written 22 books.
When he isn’t at his computer, Colin can be found pursuing his passions of travel and capturing beauty with his cameras or making noise on his guitar.
For tons more instructional resources, check out his YouTube channel, PhotoshopCAFE. Learn more about him and his work on Instagram, TikTok, Facebook, X (Twitter), or Behance.