Wacom Cintiq #ComesWith Clip Studio Paint EX*
As Wacom always #ComesWith more, a Wacom Cintiq now #ComesWith a *six-months free trial of Clip Studio Paint EX (plus 30% discount after trial period) until the end of this year – doesn’t that sound tempting?
Want to know more? Just click on #ComesWith and find out.
What is Clip Studio Paint EX?
You’d rather like to know what Clip Studio Paint EX is and why it is so fabulous? Just bare with us. We’ll start light and go into detail later with applicable tips with massive time savings. So here we go. In Japan, Clip Studio Paint is one of the most desired and most used award winning top of the line creative software out there. You probably heard rumors that it is one of the best comic and manga drawing software in the market. You want to know the truth? It offers so much more than that.
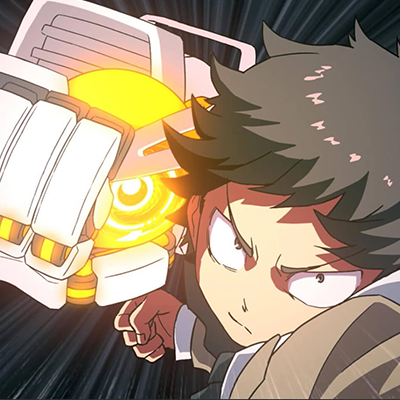
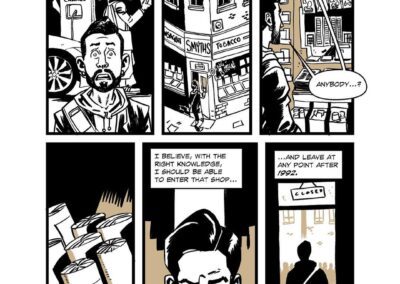
Want to know which features it provides for other creative realms? Just click on the images below and check out what Clip Studio Paint EX has to offer. If you actually are into comics and manga, there is some smart advice waiting for you – just keep reading.
Forgotten Clip Studio Paint EX features & where to find them
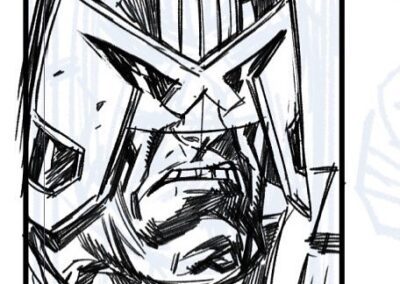
Have you heard of PJ Holden? He is a self taught comic artist and well known for comics he created for magazines like 2000 AD, Warhammer Monthly and Judge Dredd (which he just loves by the way). As an expert using Clip Studio Paint EX, he was asked to give a webinar on advanced features. Though not yet advanced, beginners can learn so much more right from the start, as PJ set his software back to default settings.
He walks us through his recommended setup process and shows us which features we usually forget to adapt for ourselves, because we cannot wait to get creative with it. PJ shows us where to find and how to utilize these features. So prepare for tons of actionable tips, tricks and advice.
After we will have tested Clip Studio Paint EX (like DasTactic with one of the first versions), it will soon become our go-to software. And when it does, these tips ease our creation, save us a lot of time and help us create our own style. Just imagine what you could do with all this time saved?
So pay good attention while PJ shows us how to use the features provided in Clip Studio Paint EX wisely and how to set them up according to our needs. In case you might not want to watch the complete webinar (which we recommend) we’ll give you an overview of which advice he gives at which time of the webinar.
Just click here to open the overview.
Quick note in advance:
In case you have been using the software already and you want to reset some of the tools, just press the shift-key and click on the Clip Studio Icon. Might be a good idea to create a backup of your tools, so you could go back to those settings afterwards if you like.
- [@min: ~4:30] Pen buttons
PJ shows us how he mapped his pen buttons (e.g. space & undo) - [@min: ~6:18] Eraser brush
He also sets the Clip Studio Paint eraser brush size to “Specify by size on screen” - [@min: ~ 6:49] Cursor appearance
Change the appearance of the cursor setting the preferences - [@min: ~ 8:03] Ruler units
How to change ruler units if you use them - [@min: ~ 9:30] Gutter
Change the gutter of your panel borders when drawing comics - [@min: ~ 10:32 & 13:51] Display resolution
Set the correct display resolution for 1:1 print size views - [@min: ~ 12:46] Zoom scales
Delete some of the zoom scales to not work on details nobody will see - [@min: ~ 15:25] Shortcut keys
How to adapt shortcut keys to your needs (e.g. F for “fill” & Q for “quick mask”) - [@min: ~ 18:23] Command bar
Why & how to customize your command bar - [@min: ~ 20:17] Selection launcher
What is the selection launcher & how to customize that - [@min: ~ 22:45] Auto actions
What are auto actions & how to create and use them (e.g. with the selection launcher) - [@min: ~ 27:43] Panel borders
Advanced features of panel borders (e.g. add frame border folder & divide frame border) - [@min: ~ 36:35] Panel gaps
How to create a “break out” panel - [@min: ~ 36:04] Border styles
Want to have your own panel border style? Here’s how to adapt your borders. - [@min: ~ 38:30] Custom panel shapes
Create specific panel border shapes (by combining frames) - [@min: ~ 42:58] Multi-page document feature
Advantage of multi-page documents and how to use them - [@min: ~ 44:40] 3D object rendering
Advantage of rendering 3D objects (e.g. in line art) - [@min: ~ 53:37] Work space setup
His recommendations on how to set up a work space (with his Wacom Cintiq) - [@min: ~ 54:40] Duplicate windows
How to use duplicate windows (to directly see the details you create on the full page) - [@min: ~ 1:00:20] Brushes & pencils
Which brushes and pencils he uses (at best use one to save time) - [@min: ~ 1:01:39] Comic compositions
Tips on comic compositions (e.g. clarity, first person speaking is placed on the left, etc.) - [@min: ~ 1:06:14] Wally Wood’s 22 panels
If you’re stuck composing: Wally Wood’s 22 panels, that always work
Or watch & learn right away:
Comic creation process by PJ Holden using Clip Studio Paint EX
Because his first webinar on advanced features was such a tremendous success, there was a high demand to learn about his creation process. Thus, this time PJ walks us through his process, once again giving us loads of actionable tips and tricks on Clip Studio Paint EX features. Just sit back and enjoy, or fast forward directly to a specific time according to the overview we created.
Click here to open the overview of the second webinar.
- [@min: ~ 3:10] His process in general
Rough layout on computer, quick draft pencil on paper, scan in & add panel borders, print that and ink on paper, scan that again & tidy up.
Some tips in advance
- [@min: ~ 6:54] Terms for print
Terms you encounter if you work as a comic artist for print (e.g. what are trim, bleed, safe area, canvas) - [@min: ~ 11:37] New document options
What are the options creating a new document? (e.g. add multiple pages & binding) - [@min: ~ 16:19] Layers
How to work with and organize layers in Clip Studio Paint EX - [@min: ~ 18:38] Layer effects
How to use layer effects (e.g. color, tone, extract line, border) - [@min: ~ 24:14] Attributes
Attributes: what they are, what they do and how to use them (e.g. lock layer, lock transparency, draft layer)
His process (step by step)
- [@min: ~ 32:38] First scan & import
His process: first import scan - [@min: ~ 34:18] Run auto actions
Then: record and apply specific auto action - [@min: ~ 40:30] Create frame border (folders)
Next: create frame border (folders) (e.g. change unit of length, gutter) - [@min: ~ 49:06] Print
Use object sub-tool to get the final border positions and print out with “no-repro” blue - [@min: ~ 53:21] Second scan & import
Ink the printed page to scan & import it again - [@min: ~ 56:30] Clean up
Clean the scanned image (e.g. filter > correct drawing line > remove dust (tool)) - [@min: ~ 58:54] Lettering
Lettering: which options & how to use them (for sound effects & dialogues)
Or just watch & learn:
Additional resources on Clip Studio Paint EX
This has already been extremely helpful, don’t you think? If you just can’t get enough, there are some additional videos and Celsys tutorials, that could give you a hand. E.g. if you knew Dave Gibbons used Clip Studio Paint EX, you might also want to learn more from him. Or perhaps you might want to learn how David M. Cumbo colors his works?
How Dave Gibbons uses Clip Studio Paint Pro EX
Coloring graphic novels with Dave Cumbo & Clip Studio Paint EX
Do you think it’s time for #nextlevel? So, what are you waiting for? We’re already looking forward to seeing your creation #madebywacom on Instagram and twitter. While you’re at it, share some support using the hashtag #ComesWith: because Wacom always #ComesWith more.
