
Wacom teamed up with Autodesk Sketchbook and concept artist Mike Azevedo to get a professional´s take on working with colors. In this tutorial, Mike gives us the basics of color theory and he talks about relationships between colors on the color wheel and the tone of the light in a composition to change the character´s looks.
Mike works primarily in the Games industry. He has worked on projects such as League of Legends and Hex for clients such as Blizzard, Guerrilla Games and Games Workshop. Mike uses a Wacom Intuos Pro and Cintiq 24 in his workflow.
Have a look at the video or read the tutorial step by step below.
Now that you have a handle on the basics of Mike’s Color Theory techniques have a look at the tutorial Mike has prepared on this dashing Older Knight. He walks us all through the steps he takes to make sure the color values are right and the light and shadows are effective in his drawings.
Step 1: Structure
This first step is essential to making a solid painting, colors are great, but they can’t save a bad drawing. When sketching out the figure, I like to think about the attitude of the character and the simple geometric forms that compose his structure.

Step 2: Base colors
Once the structure is set, I like to go straight to color. I select colors that are 50-70% dark and not very saturated since you can always add more color later. It’s good to think about this stage as the “original colors of the objects before adding a direct light source and shadows”, the true color of the object or subject.

Step 3: Adding Shadows
At this stage, I think about the direction the light comes from, which planes are definitely not facing the light source directly and the shadows cast between objects. I try to think like a sculptor. In this composition I use a dark orange because I want to have a blue light on the figure and adding a bit of the complementary color to blue creates the effect of shadows accurately.

Step 4: Shadow Accents
I find that most of the time adding shadows creates more volume than adding light does. So I like to create accent shadows, tiny dark shadows that reinforce the form. I especially place them when objects are in contact and I love to use triangle shapes for these. Sometimes this step solves the problem of adding volume to the figure and you don’t really need to add much light later because the form is already there.

Step 5: Ambience
Now it is time to focus on making the character look like he’s somewhere. I added some dark blues and greens to the background to emphasize the orange shadows and I added a Darken Gradient Layer in blue to imply the light fading off to the side.

Step 6: Light
Keeping in mind the original color of the object, the intensity and proximity of the light source as well as the material of the object (i.e how reflective it is) I now add the neutral blue light. It is important that you figure out how the light changes for every object and differentiate the materials, metallic surfaces are going to reflect bluer and the skin is only going to reflect a little bit of that blue.

Step 7: Overall Check
Now, I zoom all the way out and check if the materials look correct. For this composition, I decided to tone back some of the skin brightness and I also add dynamic brush strokes to the background to direct the eye towards the character. It is important to not move forward past this step before you feel good about what you have, adding detail will not make the mistakes go away (I wish I knew that when I started).

Step 8: First Zoom in
I am 45 minutes into this painting and this is the first time I have zoomed in. Now it’s time to make the area around the eyes and mouth more defined, good reference pictures and a vast visual library are key for not overwhelming the image with information at this point.

Step 9: Play Within the Boundaries
Now it is time to have fun with the nuances and try to add new colors that are interesting but still respect that initial decision of a blue light source. For example, adding a more saturated orange or yellow to the lit area of the face is going to ruin the temperature here, but adding some desaturated pink or purple is fine. You have to remember the limits you established when you defined the light source and object properties and then you have to stick to them.

Step 10: Effects and Glow
I tried to emphasize the blue temperature a bit and added a Glow Layer with blue on top of his armour, scarf and eyes. I also added a red overlay layer to make his cheeks, nose and mouth redder, trying to keep it subtle. And to finish off I added a soft light layer filled with blue on top of everything. These little tweaks can go a long way to unify the painting.

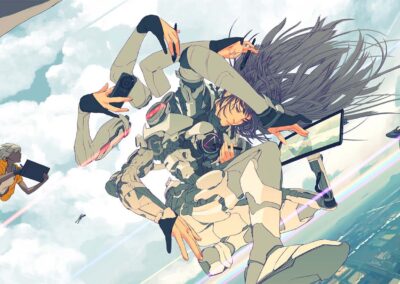
And that is the finished painting!
We hope you have enjoyed this tutorial and have learned about Color Theory. If you would like to learn from Wacom color master first hand, click here for more tutorials.
Follow Mike on social media:
Facebook – Twitter – Instagram – Youtube – Tumblr – ArtStation

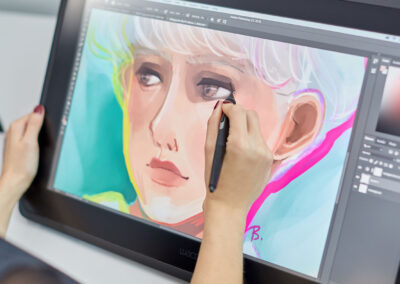
Mike Azvedo working on his Intuos Pro


