Whether you’re handed strict guidelines for lesson plans from administration, you’re completely on your own to plan the entire year’s curriculum, or somewhere in between, a Wacom tablet could be the perfect tool to elevate your lesson plans this year — and increase lesson planning efficiency!
Michele Dick, Wacom’s education expert, has five recommendations for ways you can use your Wacom pen tablet or pen display to make lesson planning more creative, efficient, and effective. To see all of Wacom’s Teacher Tips & Tricks, click here! For all of our Back to School 2022 content, click here.
1. Annotating existing lesson plans
It’s rare to find a perfect “plug and play” lesson without needing to make changes. Personalizing learning for the needs of your students means making adjustments to the plans you’ve been given or the ideas of others. Even lessons you’ve created yourself will need regular updating to reflect changes to the curriculum and new resource options.
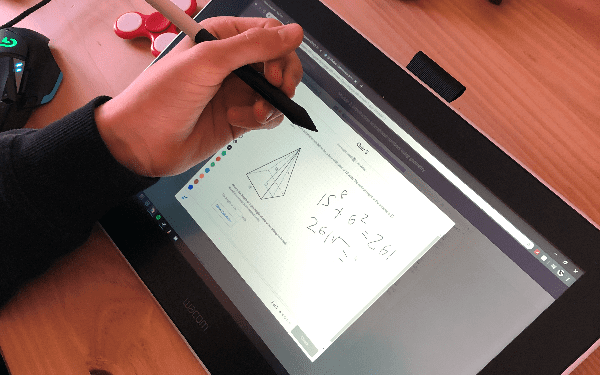
Using a Wacom tablet to annotate existing plans stops the time-consuming process of re-writing everything. Now you can draw directly onto your Word or PDF document to alter the plans quickly and efficiently.
Another idea: after you deliver a lesson, highlight parts that went well or need changing in the future. This is a quick way to capture your assessment of how a lesson went, students’ progress, and to quickly plan next steps while it’s fresh in your mind.
2. Developing fresh lesson ideas
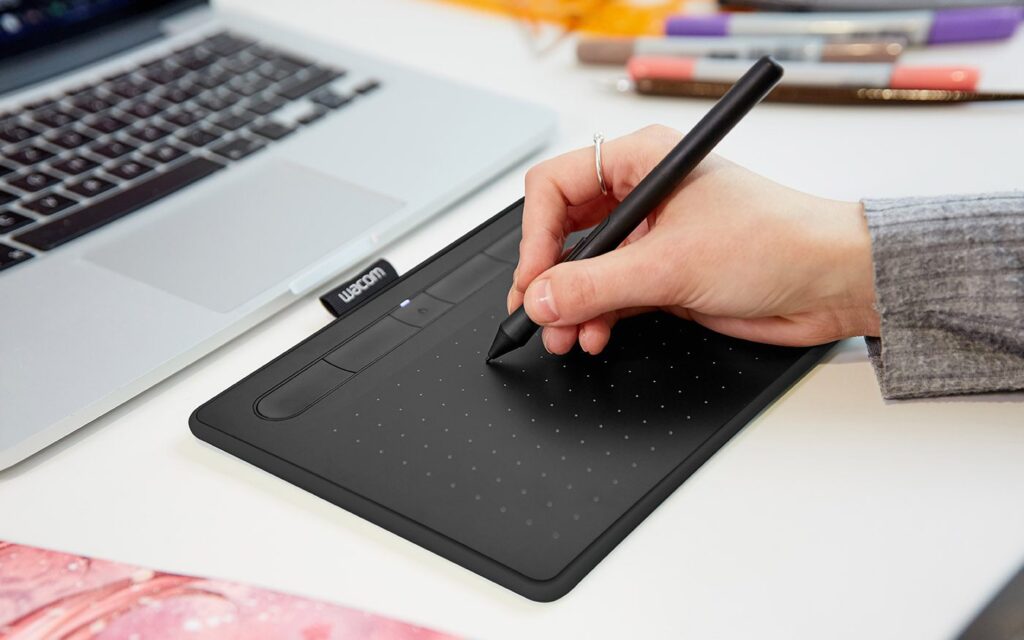
It can be hard to think creatively while typing. What if you could handwrite and sketch out ideas — without then having to struggle with a Word processor to get them into something usable? Using a Wacom tablet as a blank page for planning removes the irritation of having to type everything up. You can handwrite straight onto your documents using our accurate, lightweight, battery-free pen.
Often when you plan, an idea comes into your head about a resource you’ll want to create, a template to use, or bank of vocabulary to share. Use your pen tablet to capture these ideas without the limitations of a keyboard and static pre-drawn boxes.
3. Adding images and diagrams to your plans
Wacom tablets let you write and draw straight over images and text. Snip the picture or diagram you want and add it to your favorite program. Highlight a section or handwrite notes about the image, and keep all your ideas together.
Or maybe you don’t want to waste time finding a suitable image, graph or formula? It’s often far easier to create your own. Wacom pens offer amazing accuracy, letting you draw detailed diagrams, formulae, and graphs. It’s perfect for capturing ideas about how you will present concepts visually to your students.
When you finish a drawing using your Wacom pen, simply snip your finished image and use it in other programs. There’s no need to worry about copyright when you’ve made the picture yourself!
4. Collaborative planning
One of the amazing advantages of Wacom technology is the opportunity for collaboration. Rather than working in isolation, you can create online pages for your colleagues or co-teachers to share ideas. Platforms like Microsoft Teams let you make collaboration spaces for everyone to contribute to.
Typing into documents can make planning with colleagues unwieldy. Often ideas are added to the bottom of a document or in comment boxes. Being able to handwrite your notes, draw diagrams, and add images exactly where you want them allows lessons to develop organically. The range of pen colors makes it simple to keep track of who contributed which idea.
5. Creating your own resources
How many hours do you spend trawling through the internet to find the perfect resource? Finding activities to use can take longer than planning the actual lesson. But all too often, these resources aren’t even a great fit for your learners!
Using your pen tablet, you can truly personalize every resource you use. Or create your own using the wide range of available drawing tools. It’s easy to add scaffolded support for struggling students or a challenge for those who need stretching.
The sixth step: going further
Why not take it further? Instead of uploading static images for your students, use your pen tablet to create simple presentations that demonstrate the complete process.
You can “multiply yourself” by filming recorded or live lessons, letting you re-explain concepts to absent students or clear up common misconceptions. It’s easy to show each small step of learning in real-time. Your lesson will deliver exactly what you want to teach, rather than using a generic video you’ve found on YouTube.
So much of your lesson plan is brought to life when you stand in front of your class. You draw on your whiteboard as you talk, make notes, and demonstrate ideas. Using a Wacom tablet offers a way for you to create this same effect, even when you’re outside of your classroom. Wacom’s wireless tablets also allow you to have a stronger presence within the classroom than facing the whiteboard or being “tethered” to your computer.
There’s no need to keep creating the same videos year after year. Upload them to YouTube and add the hyperlink to your lesson plan to remind you where to find it. Before long, you’ll have a bank of videos perfect for each lesson.
Final thoughts
We know you’re busy, especially at the beginning of the school year. Creating new lesson plans can easily take up so much of the limited time you have as a teacher. Using a Wacom pen tablet is a painless way to adjust the planning you already have or quickly capture new ideas for lessons.
Using unknown technology as a teacher can feel daunting. But Wacom tablets are made to be simple to use, and soon you’ll find that using one will simplify your lesson planning and save you time — so you can plan great lessons that deliver the learning just the way you want.
Note: this blog post was adapted and updated from this 2020 post by Onur Cengiz.
Get creative inspiration direct to your inbox
Sign up for the Wacom Creative Newsletter for tips, tricks, news, and offers that will excite your imagination.


